step 1
Blanch Banana Leaves (2) in hot or boiling water to soften the leaves. This will prevent the leaves from breaking easily when used to wrap around the molds.
step 2
Clean and dry the softened leaves gently with a damp cloth. Then cut out the banana leaves to the desired length, and cut pieces of round-shaped leaves with a diameter slightly bigger than the base of the mold using a pair of scissors.
step 3
Wrap the banana leaves around the outer rim of the mold and insert the remaining part of the leaves into the mold. Insert a smaller round container into the mold and press the leaves against the base and the inner wall of the mold. Repeat and wrap the mold with another 2 layers.
step 4
Insert the round-shaped leaves and press against the bottom to cover the base completely. Finally, secure by tying a rubber band around the rim of the mold.
step 5
To make the caramel, boil water with Pandan Leaves (3 stalks) added. Let the pandan leaves steep in the hot water for about 10 minutes for extra fragrance.
step 6
Heat Granulated Sugar (2 cups) in a pot over medium-low heat until it starts to melt. Gently add a bit of Water (1.1 lb) by the edge of the pot. Continue cooking until you have a golden color caramel. Do not stir the sugar too much. Tilt the pot around to make sure the sugar caramelizes evenly.
step 7
When the sugar has caramelized, turn off the heat and slowly add in the remaining hot water. Turn the heat up again until all caramel has completely melted. Leave the golden caramel syrup to cool completely before use.
step 8
To make the sticky rice cake, place the Sweet Glutinous Rice Flour (2 2/3 cups) into a large mixing bowl. Then in stages, slowly add the caramelized sugar syrup. Using a spatula, mix and combine the syrup and glutinous rice flour into a smooth batter.
step 9
Strain the batter to remove any possible lumps.
step 10
Pour the sieved batter into the banana leaf lined molds. Cover with aluminum foil (to prevent water from dripping into the batter).
step 11
Place into the prepared steamer to steam. Steam the sticky rice cake over medium-high heat for 30 minutes.
step 12
Reduce the heat to medium and continue steaming for another 1 hour and 30 minutes. Add more hot water into the steamer when needed.
step 13
After 2 hours of steaming, it is done. Pat dry excess water on the top and remove the aluminum foil covering the sticky rice cake. Remove from steamer and let it cool at room temperature. Be sure it is fully cooled before unmolding.
step 14
To unmold the sticky rice cake, remove the rubber band and loosen the banana leaves around the mold. Fold the leaves upwards, then pull the rice cake out from the mold.
step 15
Finally, trim off excess leaves on the top using scissors and we are done. Cut rice cake into thin slices using an oiled knife.
step 16
Prepare the egg batter by placing Rice Flour (1/3 cup), Corn Starch (1/4 cup), Baking Powder (as needed), and Salt (as needed) into a small to medium mixing bowl. Stir to mix.
step 17
Add in Egg (1) and Water (2 tsp). Whisk to form a slightly thick batter. We are ready to pan-fry the rice cake.
step 18
Add Oil (2 Tbsp) into a non-stick pan and heat it over medium heat.
step 19
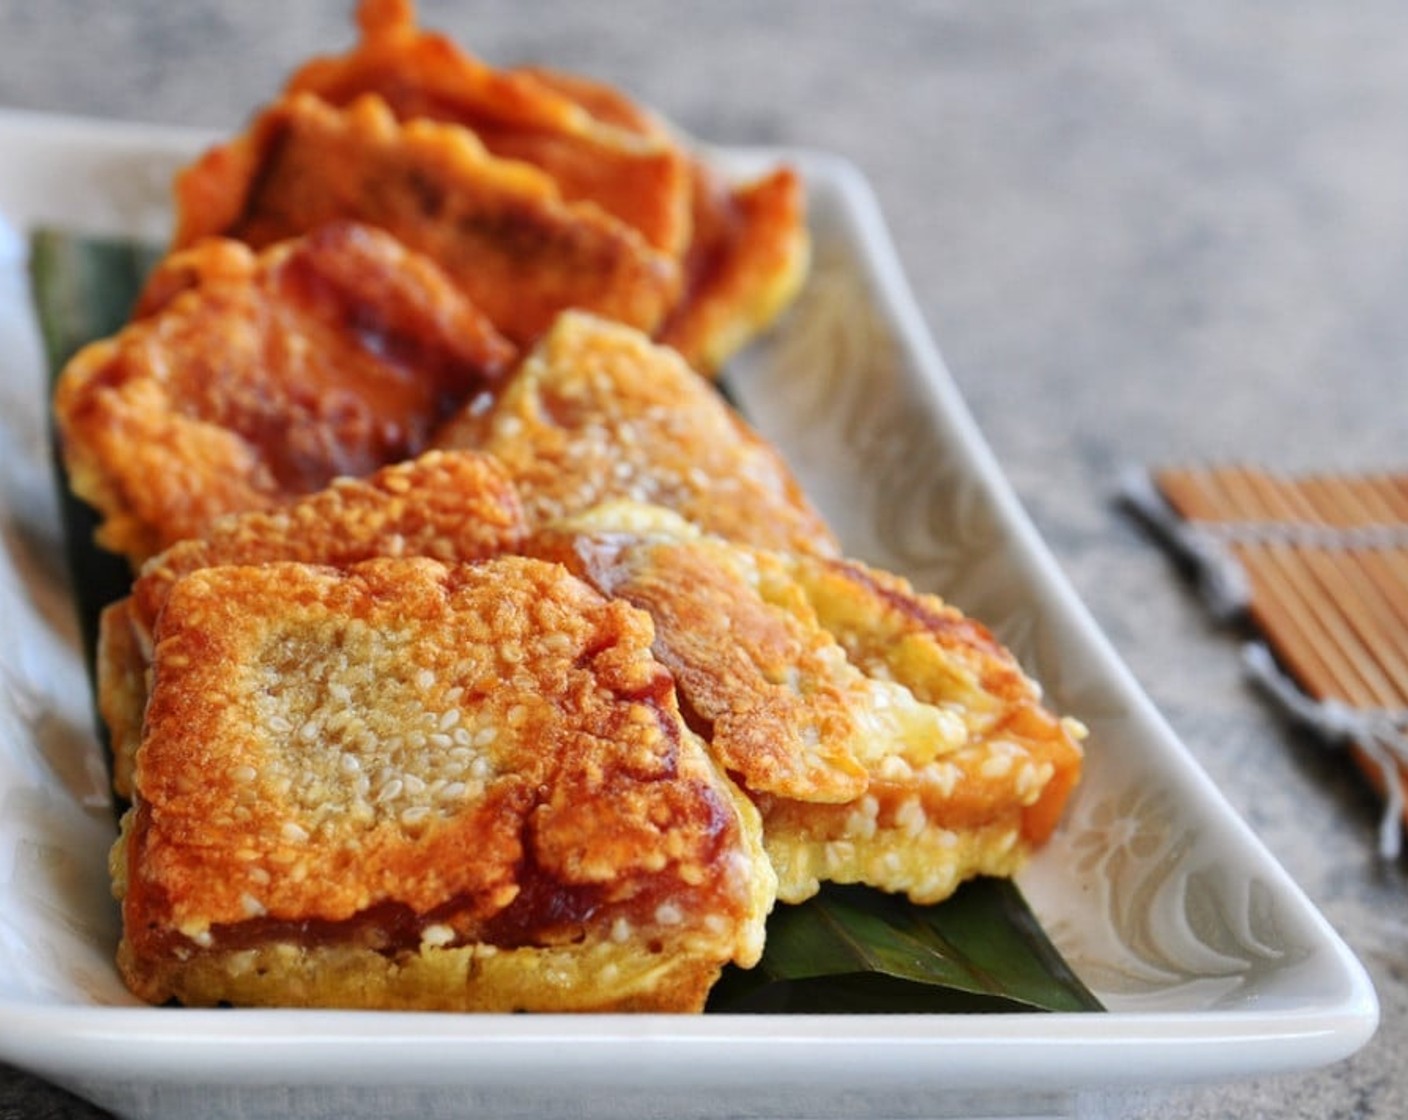
Dip sticky rice cake pieces into the egg batter to evenly coat them. Place on heated oil to fry over medium heat. Pan fry till golden brown.
step 20
Place on a paper towel to absorb the excess oil on the outside before serving. This will keep the rice cake nice and crisp. Serve immediately and Enjoy!


