Use code TRIPLE10 to save $10 on your first three grocery orders.
SideChef
Recipes
Eggless White Bread
Watch Full Video

7 INGREDIENTS • 10 STEPS • 3HRS 20MINS

Eggless White Bread

Recipe
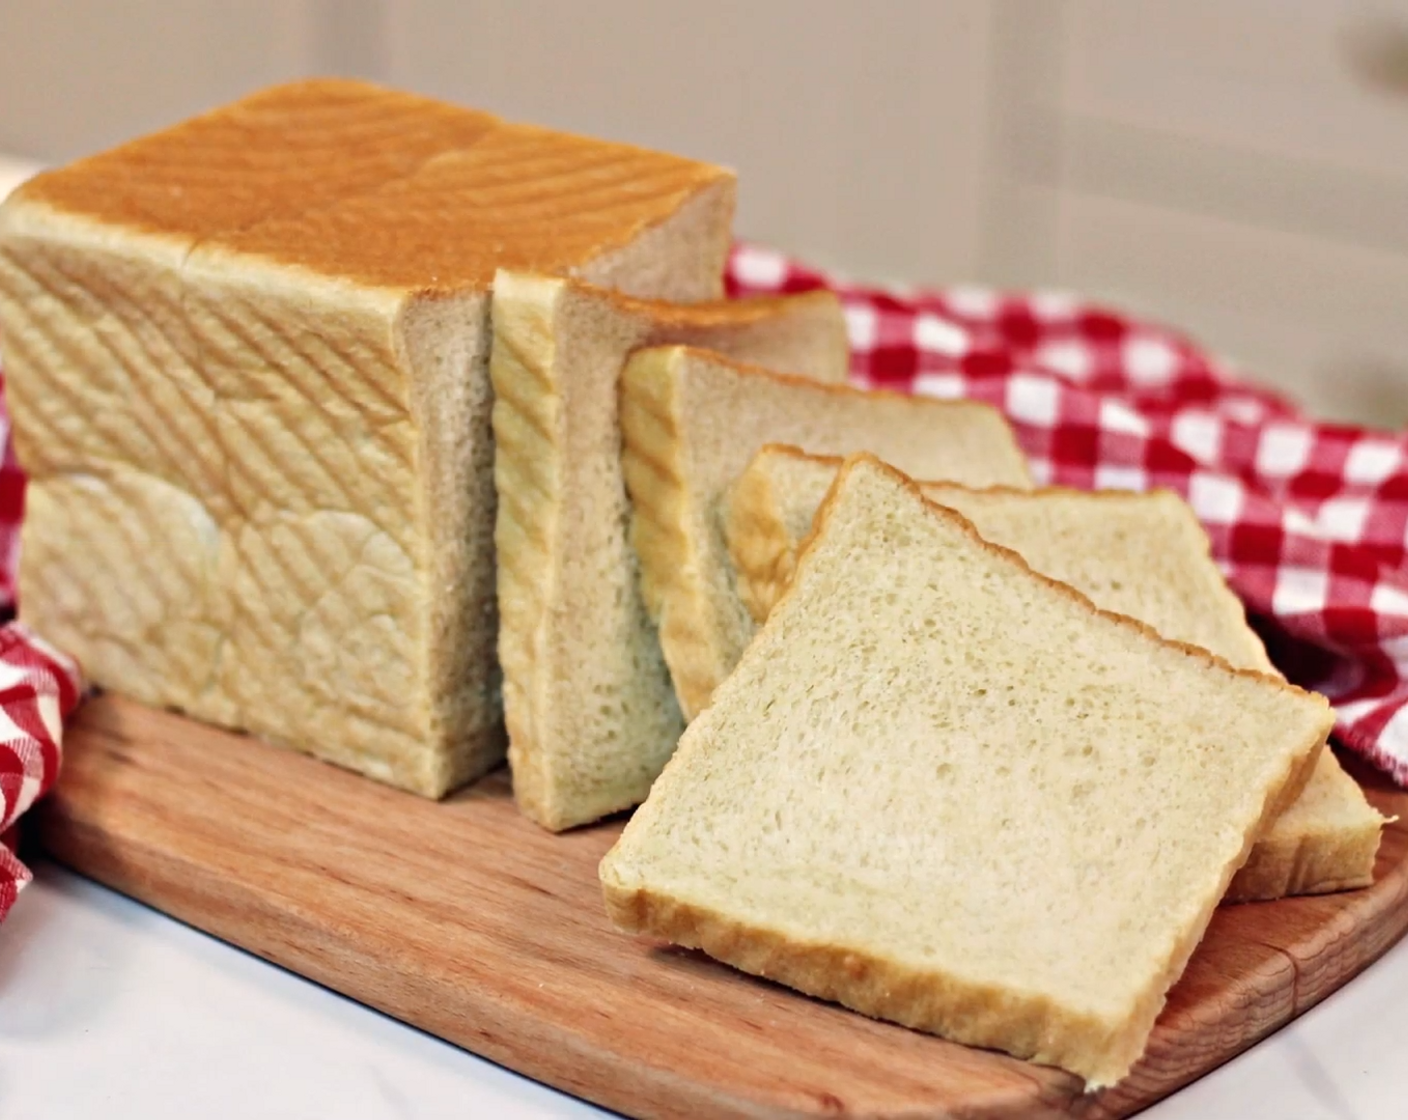
For those who are vegan or can't eat eggs or any dairy product, try this recipe. It’s so soft and compact, just like a good enriched white bread you would get from your local bakery store.
Love This Recipe?
Add to plan
logo
Eggless White Bread
Save
author_avatar
ZaTaYaYummy
I am Chua Zong Han, the owner of TheZongHan & ZaTaYaYummy. Based in Singapore, I create video recipes on Youtube and at the same time blog about lifestyle.
http://www.thezonghan.com
For those who are vegan or can't eat eggs or any dairy product, try this recipe. It’s so soft and compact, just like a good enriched white bread you would get from your local bakery store.
3HRS 20MINS
Total Time
$0.36
Cost Per Serving
Ingredients
Servings
6
us / metric
Bread Flour
2 cups
Bread Flour
Soy Milk Powder
1 Tbsp
Soy Milk Powder
Salt
as needed
Water
3/4 cup
Water
Vegetable Oil
8 tsp
Vegetable Oil
Nutrition Per Serving
VIEW ALL
Calories
252
Fat
7.1 g
Protein
6.9 g
Carbs
40.0 g
Love This Recipe?
Add to plan
logo
Eggless White Bread
Save
author_avatar
ZaTaYaYummy
I am Chua Zong Han, the owner of TheZongHan & ZaTaYaYummy. Based in Singapore, I create video recipes on Youtube and at the same time blog about lifestyle.
http://www.thezonghan.com
Cooking InstructionsHide images
step 1
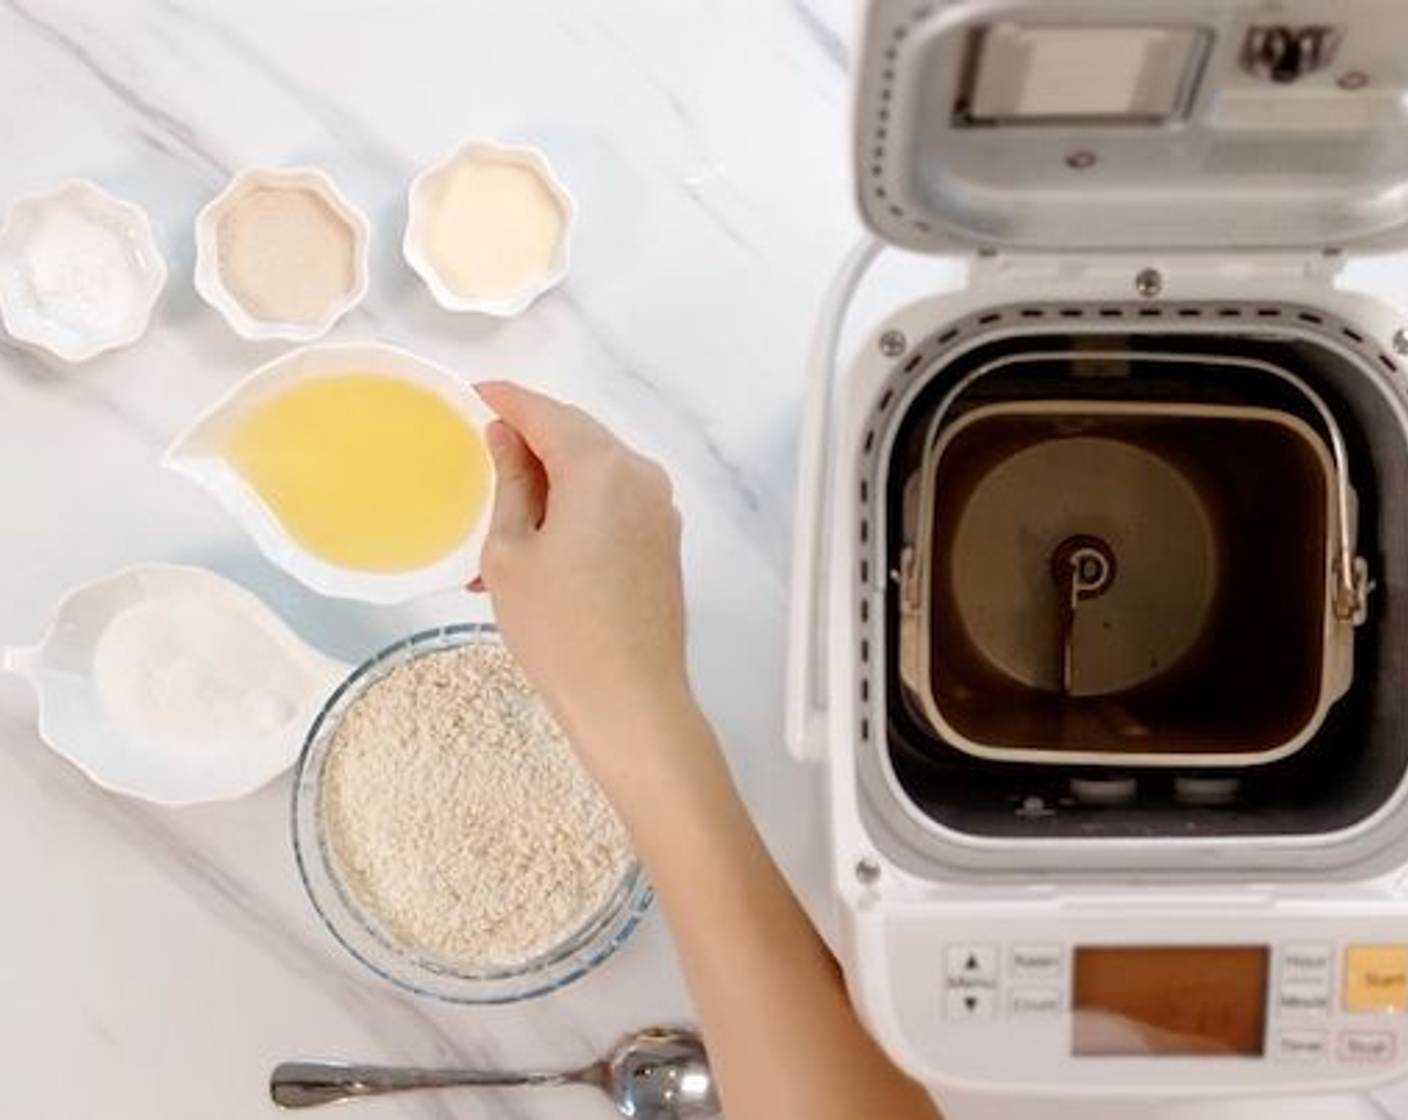
Put the Bread Flour (2 cups), Soy Milk Powder (1 Tbsp), Instant Dry Yeast (2 tsp), Granulated Sugar (4 tsp), Salt (as needed), Water (3/4 cup) and Vegetable Oil (8 tsp) into a bread maker starting from the wet ingredients. You could also use a stand mixer with a dough attachment instead.
step 1 Put the Bread Flour (2 cups), Soy Milk Powder (1 Tbsp), Instant Dry Yeast (2 tsp), Granulated Sugar (4 tsp), Salt (as needed), Water (3/4 cup) and Vegetable Oil (8 tsp) into a bread maker starting from the wet ingredients. You could also use a stand mixer with a dough attachment instead.
step 2
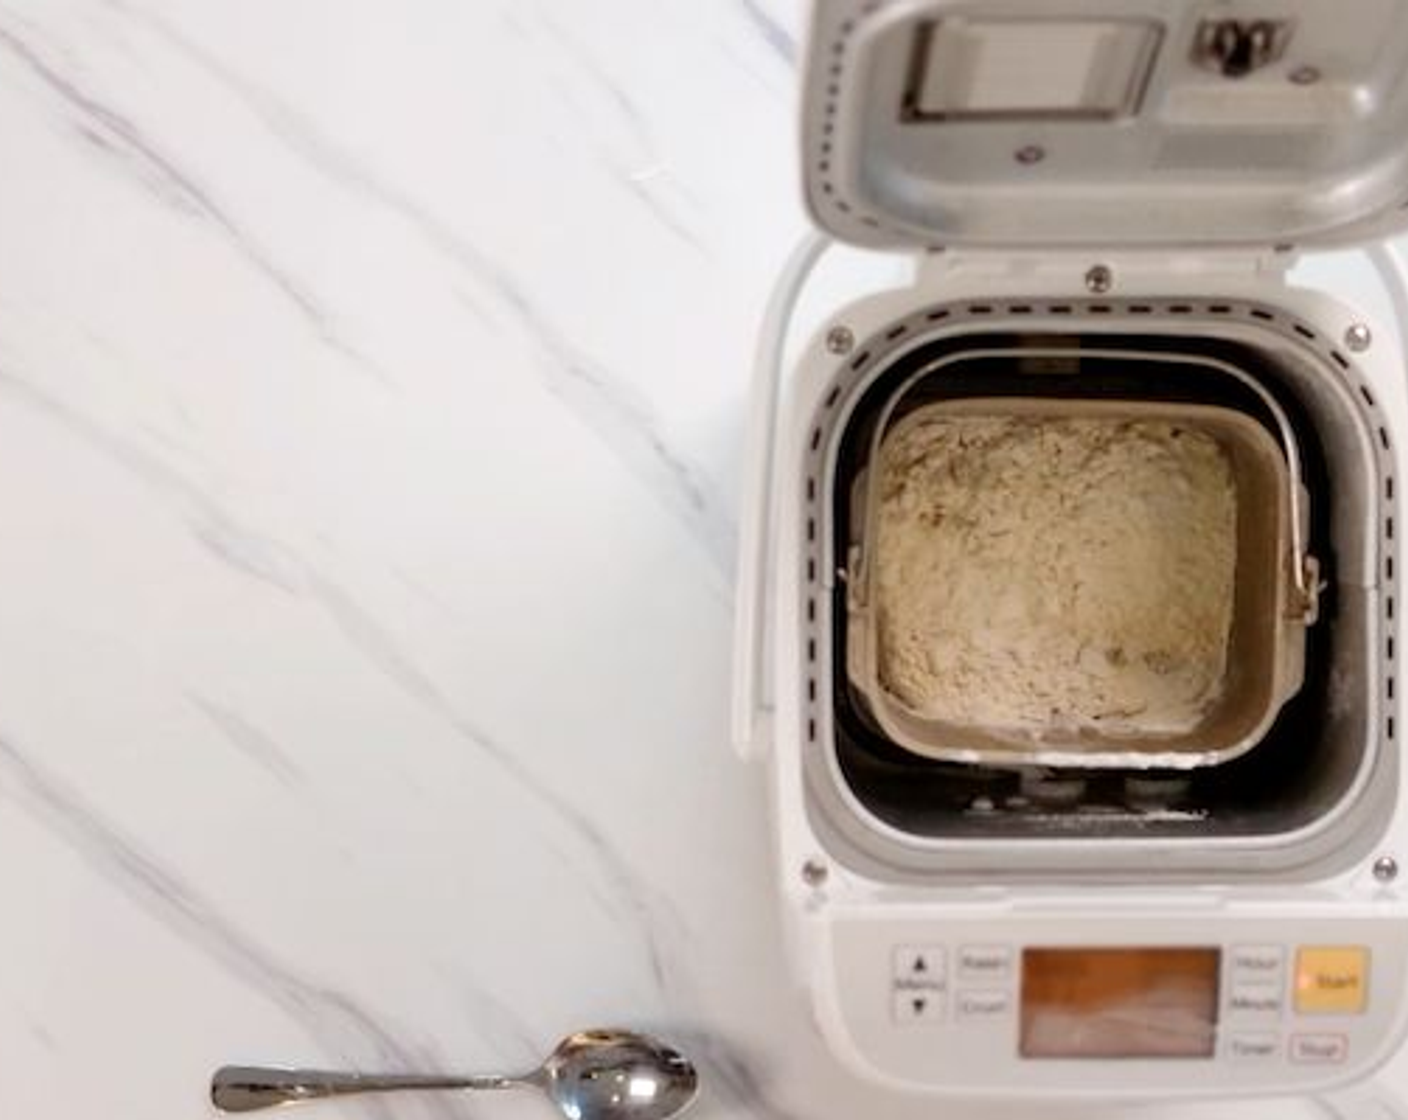
Knead the dough using the breadmaker for about 25 minutes. It will take about 15 minutes if you are using a stand mixer.
step 2 Knead the dough using the breadmaker for about 25 minutes. It will take about 15 minutes if you are using a stand mixer.
step 3
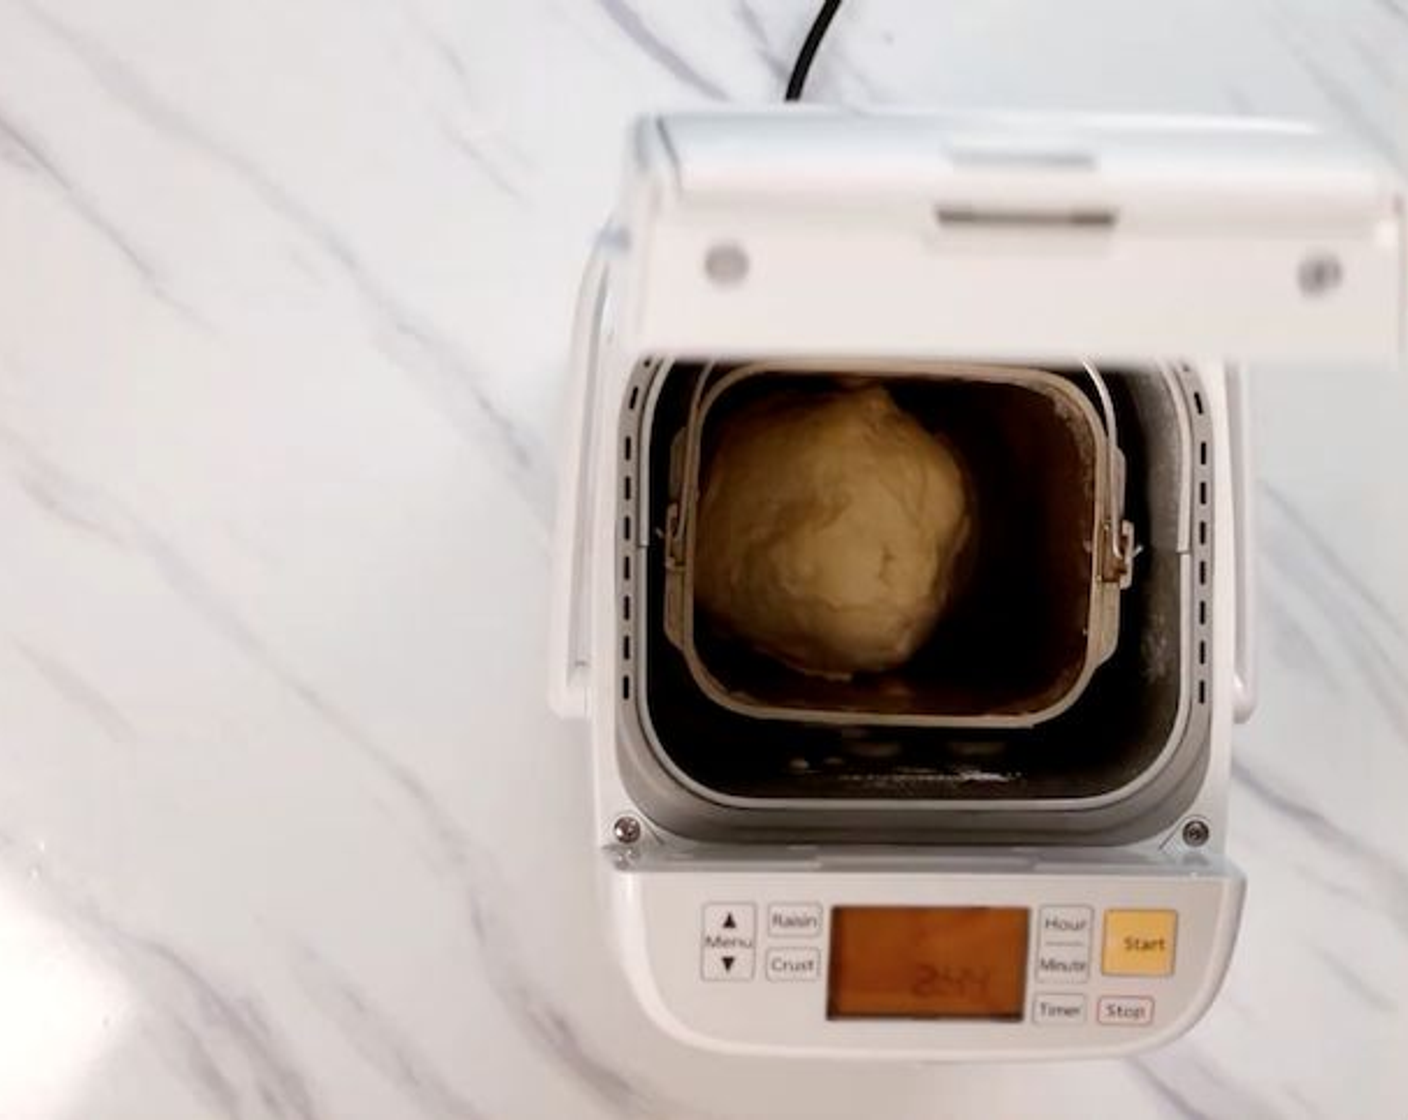
Let it proof for an hour until it triples in volume.
step 3 Let it proof for an hour until it triples in volume.
step 4
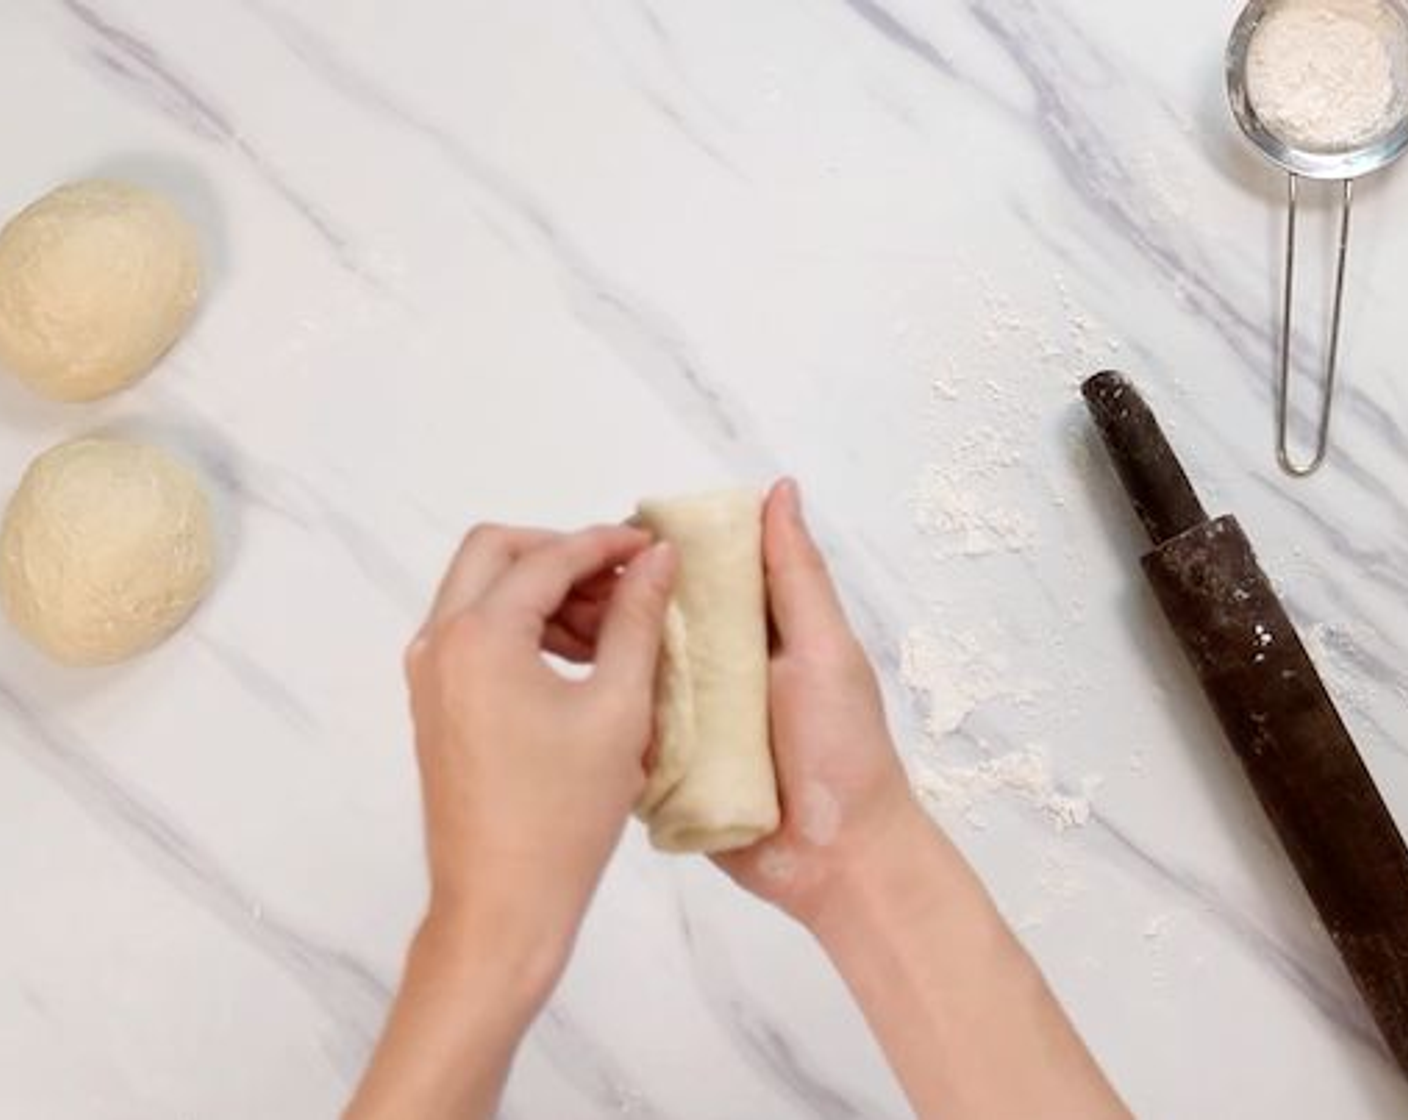
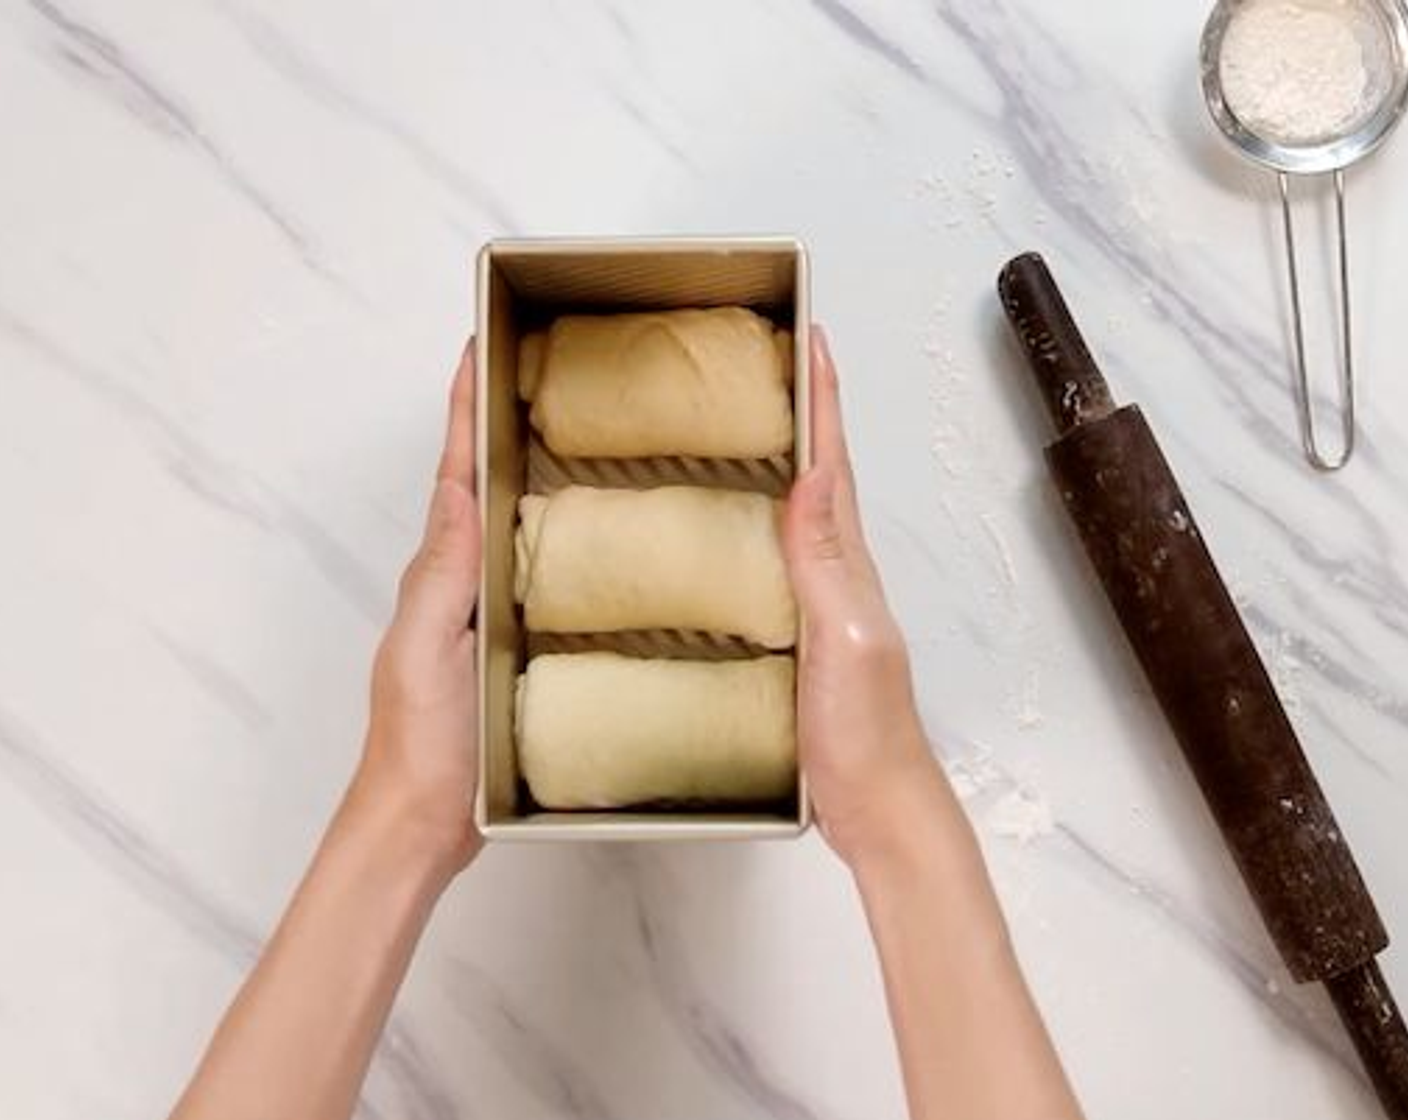
Divide the dough into 3 equal portions on a lightly floured surface. Roll each dough into a small disk, then tuck in both sides and roll into a long rectangular shape. Arrange the sides of the dough neatly then roll it up. Make sure to seal the edges and set it aside. Repeat this until all 3 portions are done.
step 4 Divide the dough into 3 equal portions on a lightly floured surface. Roll each dough into a small disk, then tuck in both sides and roll into a long rectangular shape. Arrange the sides of the dough neatly then roll it up. Make sure to seal the edges and set it aside. Repeat this until all 3 portions are done.
step 5
Transfer into a greased bread tin and let it proof in a warm environment for about 50 minutes until it reaches 80% of the pan.
step 5 Transfer into a greased bread tin and let it proof in a warm environment for about 50 minutes until it reaches 80% of the pan.
step 6
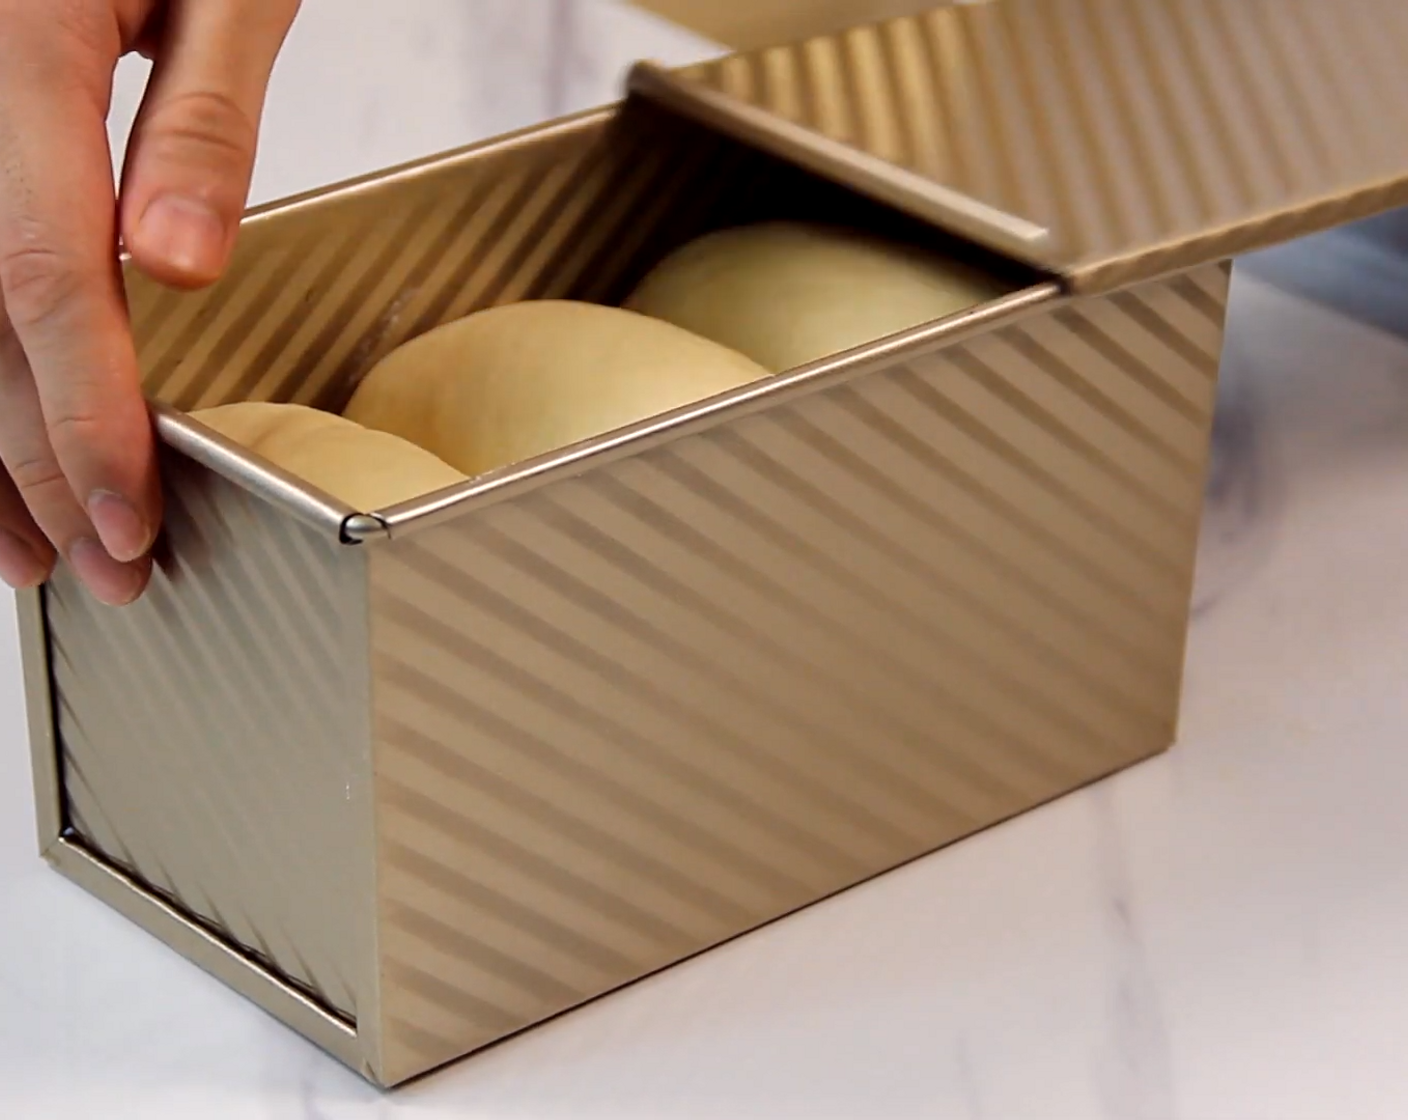
Cover the lid and let it proof for another 15 minutes.
step 6 Cover the lid and let it proof for another 15 minutes.
step 7
Meanwhile, preheat your oven to 350 degrees F (180 degrees C). If you like your crust to be darker, you could bake it at 400 degrees F (200 degrees C).
step 8
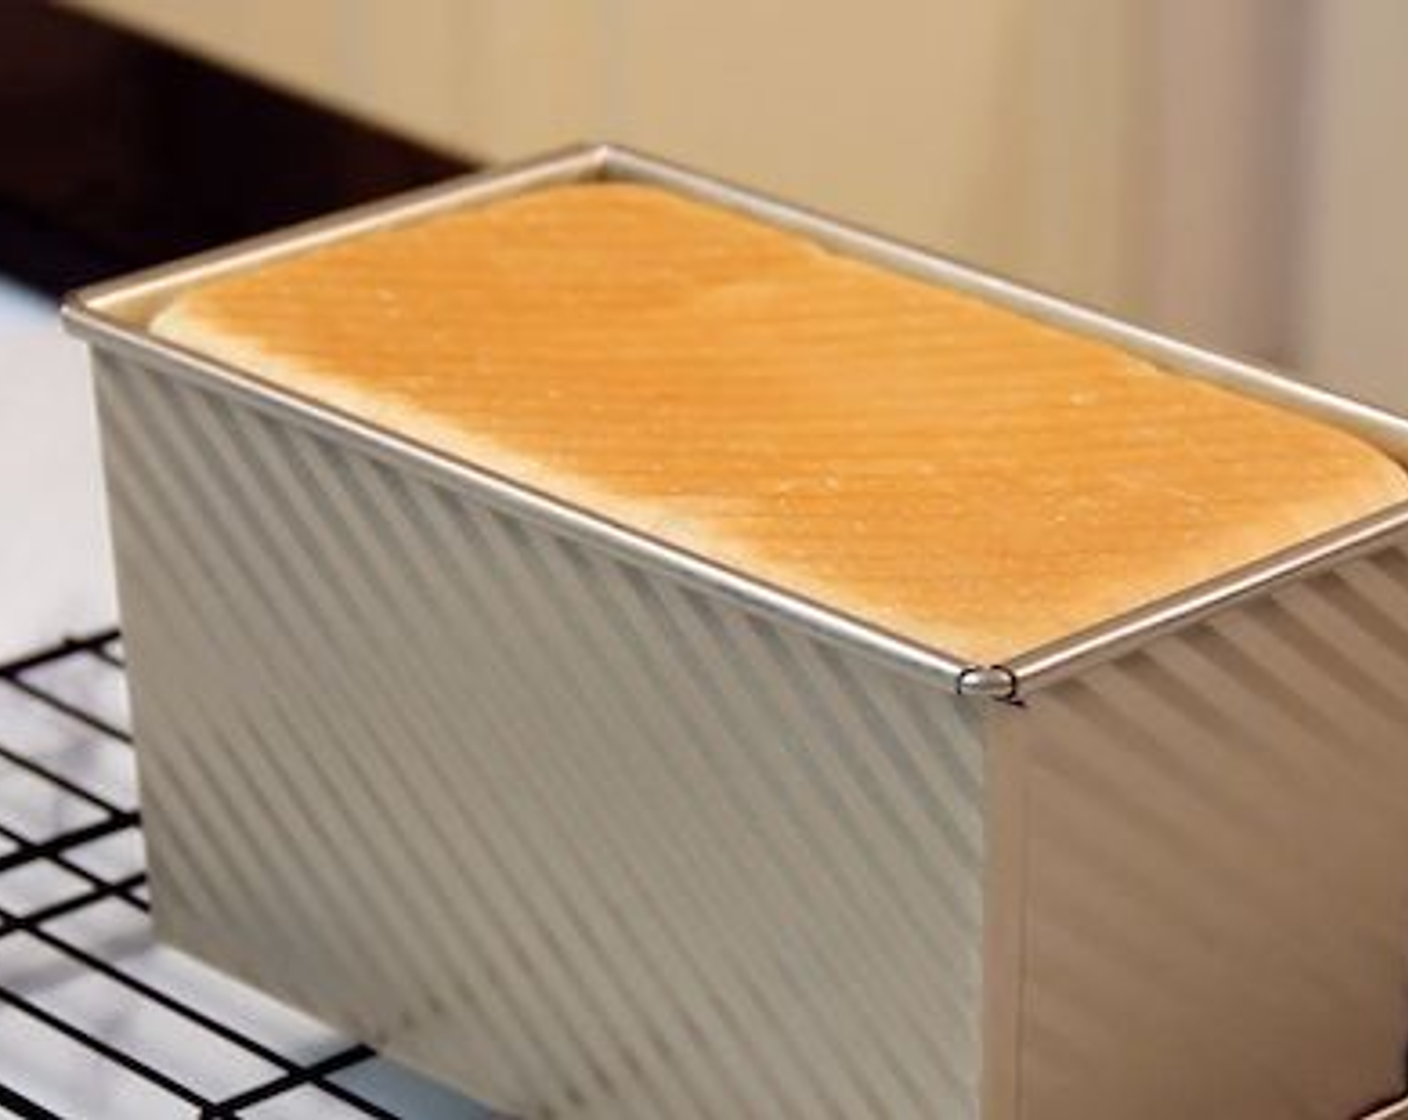
Bake it in the oven for about 35 minutes or until golden brown.
step 8 Bake it in the oven for about 35 minutes or until golden brown.
step 9
Once baked, carefully unmould the bread immediately and let it cool over a wire rack with a piece of cloth covering lightly.
step 9 Once baked, carefully unmould the bread immediately and let it cool over a wire rack with a piece of cloth covering lightly.
step 10
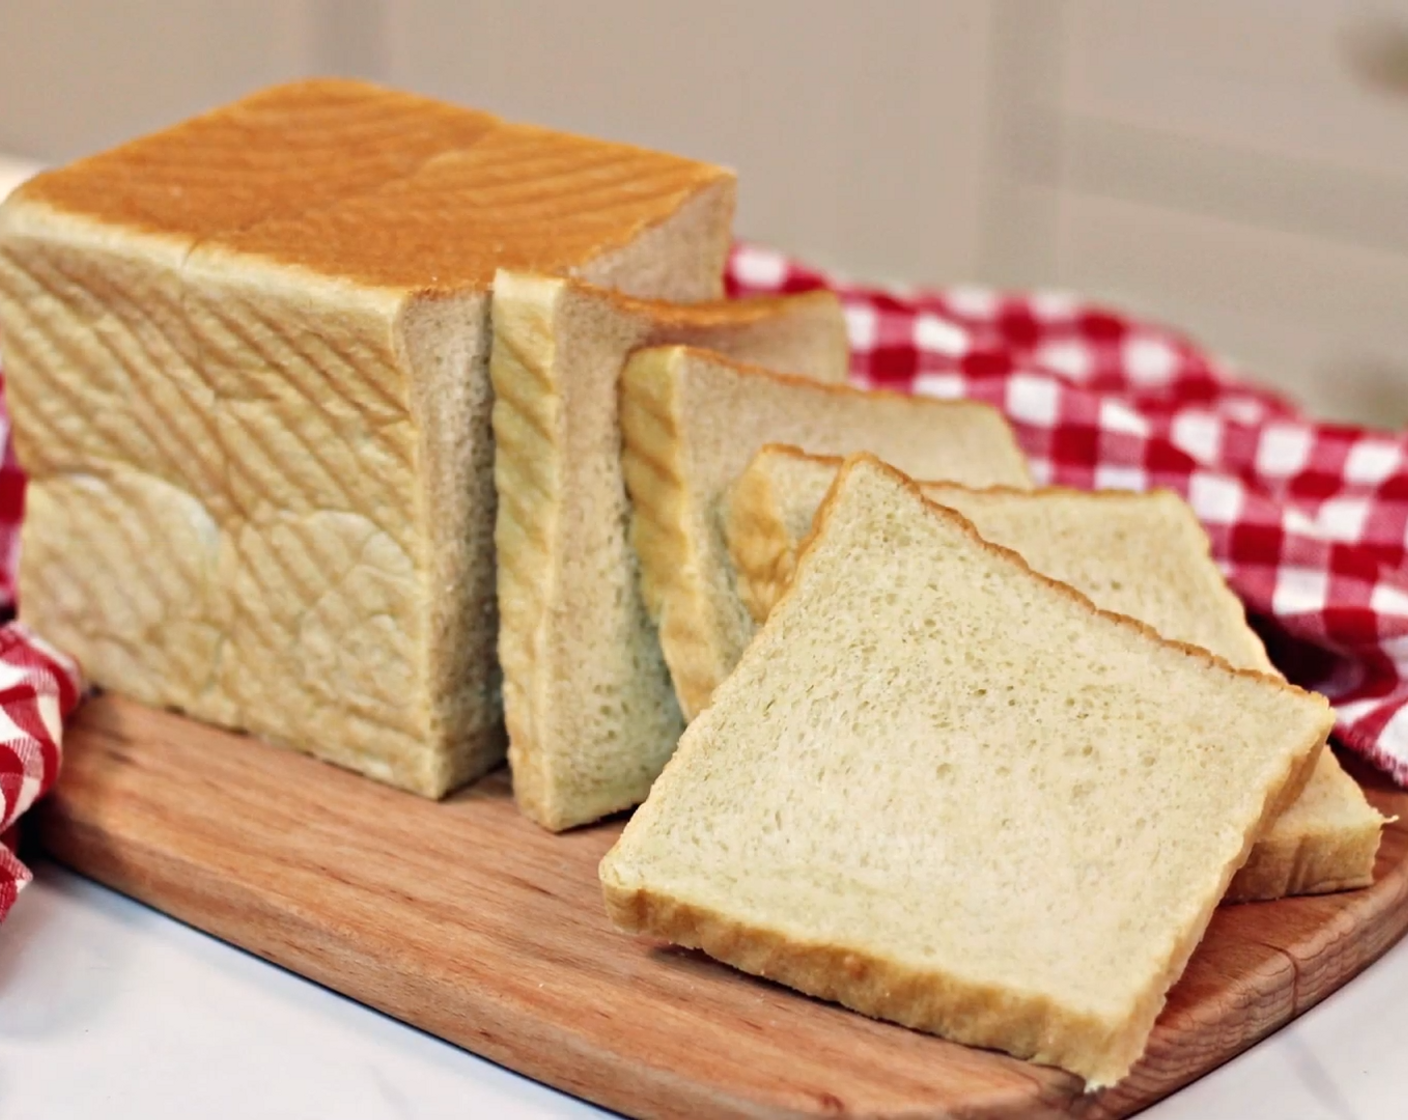
Once it is fully cooled, use a bread knife or an electric knife to slice the bread neatly in an orderly manner. Then wrap it up with a plastic wrap to store the bread.
step 10 Once it is fully cooled, use a bread knife or an electric knife to slice the bread neatly in an orderly manner. Then wrap it up with a plastic wrap to store the bread.
Watch Full Video
Tags
Breakfast
Dairy-Free
Lunch
Bread
Snack
Shellfish-Free
Dinner
Vegan
Vegetarian
0 Saved
top