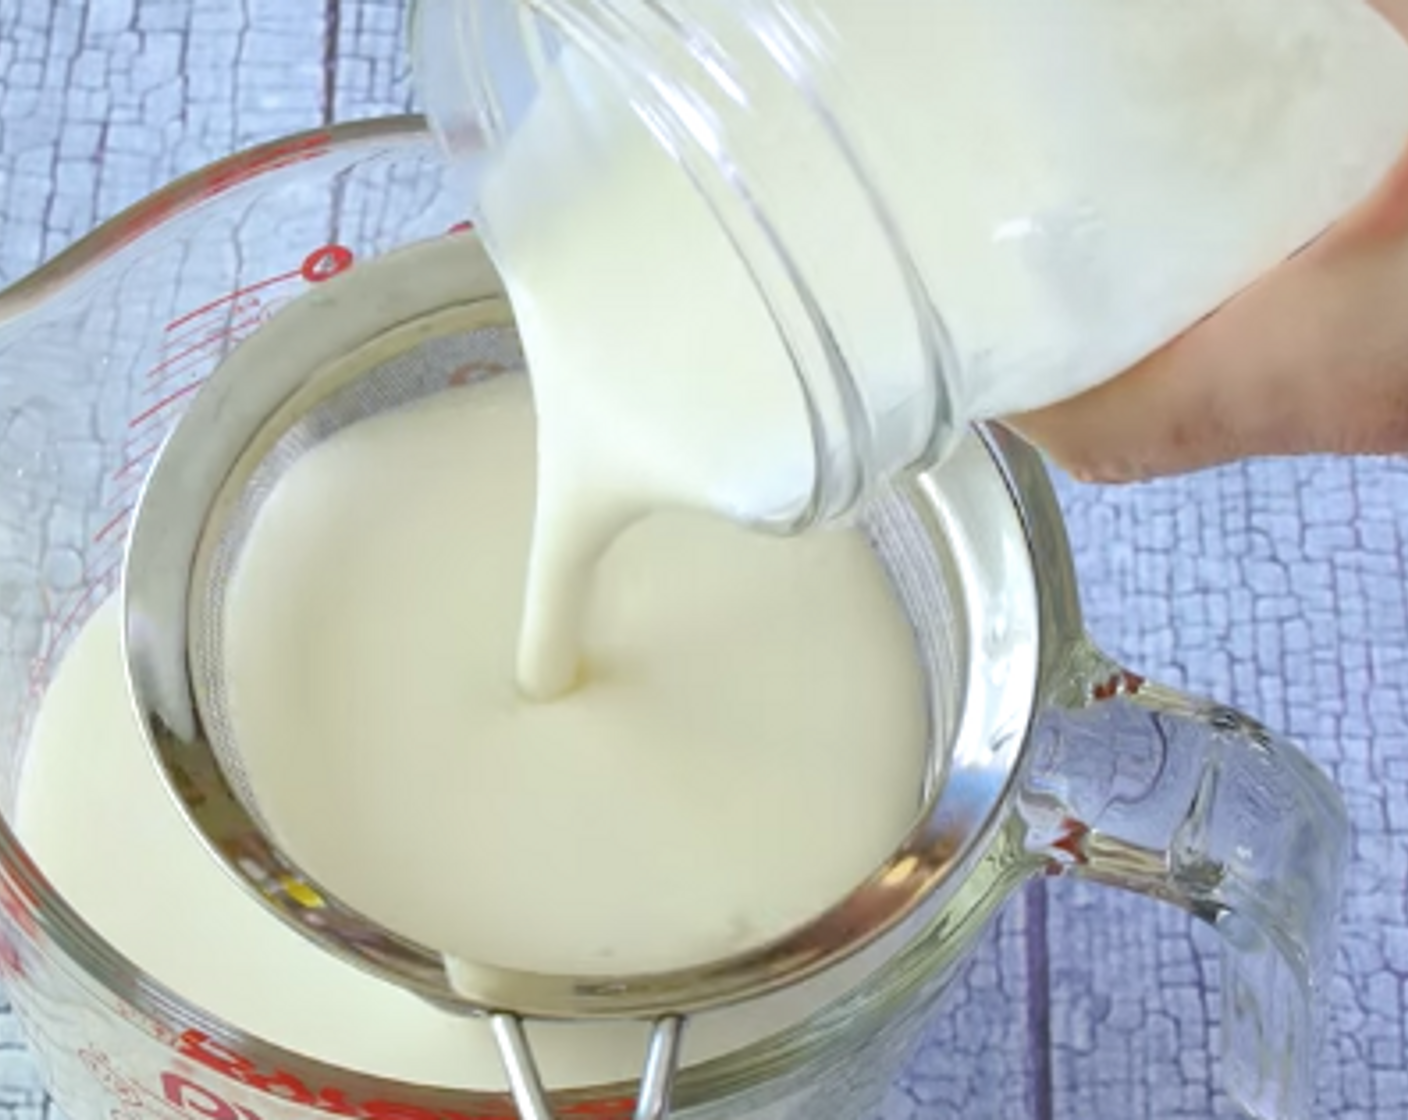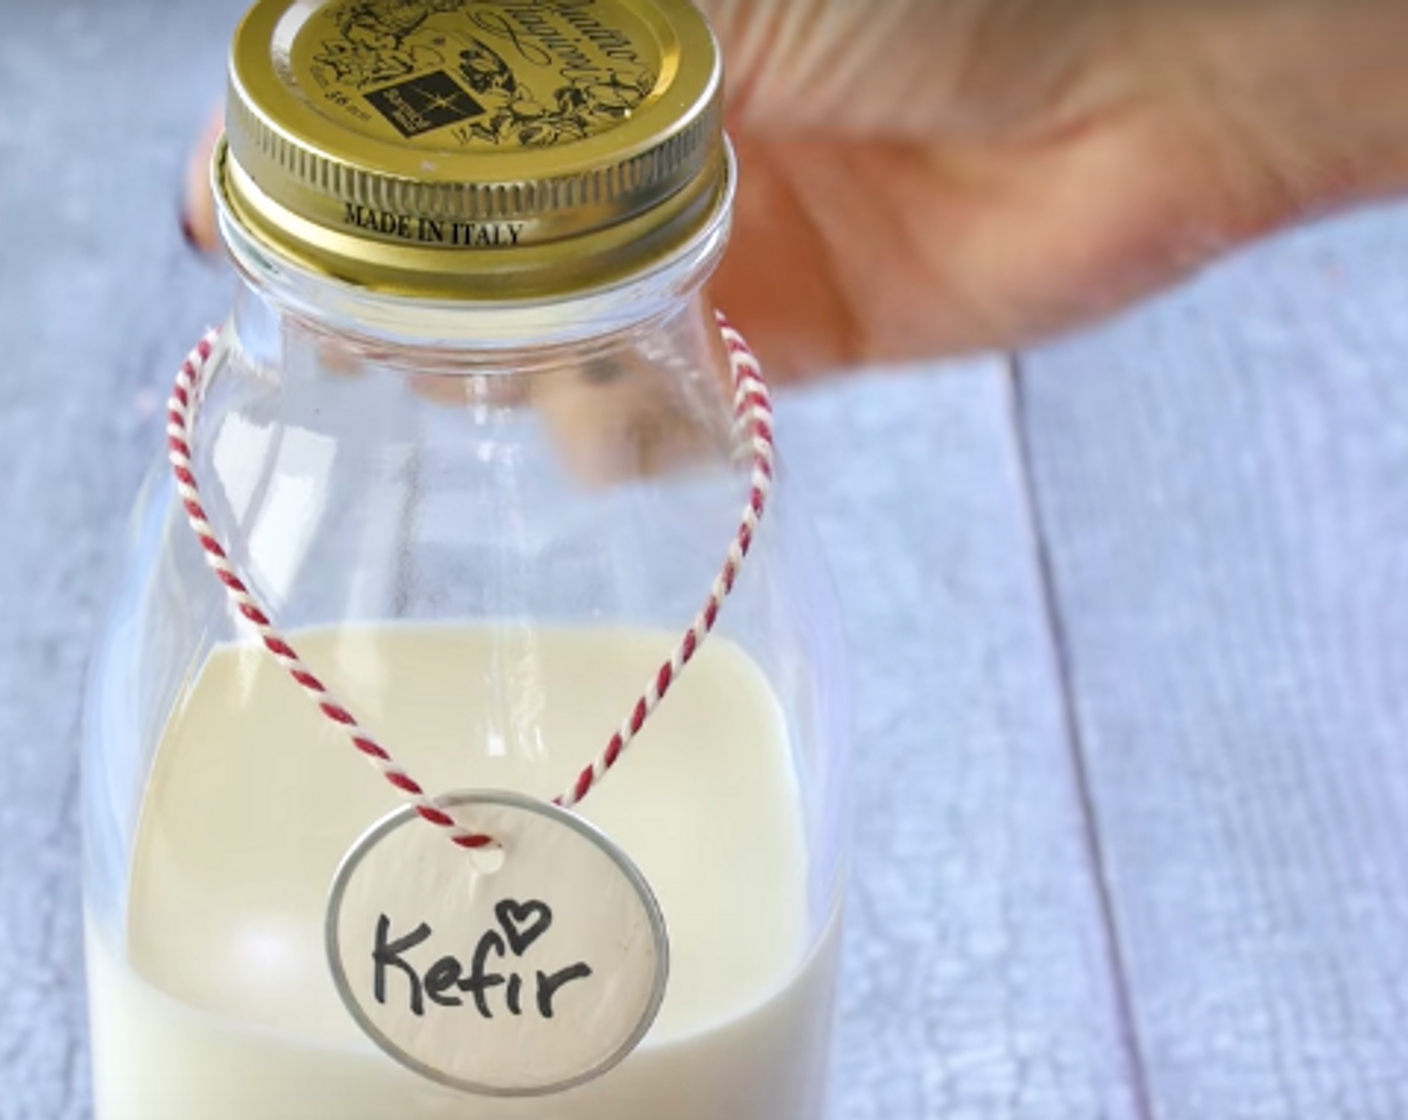
Homemade Kefir is packed with probiotics and has 3 times the amount of live culture than yogurt. It also can be an ideal alternative for those who are lactose intolerant because it’s easier to digest than plain milk when used in moderation. Make this probiotic powerhouse for gut health at home!

10MINS
Total Time
$0.12
Cost Per Serving
Ingredients
Servings
4
us / metric
1/2 tsp
Live Kefir Grains
Nutrition Per Serving
Calories
69
Fat
2.5 g
Protein
5.0 g
Carbs
6.9 g