step 1
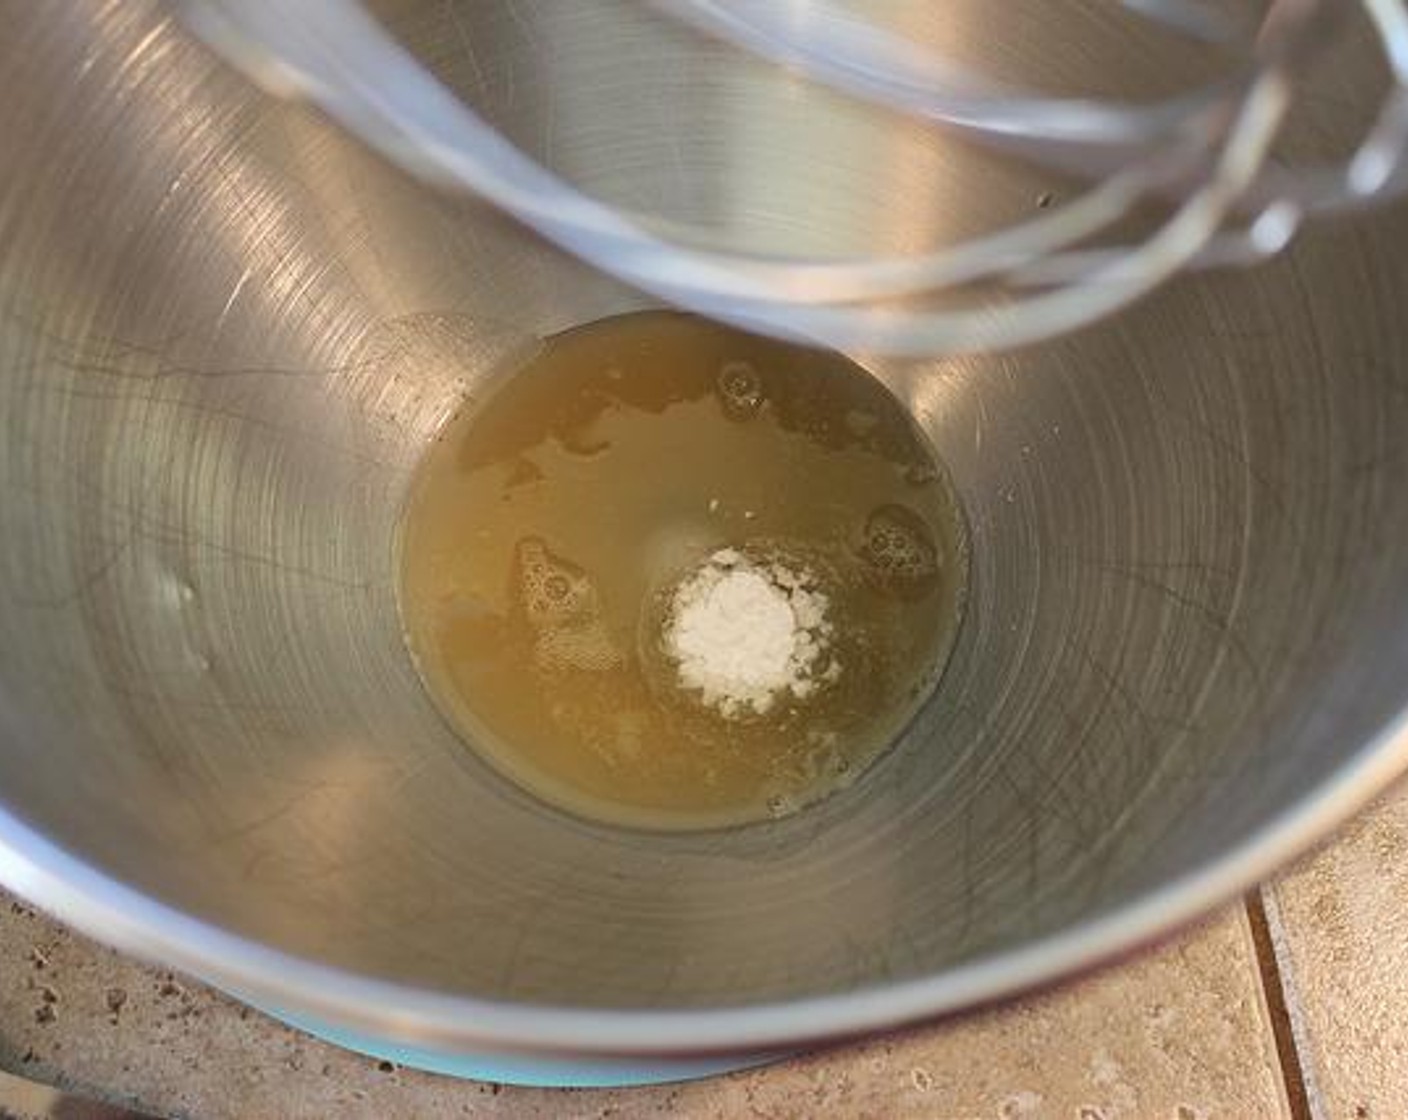
In a measuring cup, measure out Water (1 1/2 cups). Stir in Honey (3 Tbsp) and add Active Dry Yeast (2 tsp) last. Set-aside & let proof for approximately 10 minutes.
step 2
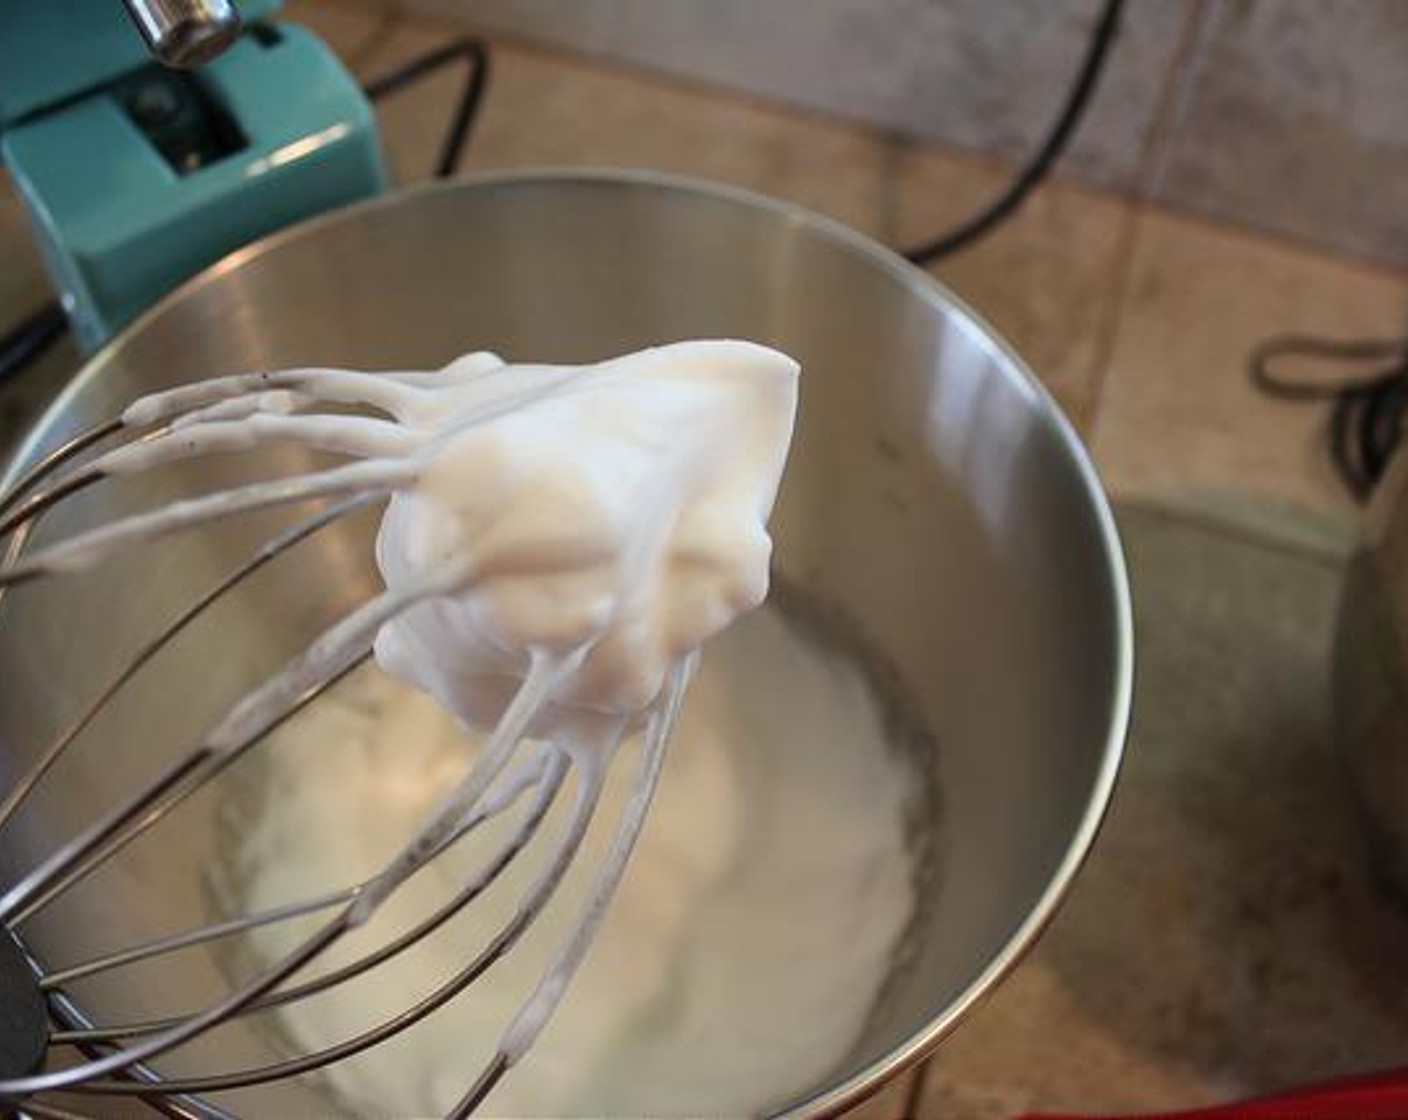
While Yeast is proofing, pour the Aquafaba (4 Tbsp) along with the Cream of Tartar (1/2 tsp) into the clean & dry bowl of your stand mixer fitted with the whisk attachment.
step 3
Whisk on high until stiff peaks form. On my mixer, soft peaks happen around 2-3 minutes & stiff peaks around 4-5 minutes. Once you have stiff peaks, use a spatula to scoop out the fluff and set-aside.
step 4
While the Aquafaba is Whisking, Combine all of the Gluten-Free All-Purpose Flour (3 cups), Xanthan Gum (1/2 tsp), Baking Powder (4 Tbsp), and Salt (1 tsp) together in small bowl.
step 5
Add in the proofed Yeast Mix to the stand mixer bowl.
step 6
Add Dry Mix ingredients in mixer bowl with yeast. Using the paddle attachment, begin to slowly mix while adding in the Olive Oil (4 Tbsp), then Apple Cider Vinegar (2 tsp).
step 7
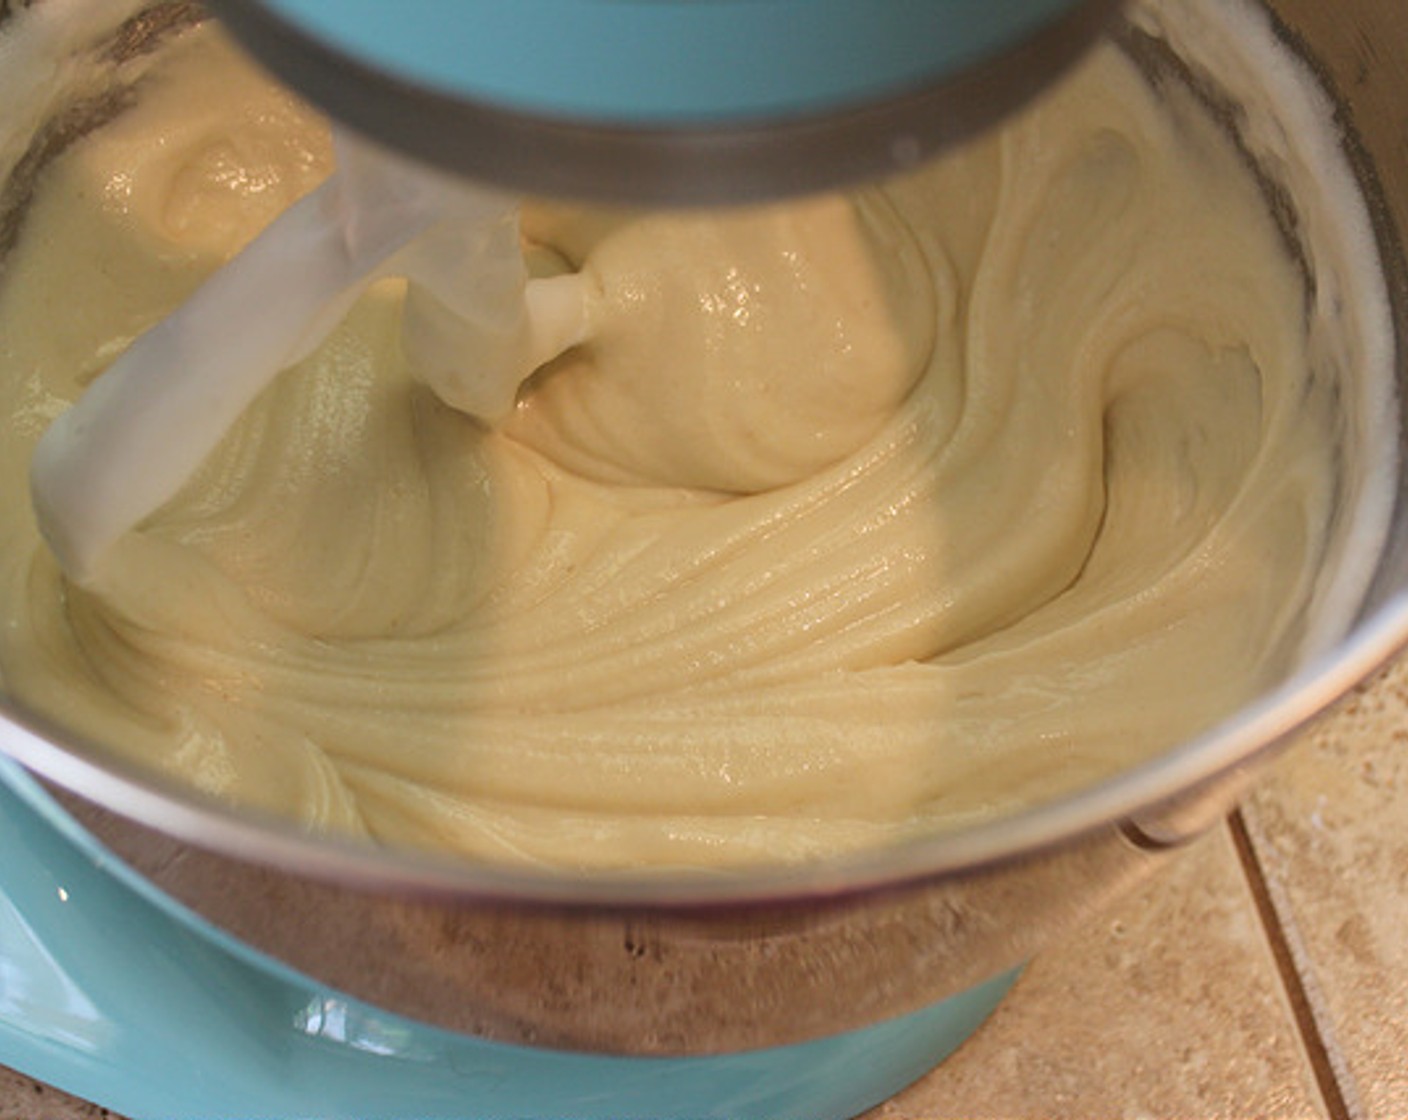
Mix well on Medium-High for 2-3 minutes until dough is smooth, but wet & sticky.
step 8
Stop mixer and add in Aquafaba Fluff.
step 9
Mix gently on low speed until dough is well combined for approx. 30 seconds or less. Do not over beat. Mixture will be thick yet somewhat runny like cake batter.
step 10
Spray or Grease your 9×5 Loaf Pan.
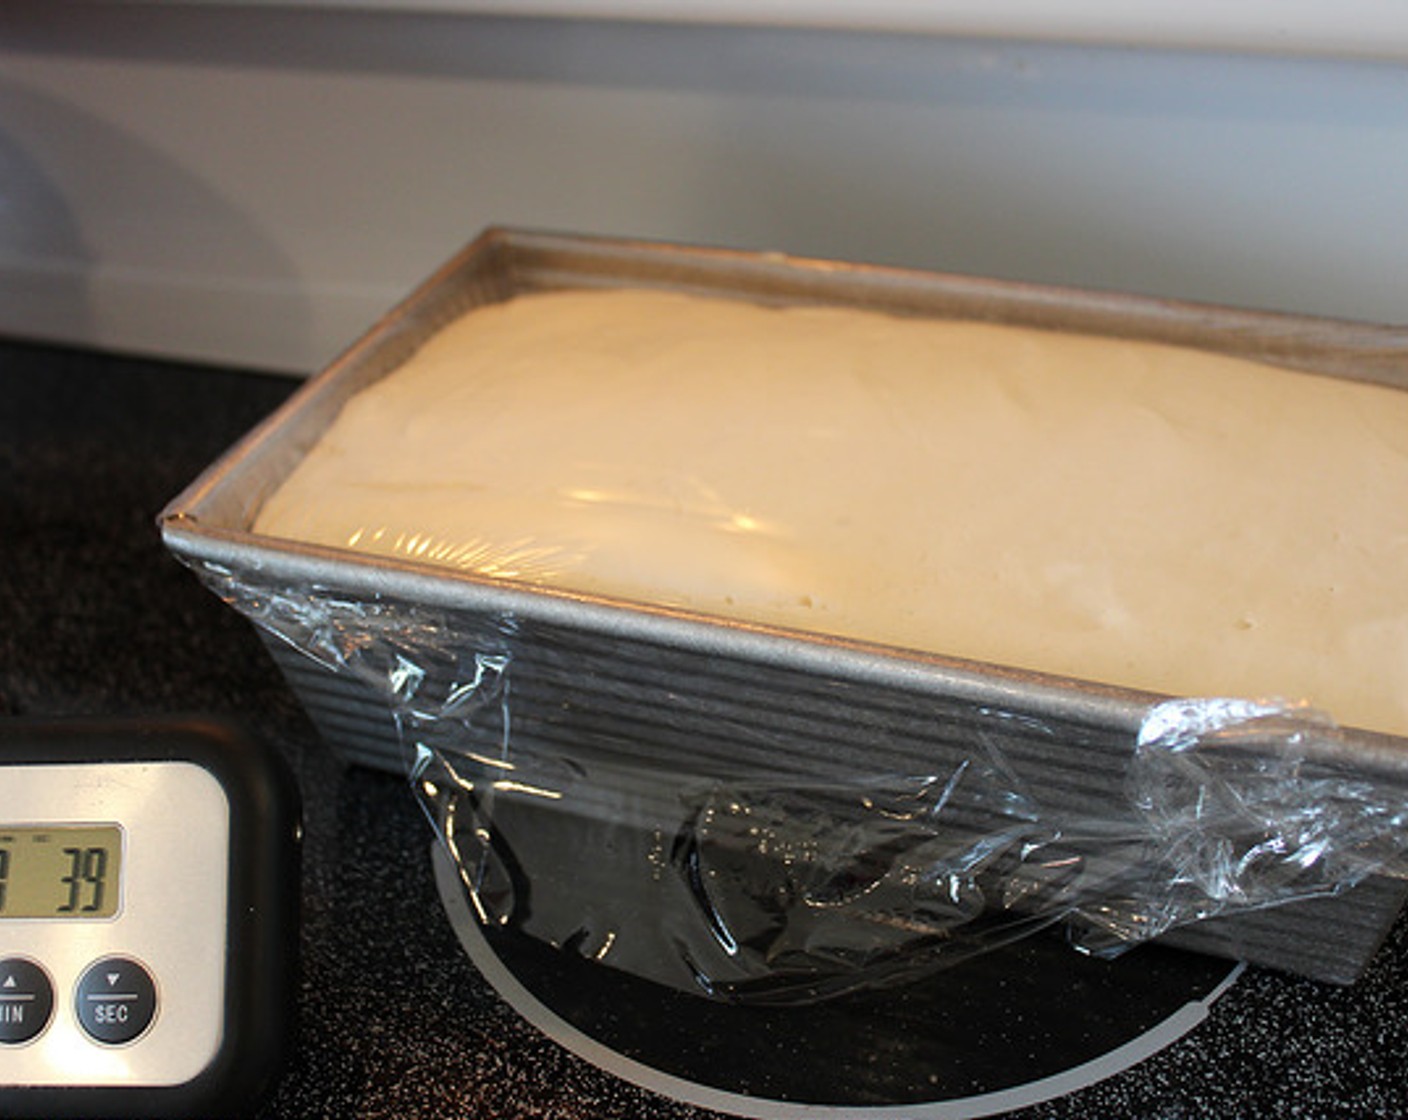
step 11
Using a spatula, scrape the bread mixture into your prepared loaf pan and cover with plastic wrap. Set pan on top of your warm stove to proof while the oven is preheating.
step 12
Preheat your oven to 375 degrees F (190 degrees C).
step 13
It is important not to over-proof the bread – just let it rise approx. 20-30 minutes, depending on your room temperature. Don’t let it rise above your loaf pan.
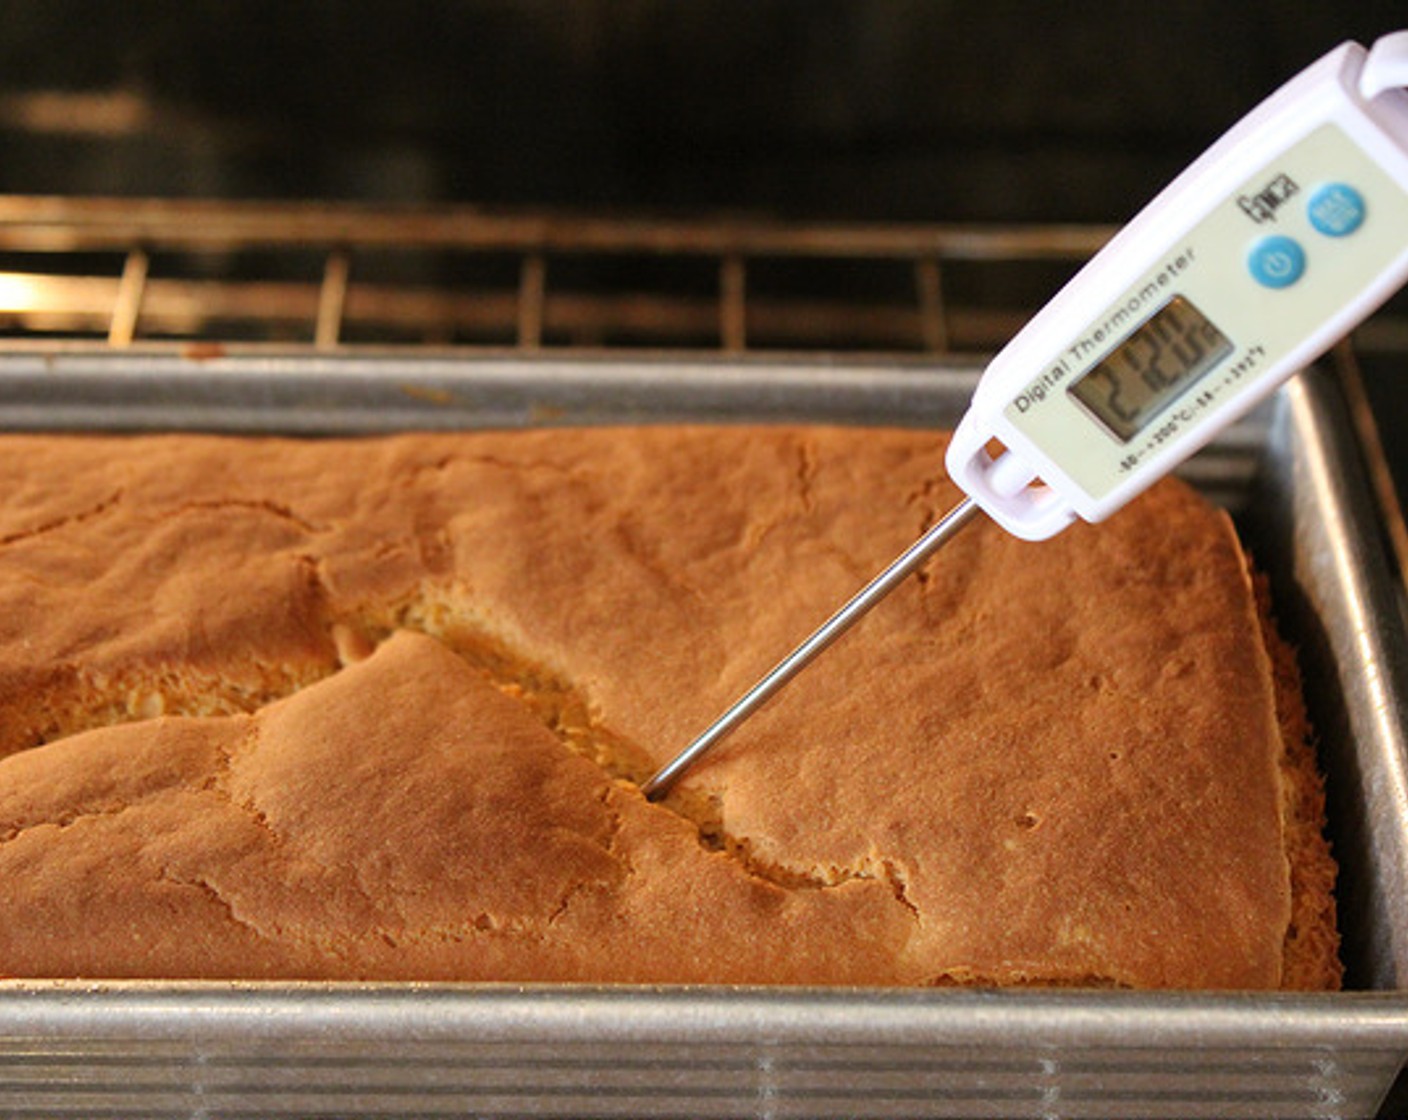
step 14
Bake for approx. 50-60 minutes. If the crust is darkening too quickly, you can cover it with foil with tent open ended and return to baking until done.
step 15
Loaf may initially rise much larger than the pan, and shrink back a bit… that’s ok, just be sure it is completely cooked before removing from the oven.
step 16
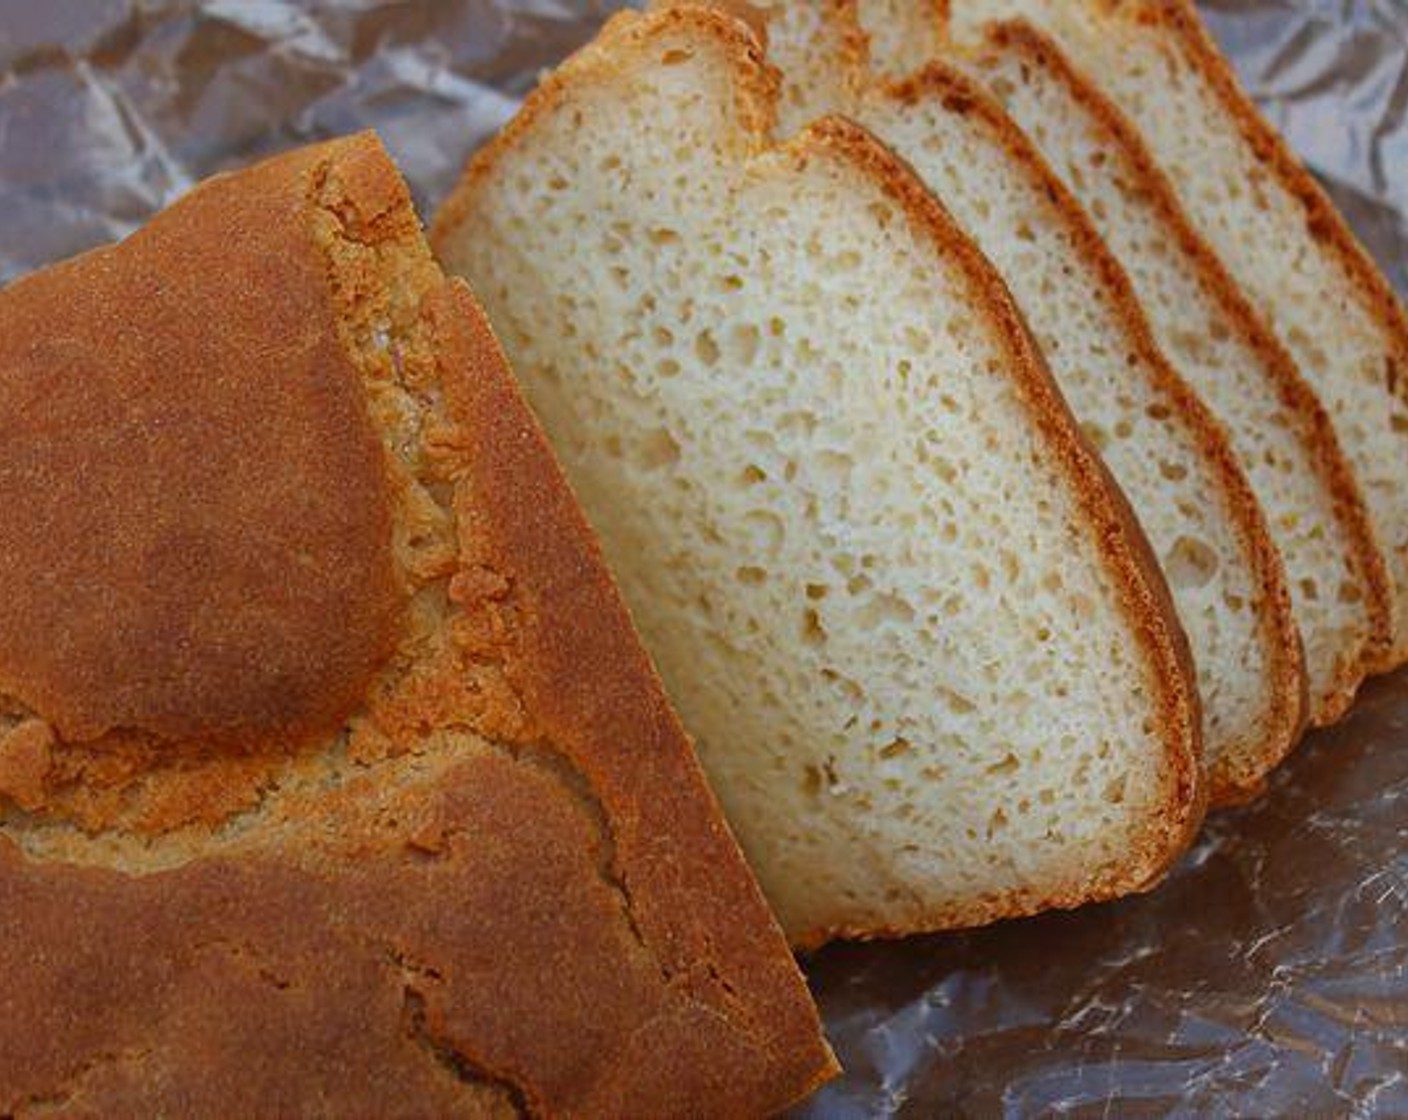
Remove loaf pan from oven and let cool for 1-2 minutes before turning out onto your cooling rack. Allow to cool completely before attempting to cut into slices.