Use code TRIPLE10 to save $10 on your first three grocery orders.
SideChef
Recipes
My Mother's Peasant Bread

6 INGREDIENTS • 12 STEPS • 2HRS 40MINS

My Mother's Peasant Bread

Recipe
5.0
5 ratings
This is a no-knead bread that can be started at 4:00pm and turned out onto the dinner table at 7:00pm. It is not artisan bread, and it’s not trying to be. It is peasant bread, spongy and moist with a most-delectable buttery crust.
Love This Recipe?
Add to plan
logo
My Mother's Peasant Bread
Save
author_avatar
Alexandra's Kitchen
Alexandra Stafford is the blogger behind Alexandra's Kitchen, a food blog featuring mostly simple, sometimes fussy but always seasonal recipes.
http://www.alexandracooks.com/
This is a no-knead bread that can be started at 4:00pm and turned out onto the dinner table at 7:00pm. It is not artisan bread, and it’s not trying to be. It is peasant bread, spongy and moist with a most-delectable buttery crust.
2HRS 40MINS
Total Time
$0.61
Cost Per Serving
Ingredients
Servings
8
us / metric
Water
2 cups
Warm Water
Butter
2 Tbsp
Butter, room temperature
Nutrition Per Serving
VIEW ALL
Calories
241
Fat
3.1 g
Protein
6.6 g
Carbs
47.2 g
Love This Recipe?
Add to plan
logo
My Mother's Peasant Bread
Save
author_avatar
Alexandra's Kitchen
Alexandra Stafford is the blogger behind Alexandra's Kitchen, a food blog featuring mostly simple, sometimes fussy but always seasonal recipes.
http://www.alexandracooks.com/
Cooking InstructionsHide images
step 1
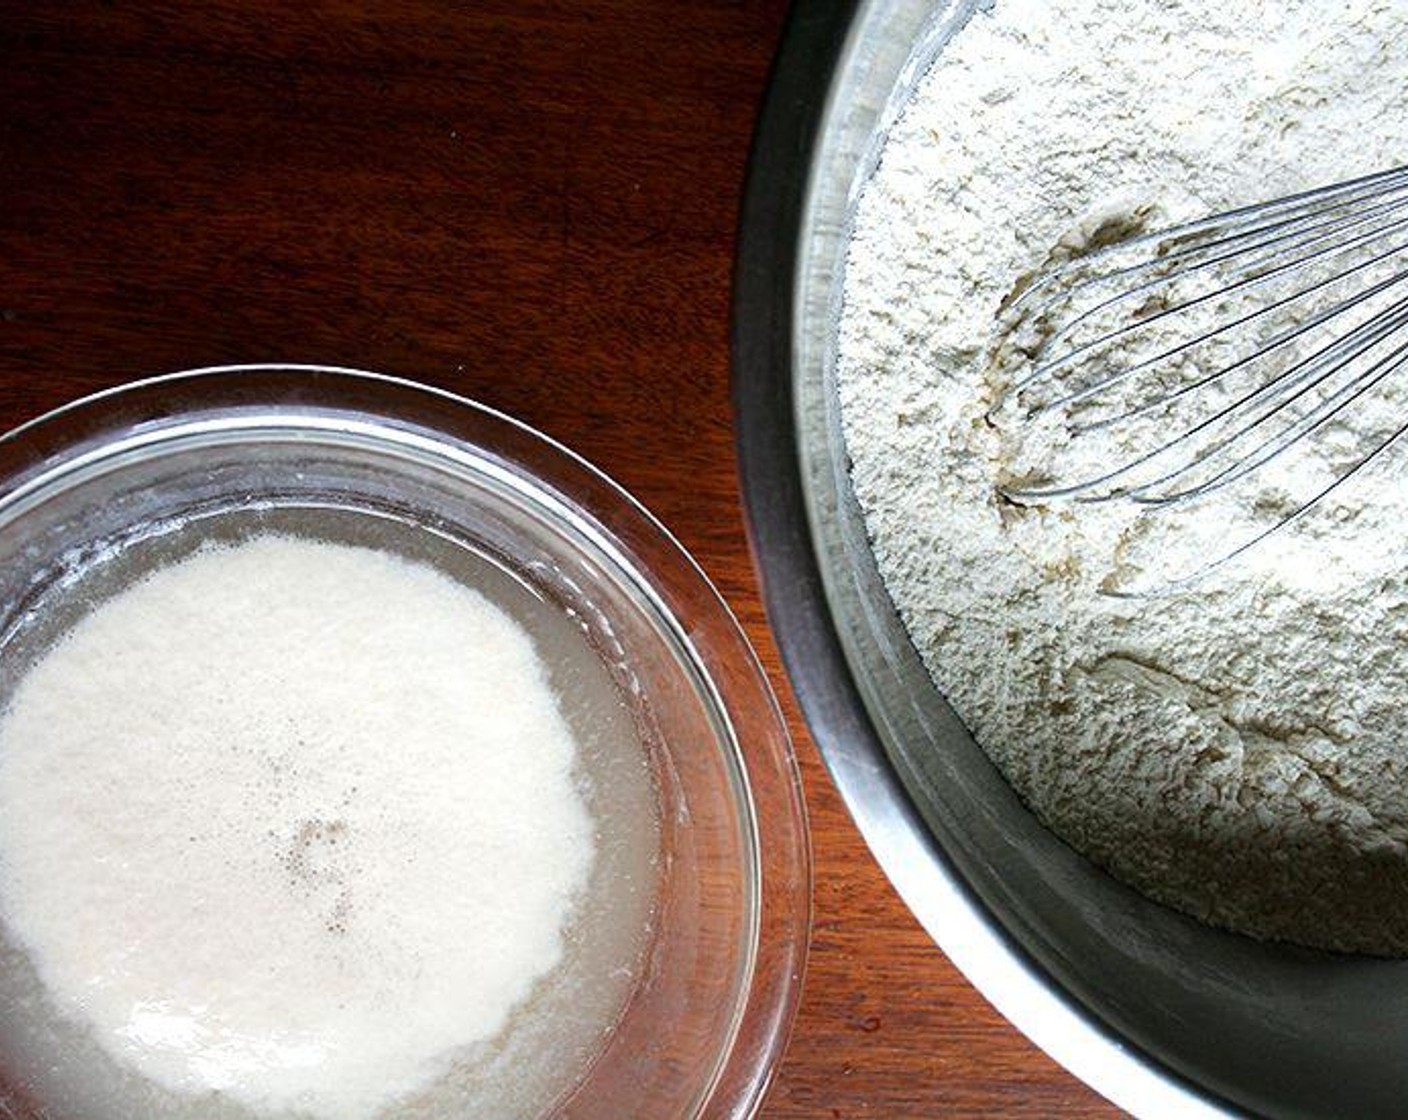
In a large mixing bowl, whisk together the Unbleached All Purpose Flour (4 cups), Kosher Salt (2 tsp), Granulated Sugar (2 tsp), and Instant Dry Yeast (2 tsp).
step 1 In a large mixing bowl, whisk together the Unbleached All Purpose Flour (4 cups), Kosher Salt (2 tsp), Granulated Sugar (2 tsp), and Instant Dry Yeast (2 tsp).
step 2
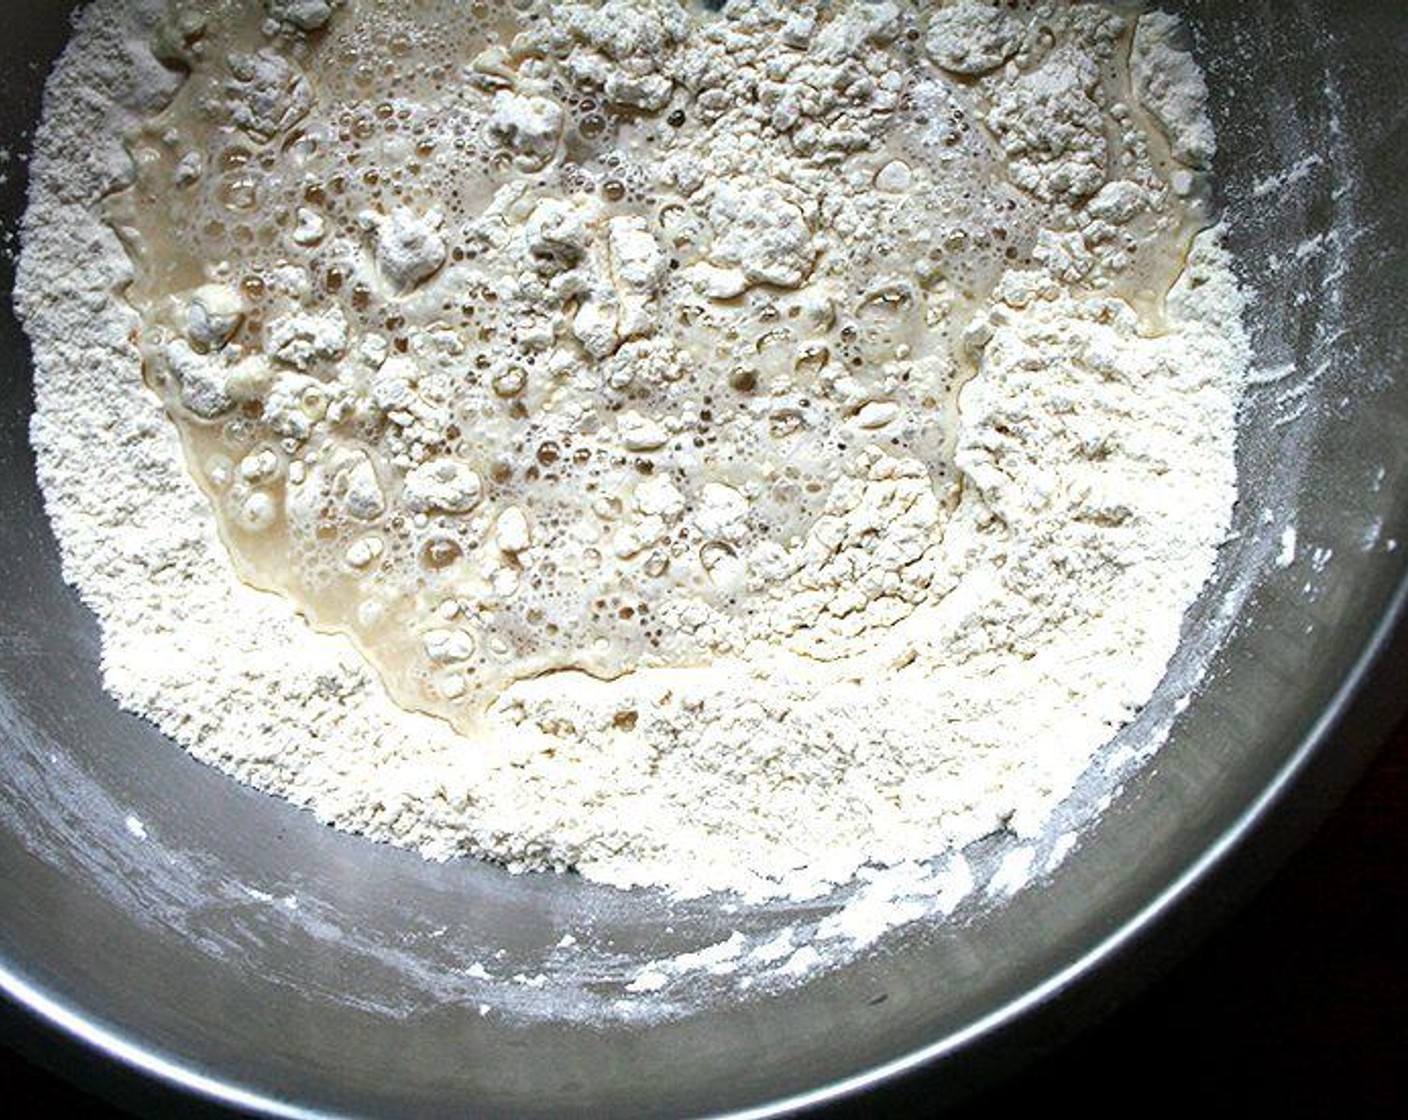
Add the Water (2 cups).
step 2 Add the Water (2 cups).
step 3
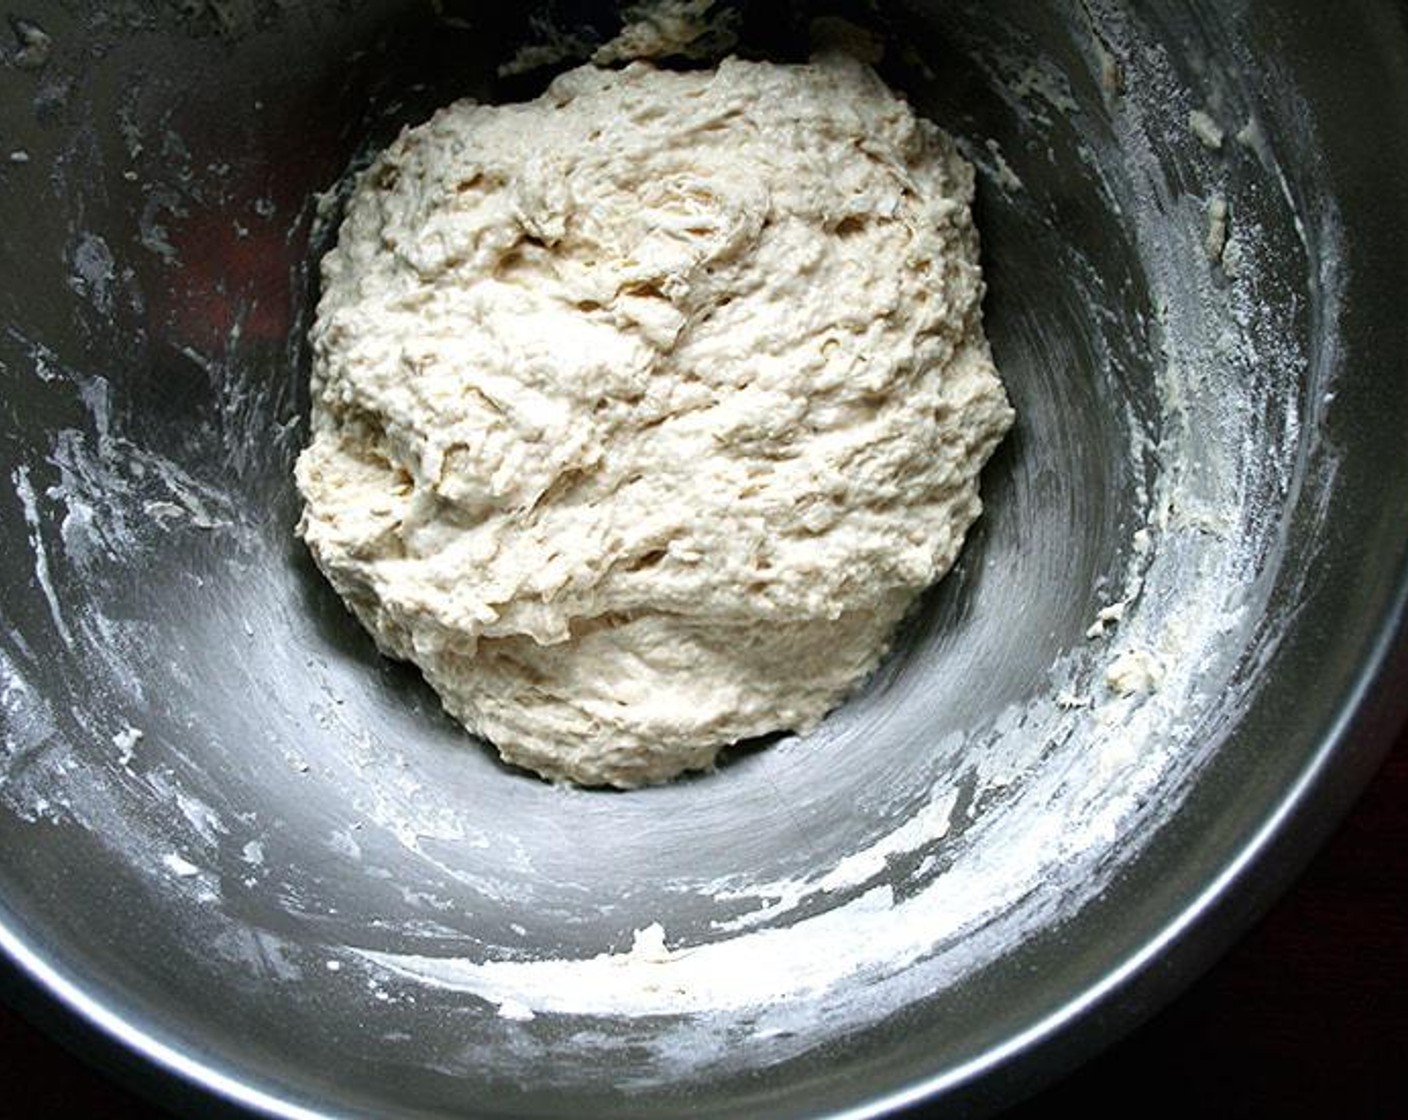
Mix until the flour is absorbed.
step 3 Mix until the flour is absorbed.
step 4
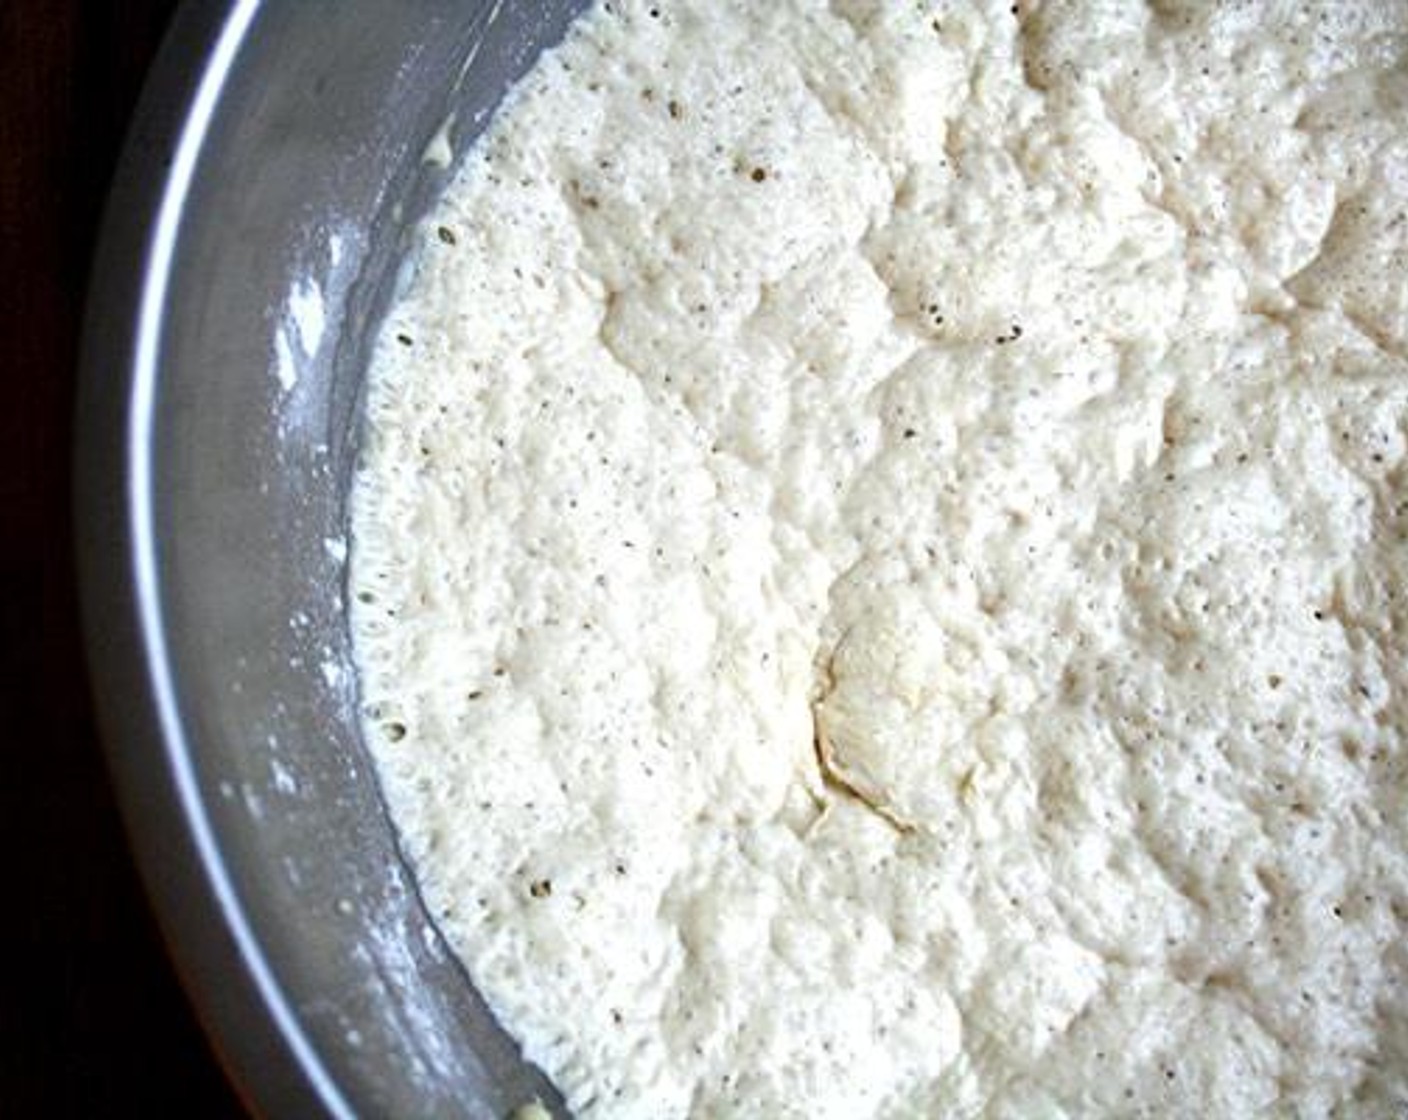
Cover bowl with a tea towel or plastic wrap and set aside in a warm spot to rise for at least an hour.
step 4 Cover bowl with a tea towel or plastic wrap and set aside in a warm spot to rise for at least an hour.
step 5
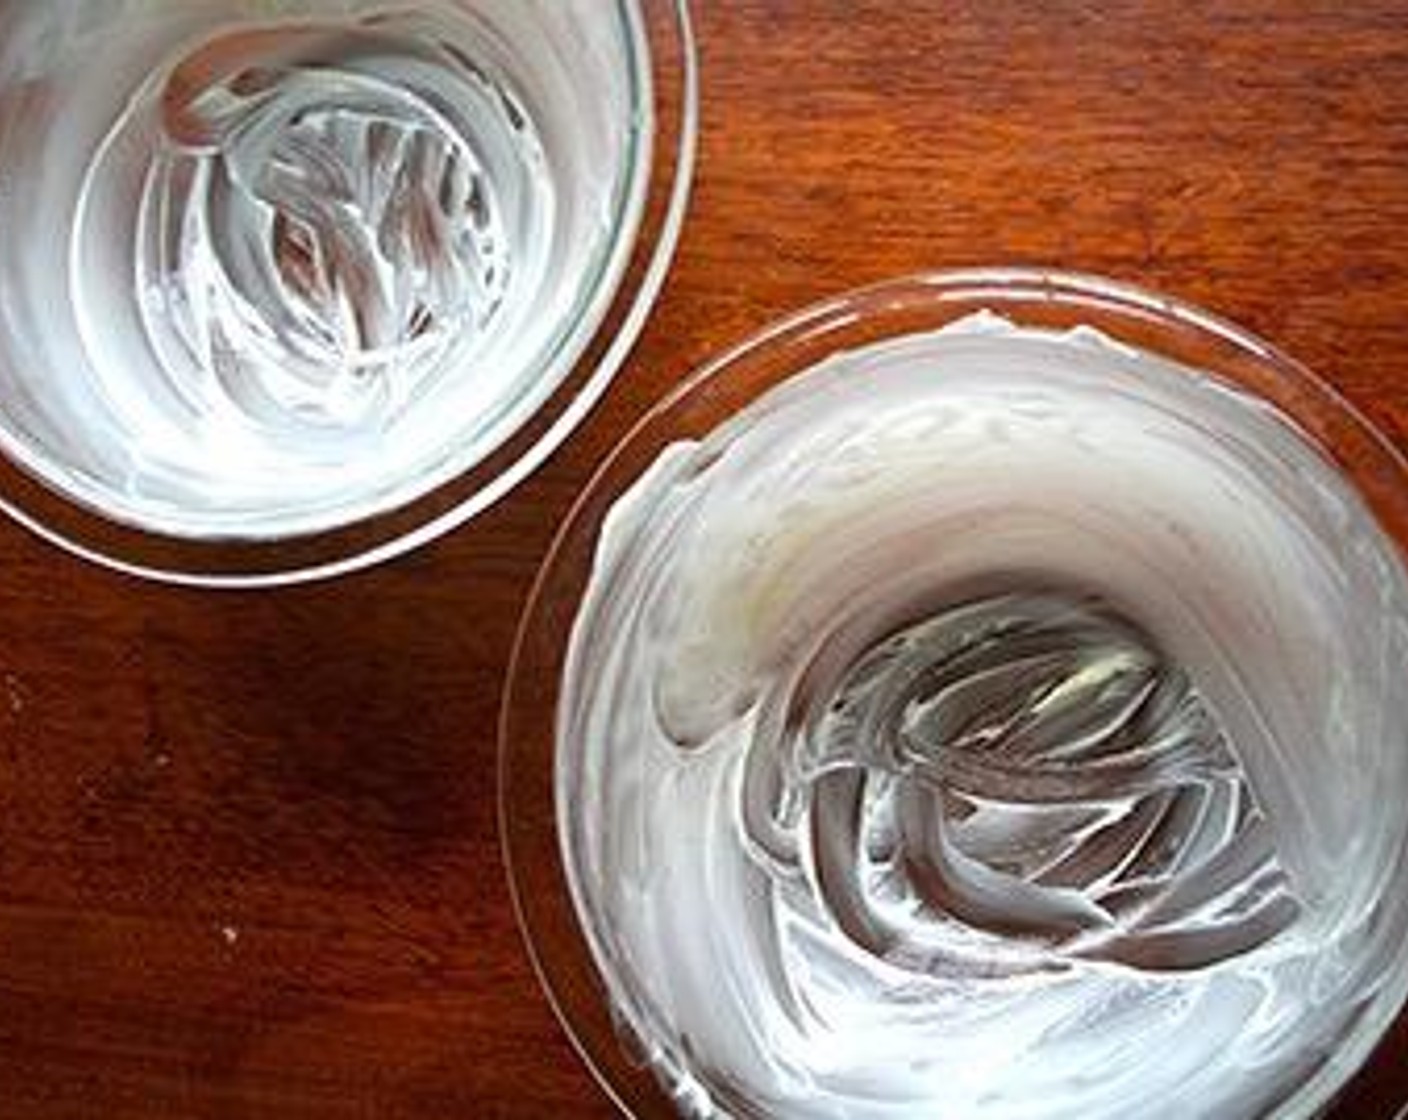
Preheat the oven to 425 degrees F (220 degrees F). Grease two oven-safe bowls with Butter (2 Tbsp).
step 5 Preheat the oven to 425 degrees F (220 degrees F). Grease two oven-safe bowls with Butter (2 Tbsp).
step 6
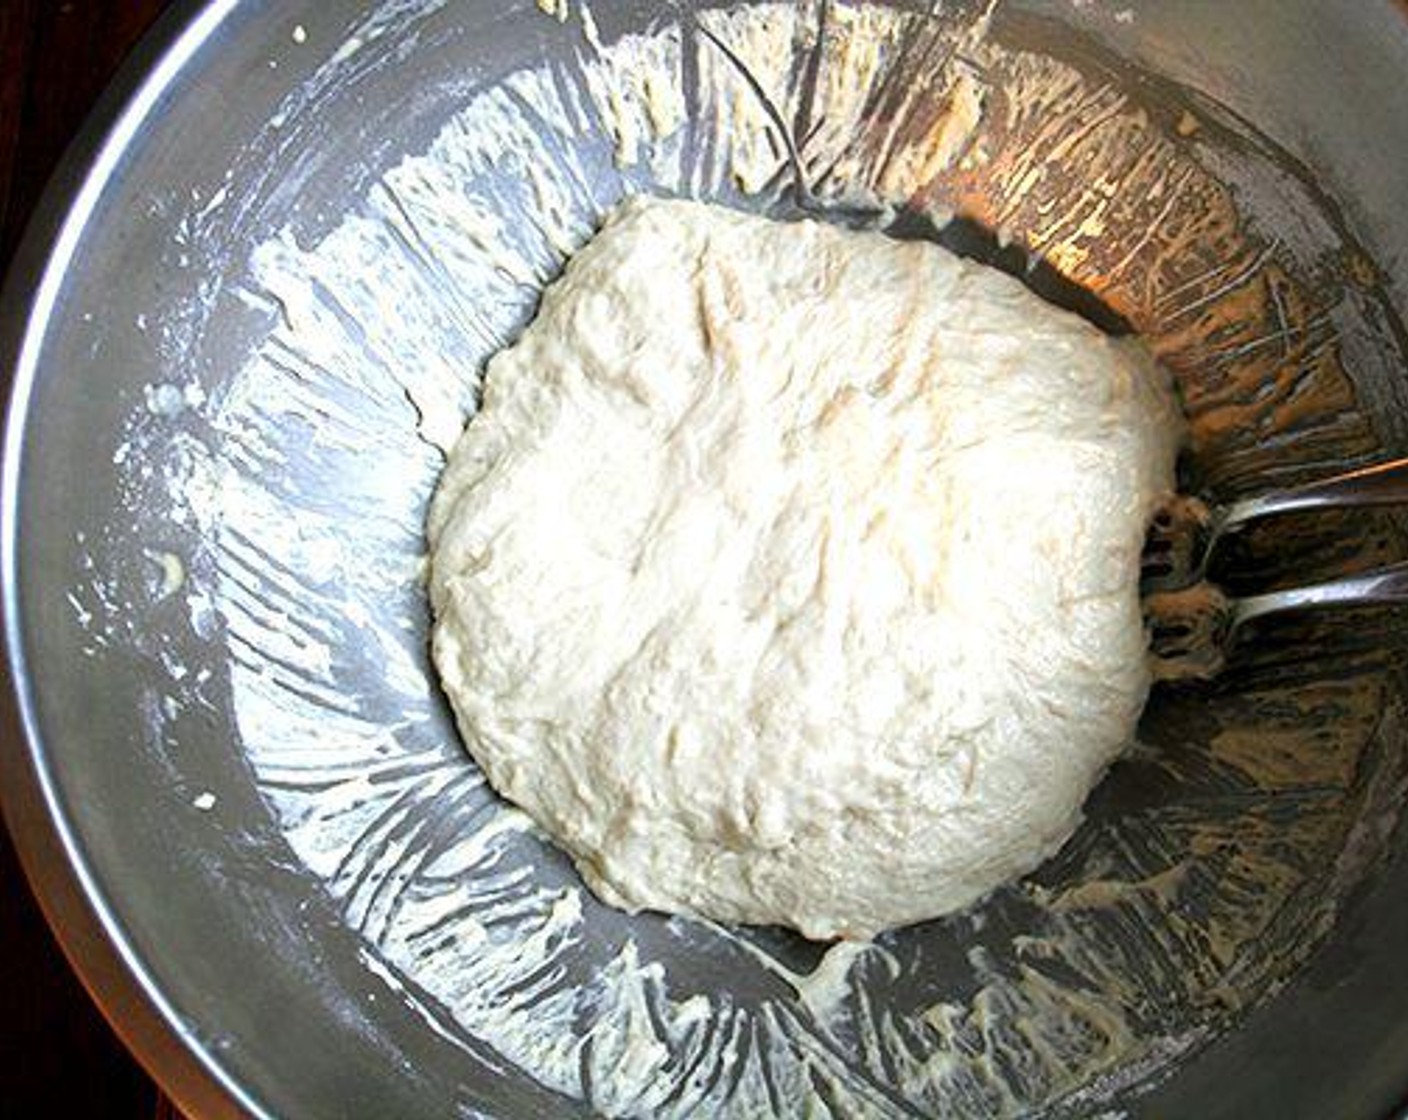
Using two forks, punch down your dough, scraping it from the sides of the bowl, which it will be clinging to. You want to loosen the dough entirely from the sides of the bowl, and you want to make sure you've punched it down.
step 6 Using two forks, punch down your dough, scraping it from the sides of the bowl, which it will be clinging to. You want to loosen the dough entirely from the sides of the bowl, and you want to make sure you've punched it down.
step 7
Then, take your two forks and divide the dough into two equal portions. To do so, eye the center of the mass of dough, and starting from the center and working out, pull the dough apart with the two forks. Scoop up each half and place into your prepared bowls.
step 7 Then, take your two forks and divide the dough into two equal portions. To do so, eye the center of the mass of dough, and starting from the center and working out, pull the dough apart with the two forks. Scoop up each half and place into your prepared bowls.
step 8
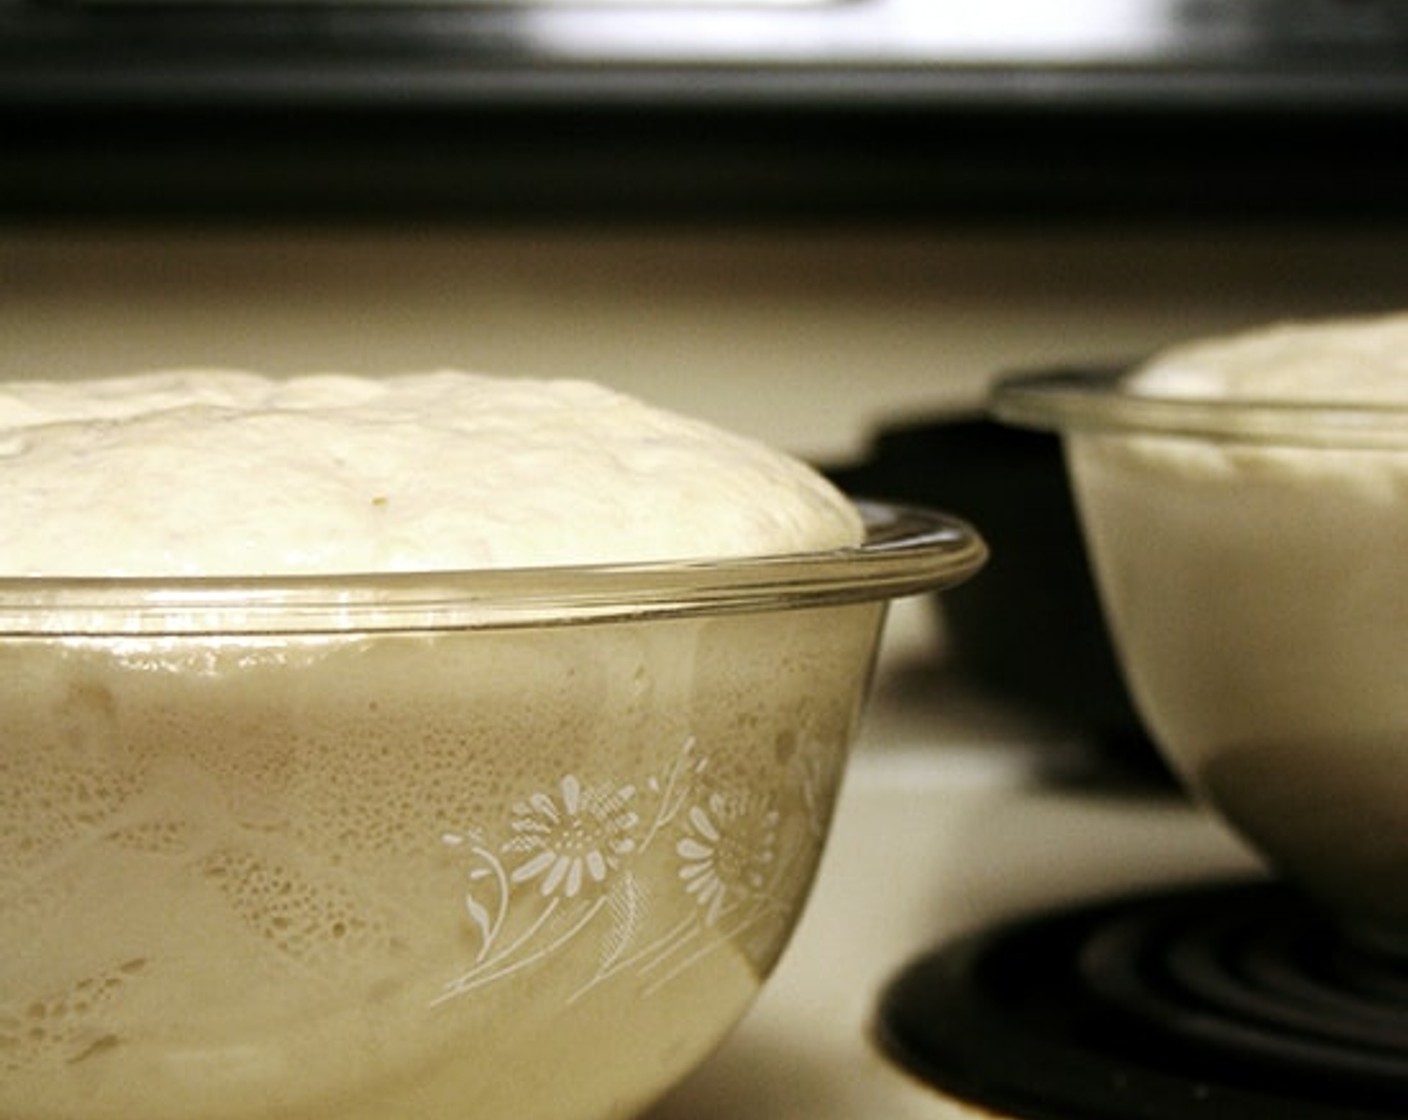
Let the dough rise for about 20-30 minutes on the countertop near the oven, or near a warm spot, until it has risen to just below or above the top of the bowls.
step 8 Let the dough rise for about 20-30 minutes on the countertop near the oven, or near a warm spot, until it has risen to just below or above the top of the bowls.
step 9
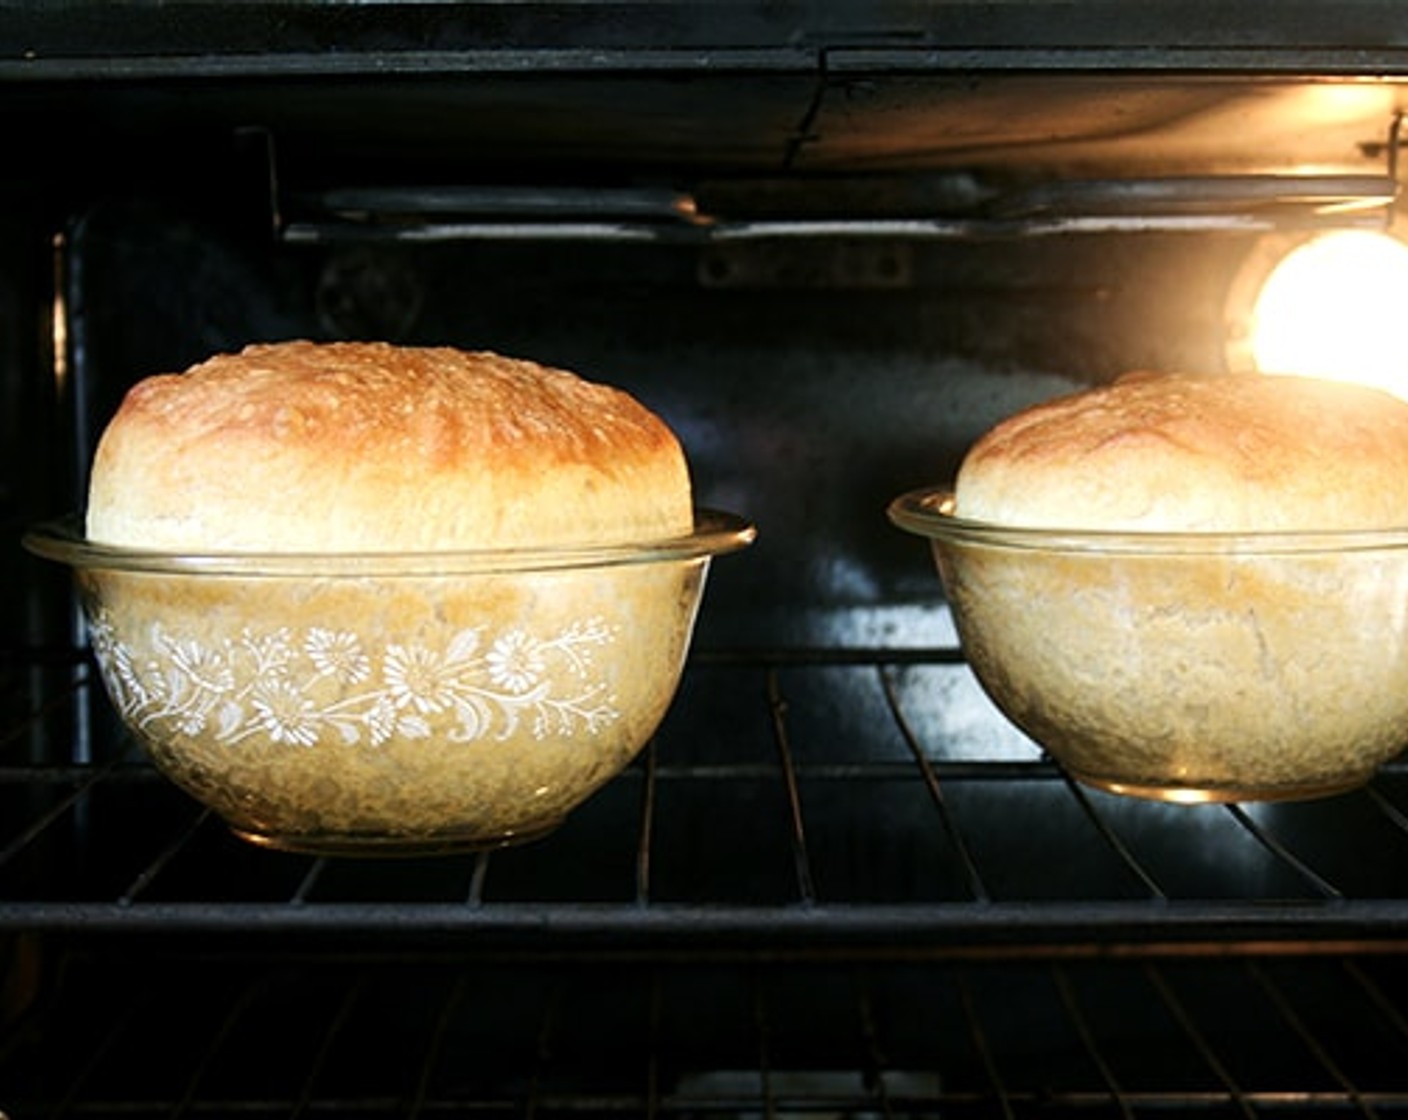
Bake for 15 minutes.
step 9 Bake for 15 minutes.
step 10
Reduce the heat to 375 degrees F (190 degrees F) and bake for 15-17 minutes longer.
step 11
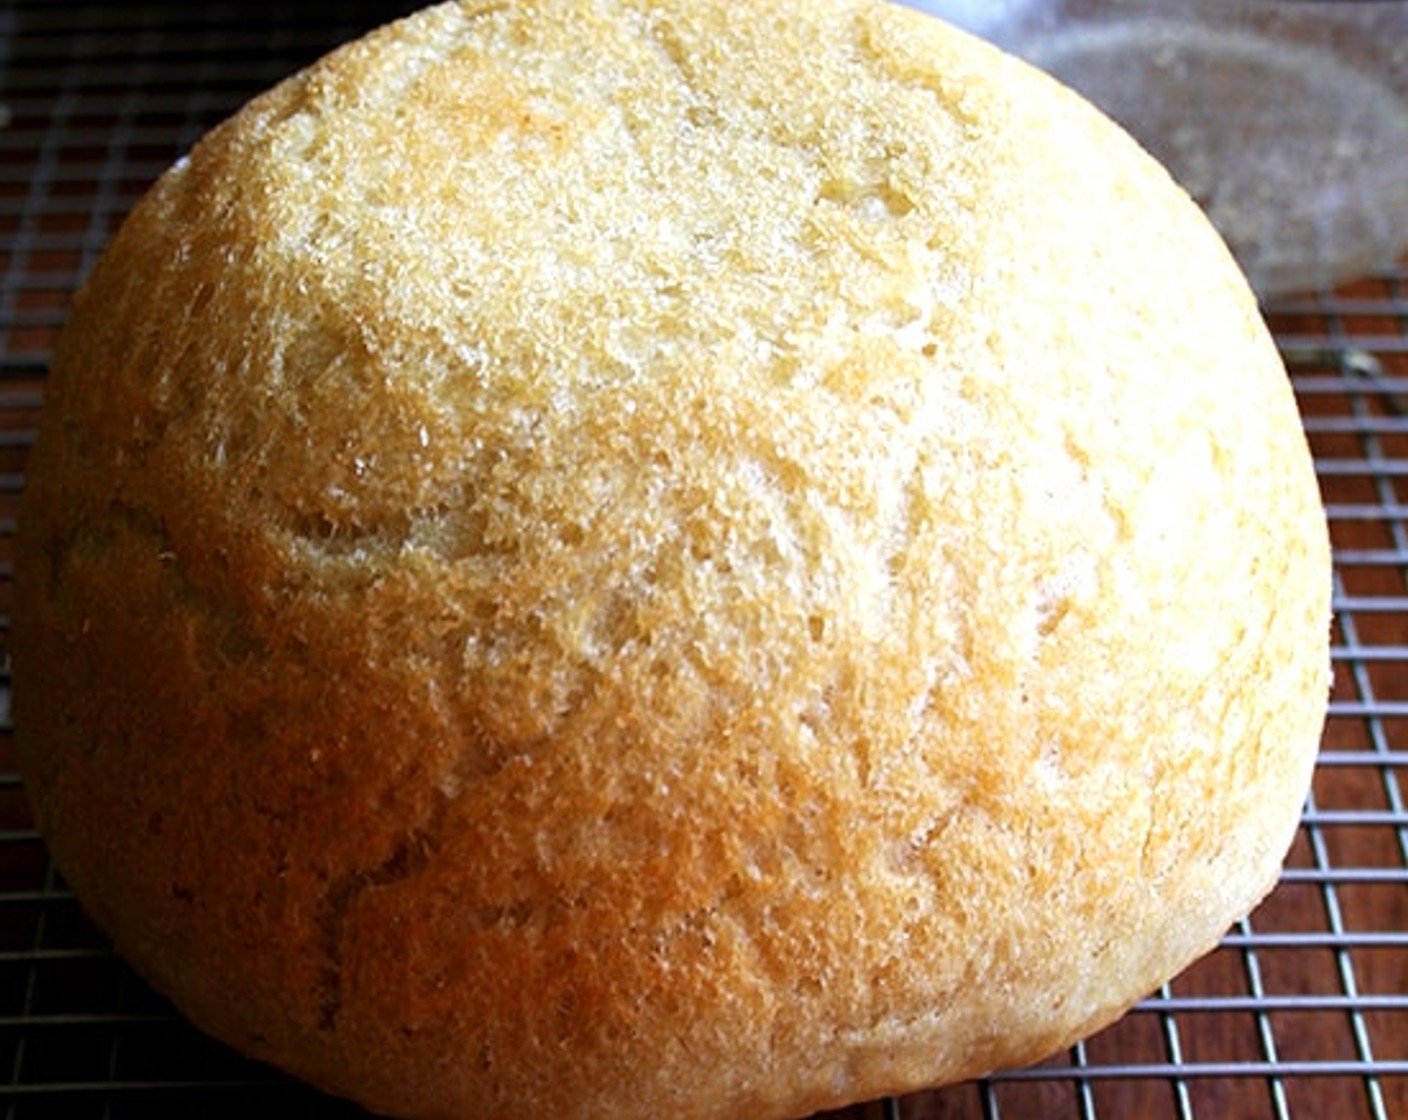
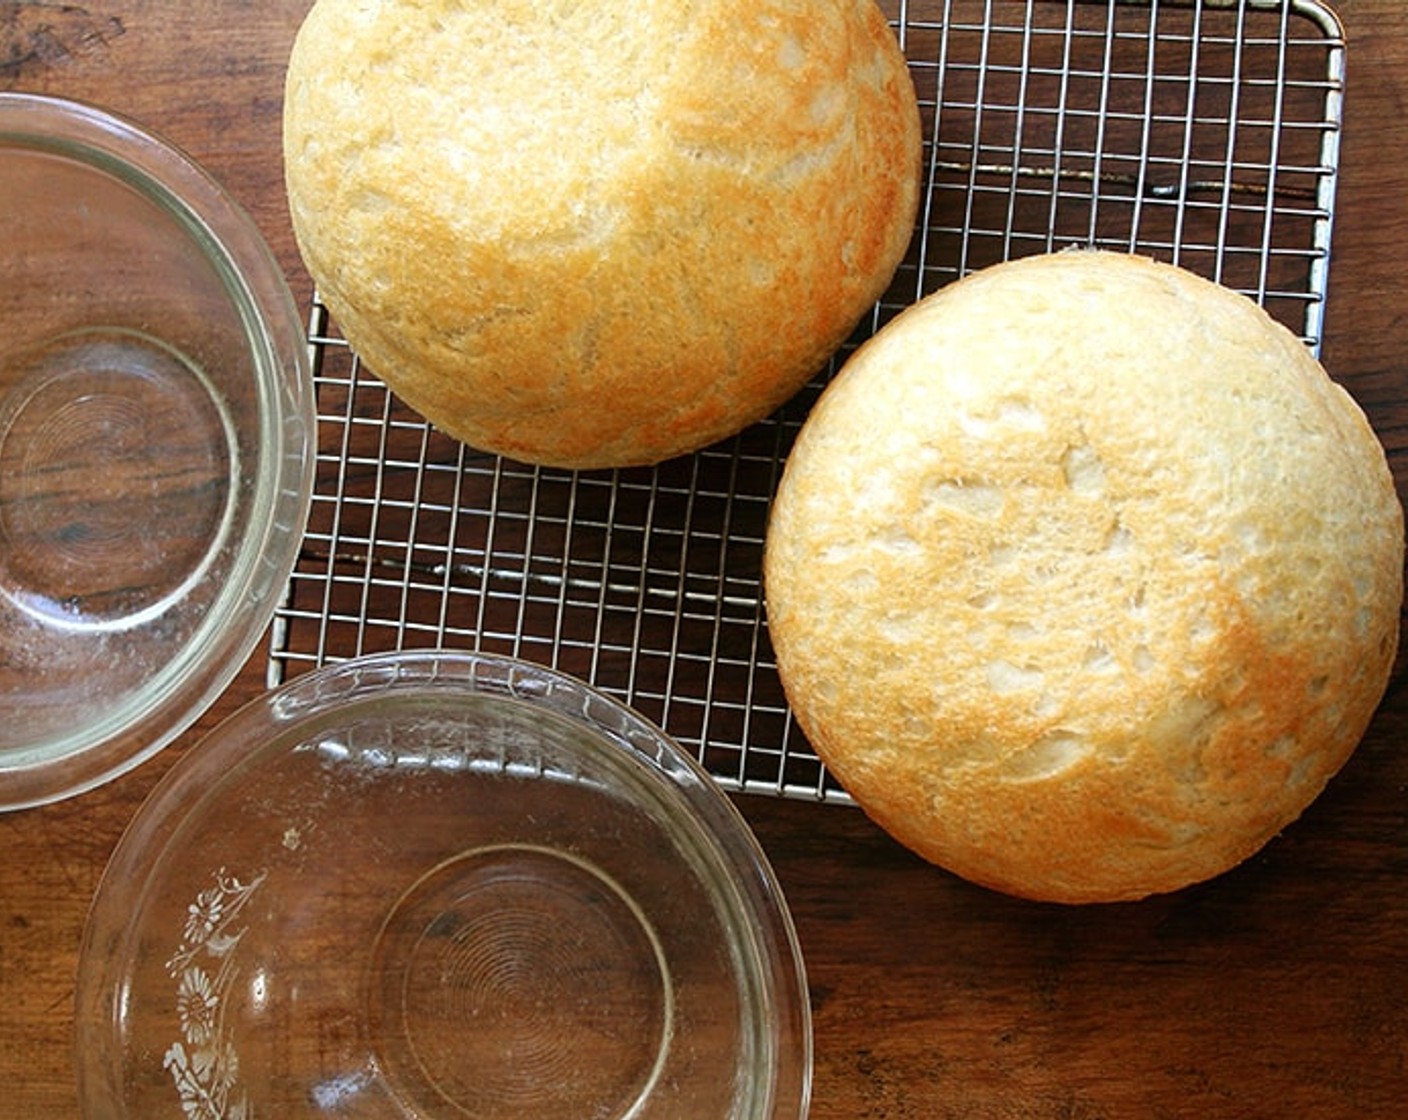
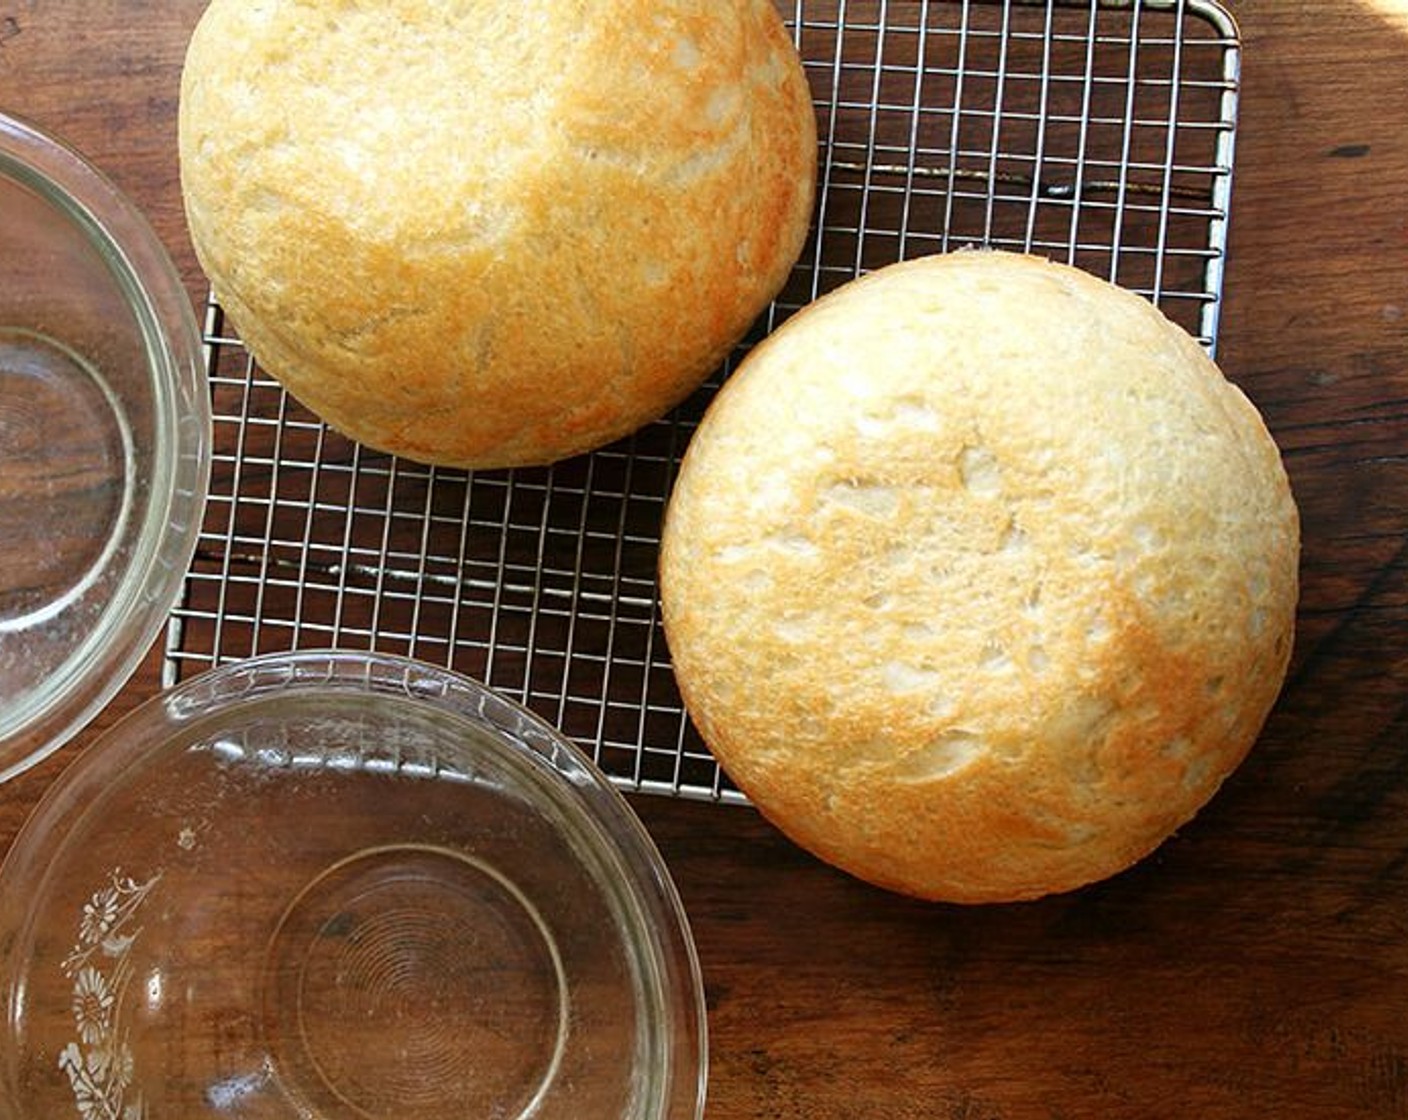
Remove from the oven and turn the loaves onto cooling racks. If the loaves look a little pale and soft when you've turned them out onto your cooling racks, place the loaves into the oven, outside of their bowls, and let them bake for about 5 minutes longer.
step 11 Remove from the oven and turn the loaves onto cooling racks. If the loaves look a little pale and soft when you've turned them out onto your cooling racks, place the loaves into the oven, outside of their bowls, and let them bake for about 5 minutes longer.
step 12
Remove from oven and let cool for 10 minutes before cutting.
step 12 Remove from oven and let cool for 10 minutes before cutting.
Tags
view more tags
Budget-Friendly
Comfort Food
Lunch
Bread
Snack
Shellfish-Free
Dinner
Vegetarian
Mother's Day
0 Saved
top