step 1
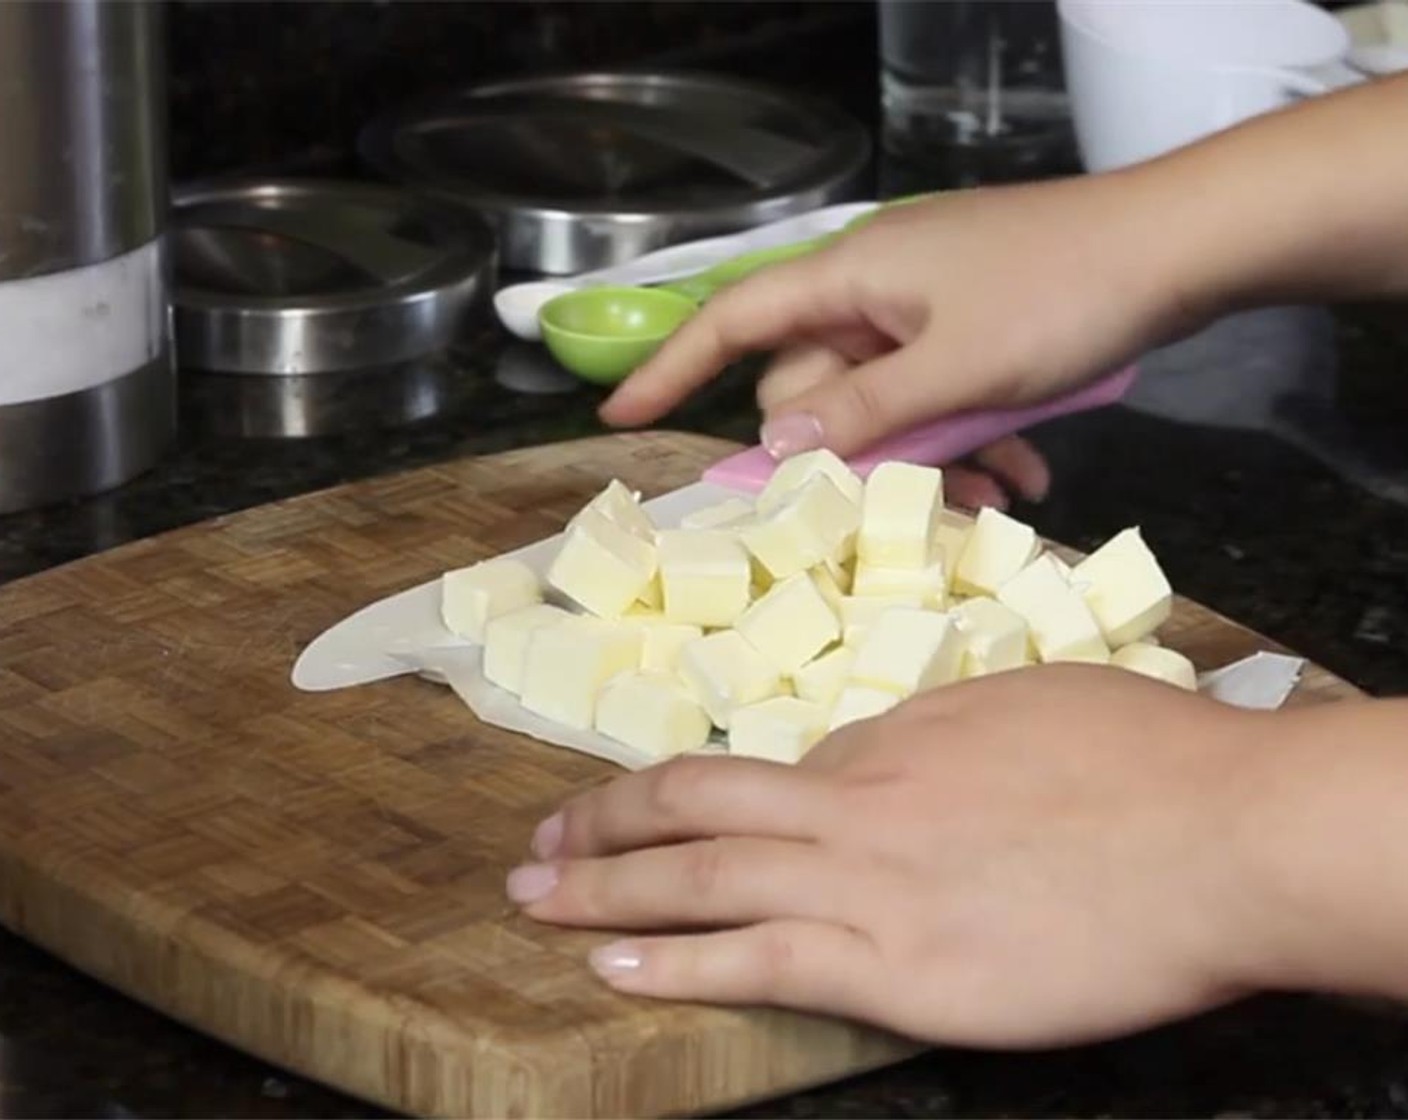
Cube the cold Unsalted Butter (1 cup).
step 2
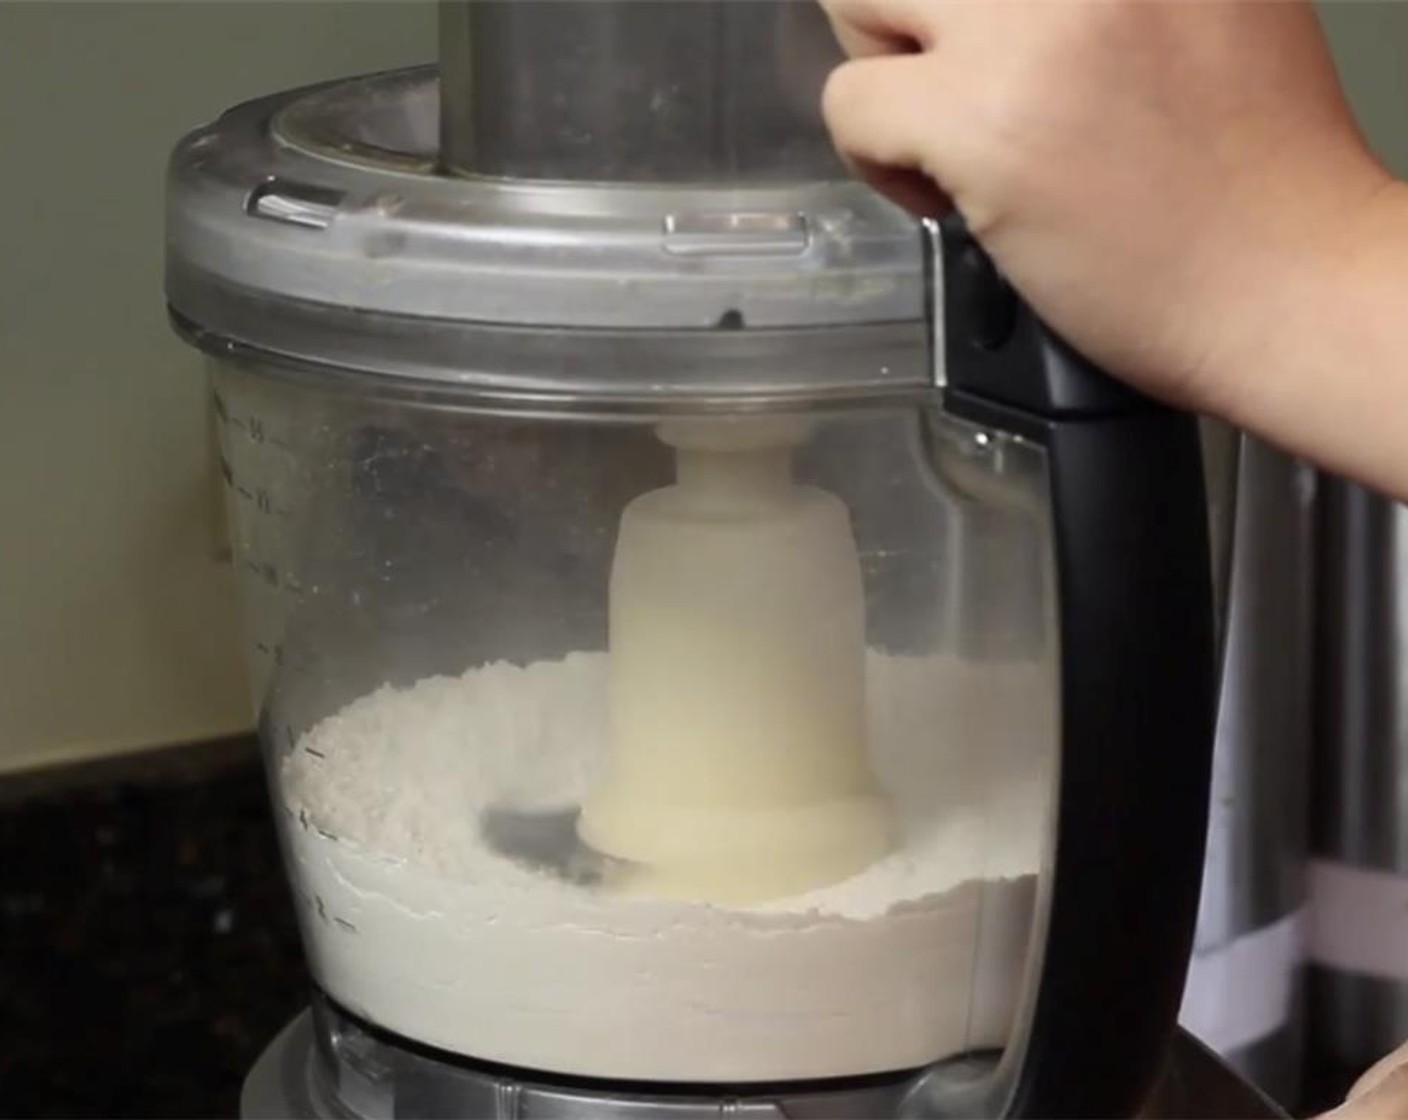
For the crust, put the All-Purpose Flour (2 cups), Kosher Salt (1/2 tsp), and Granulated Sugar (1 Tbsp) in the food processor with the blade attached. Pulse for a few seconds to combine.
step 3
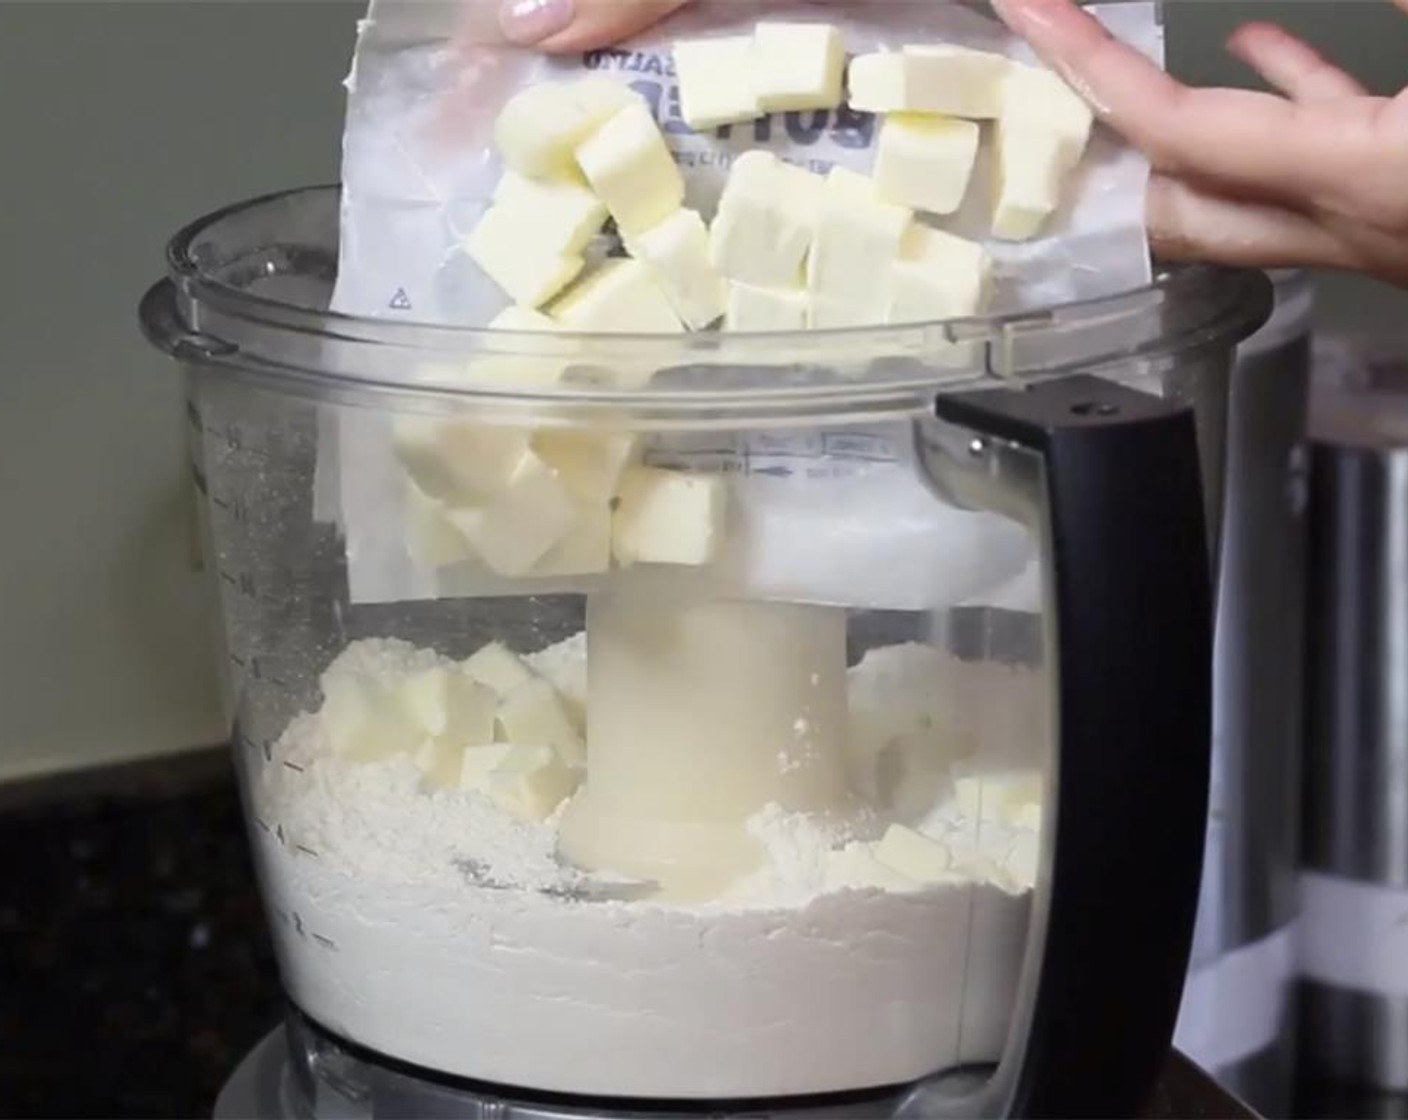
Add the cubed butter into the food processor. Pulse some more, until the butter is in pea-sized pieces.
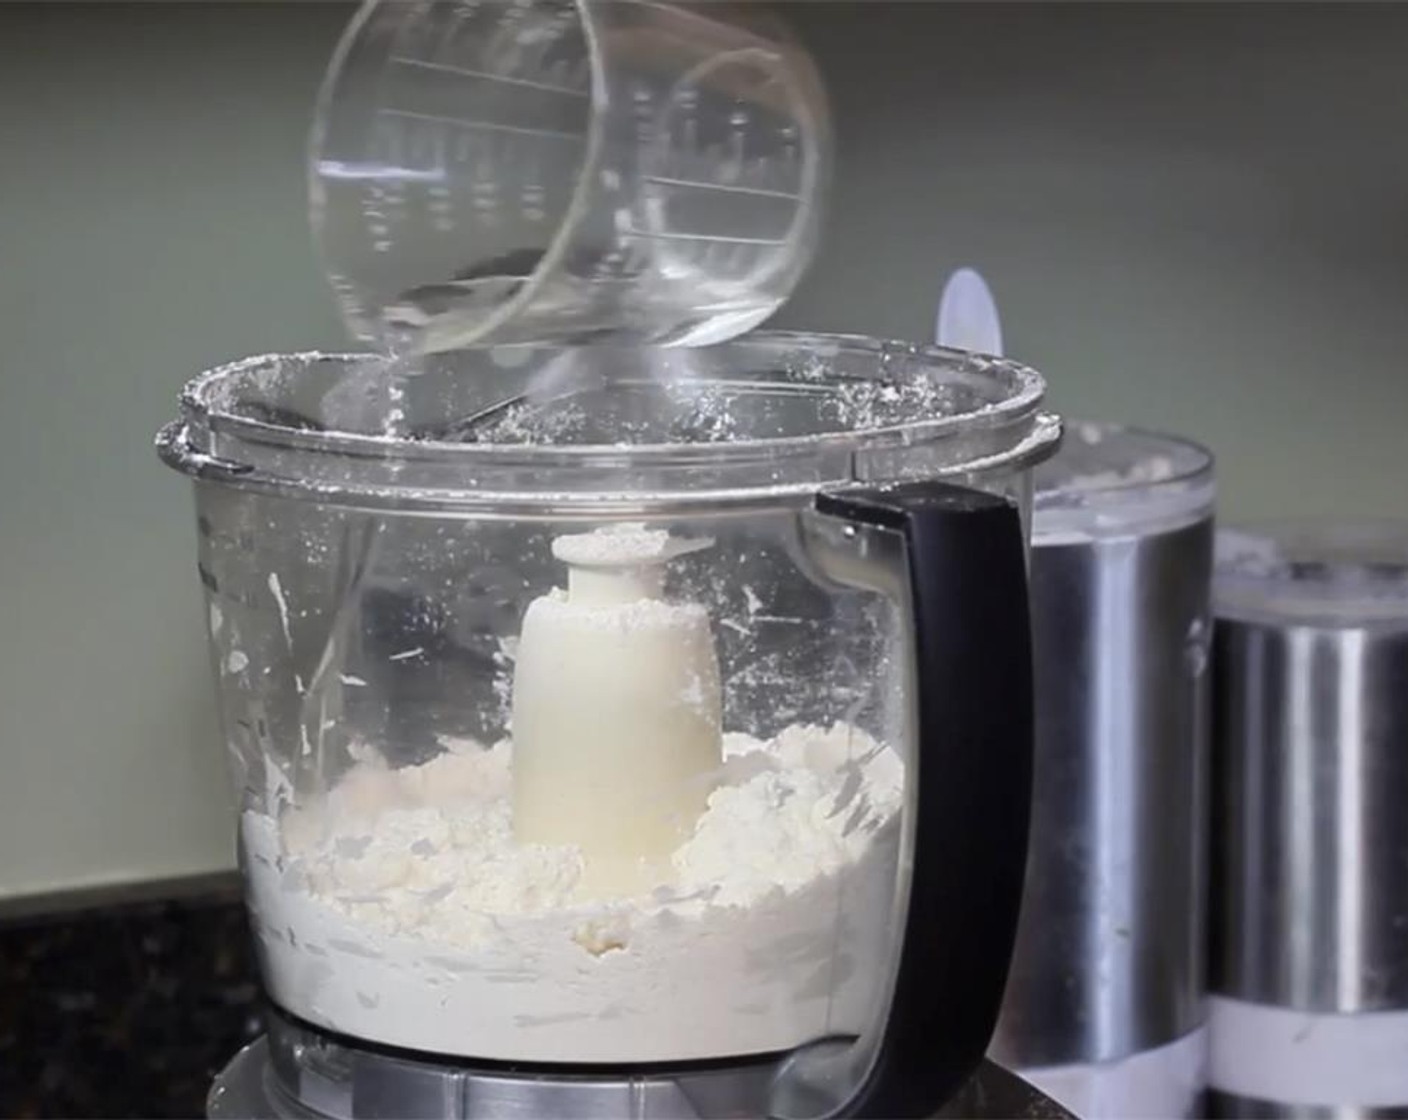
step 4
Start by adding Water (1/3 cup) and pulse just until the dough starts to come together. Then add a little more if you need it (do not exceed ½ cup).
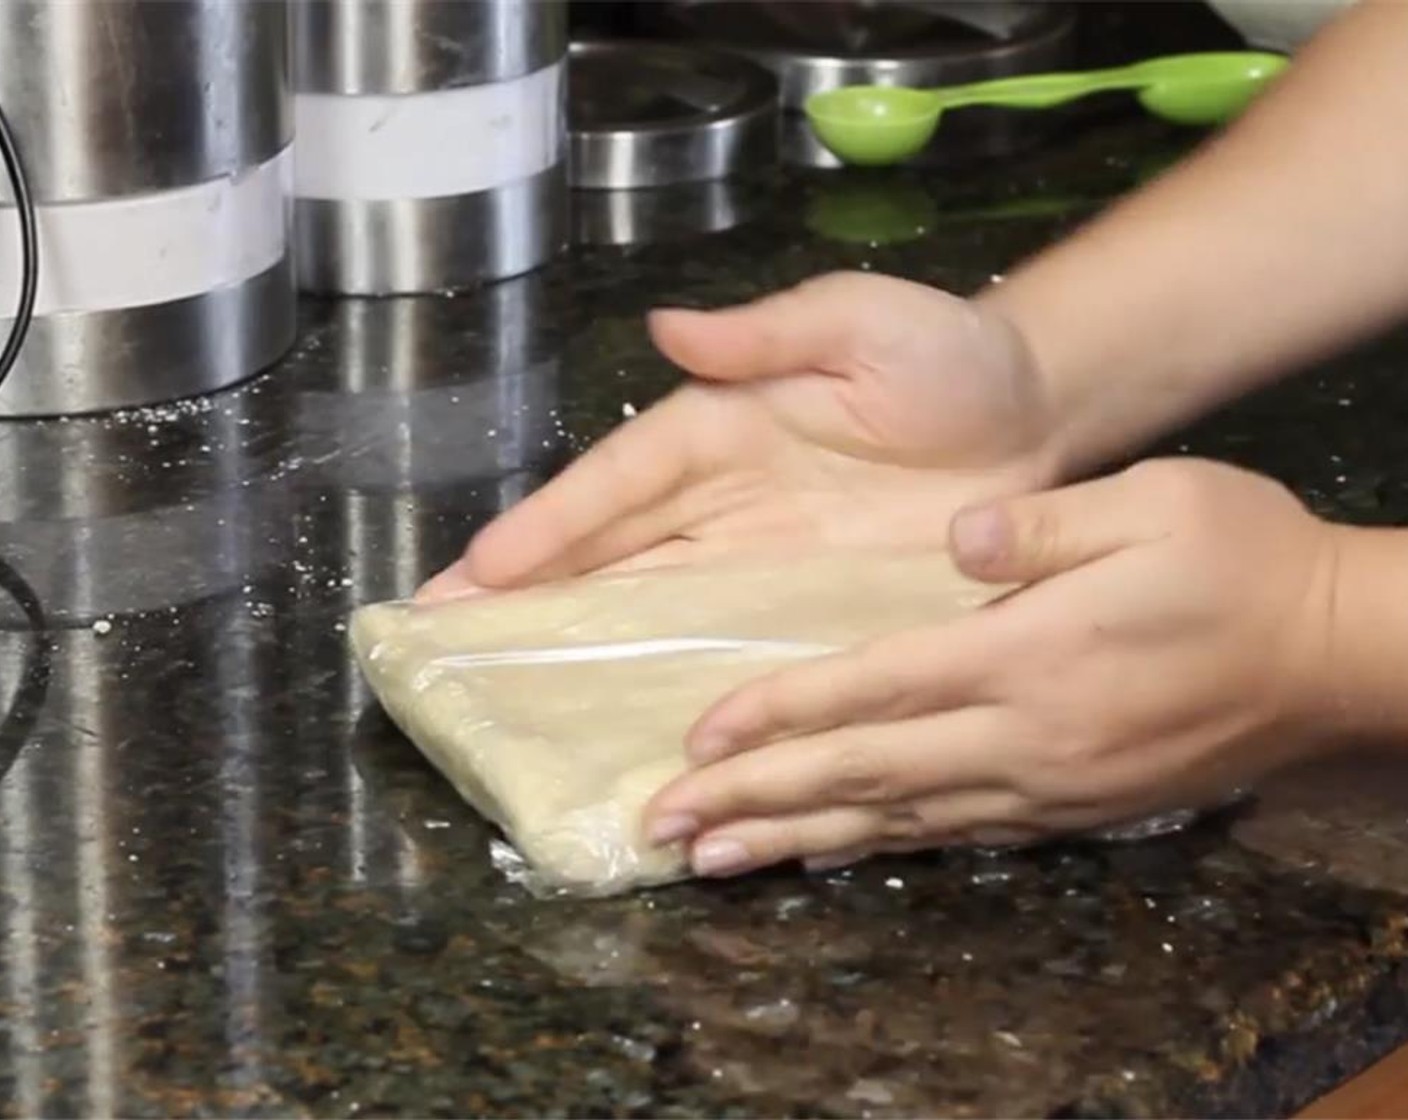
step 5
Dump the crumbly mixture onto a sheet of plastic wrap, and use your hands and the wrap to help you slightly knead it and bring it together.
step 6
Pat it into a rectangular flat disc. Wrap in the plastic and refrigerate for at least 1 hour.
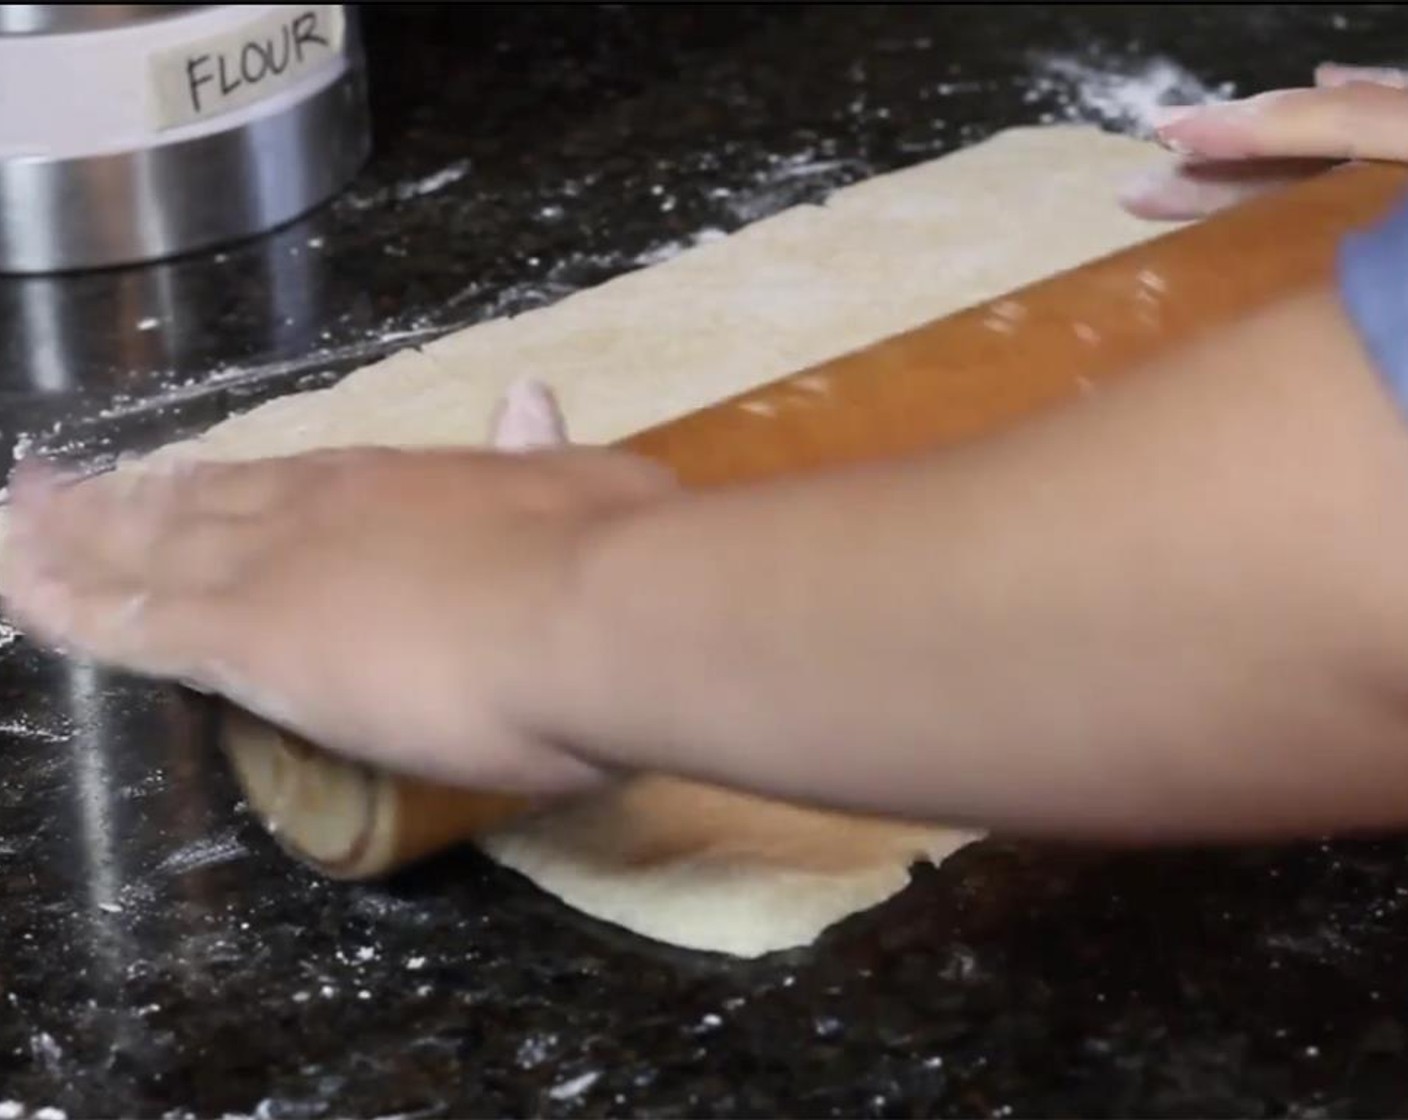
step 7
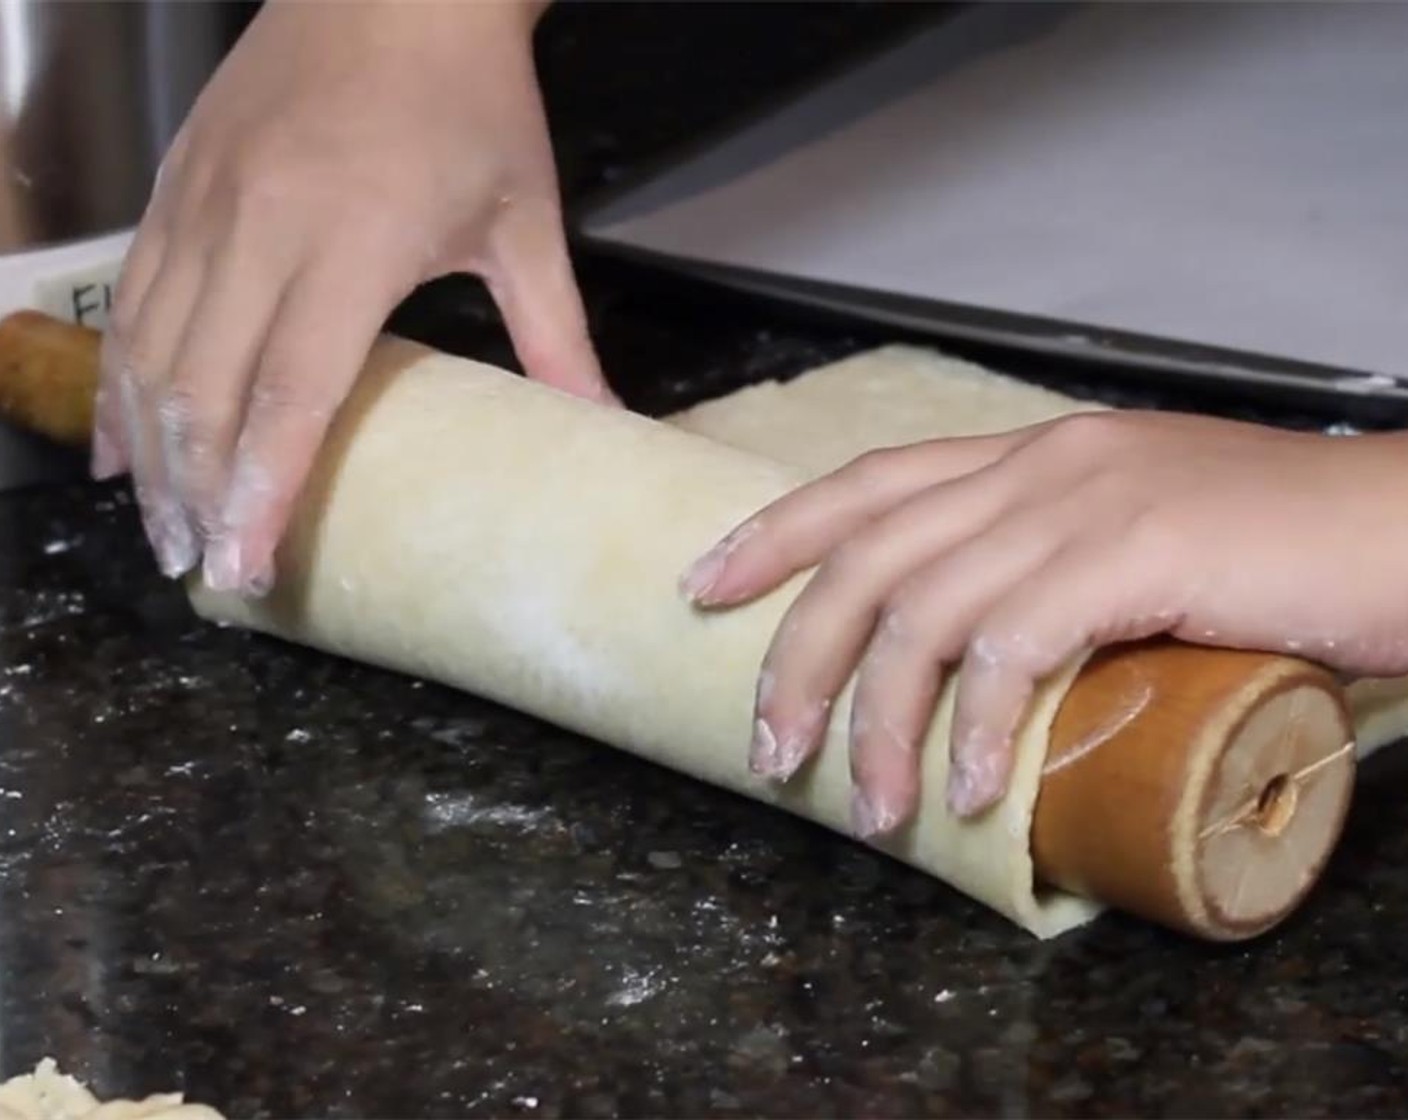
Preheat the oven to 400 degrees F (200 degrees C). Line a sheet pan with parchment paper. On a floured surface, roll the dough into a rectangular shape, as best as you can, until it is about ¼-inch thick.
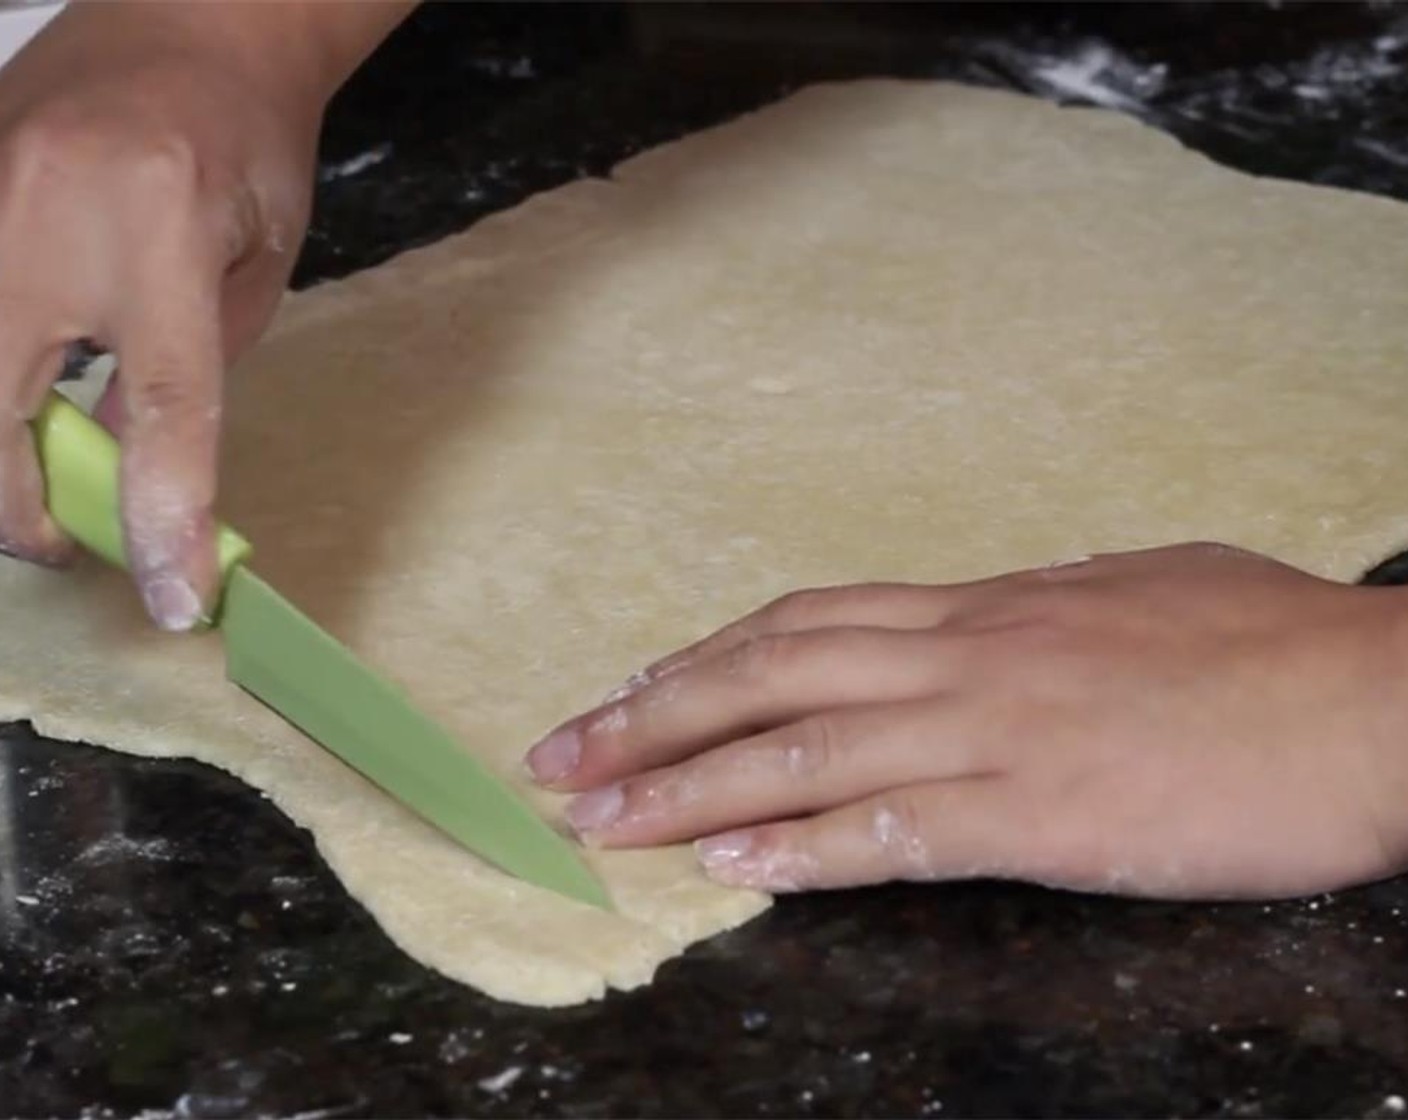
step 8
Using a small knife, trim the edges (they might be over-squished by the rolling pin).
step 9
Place the dough on the prepared sheet pan and refrigerate while you prepare the apples.
step 10
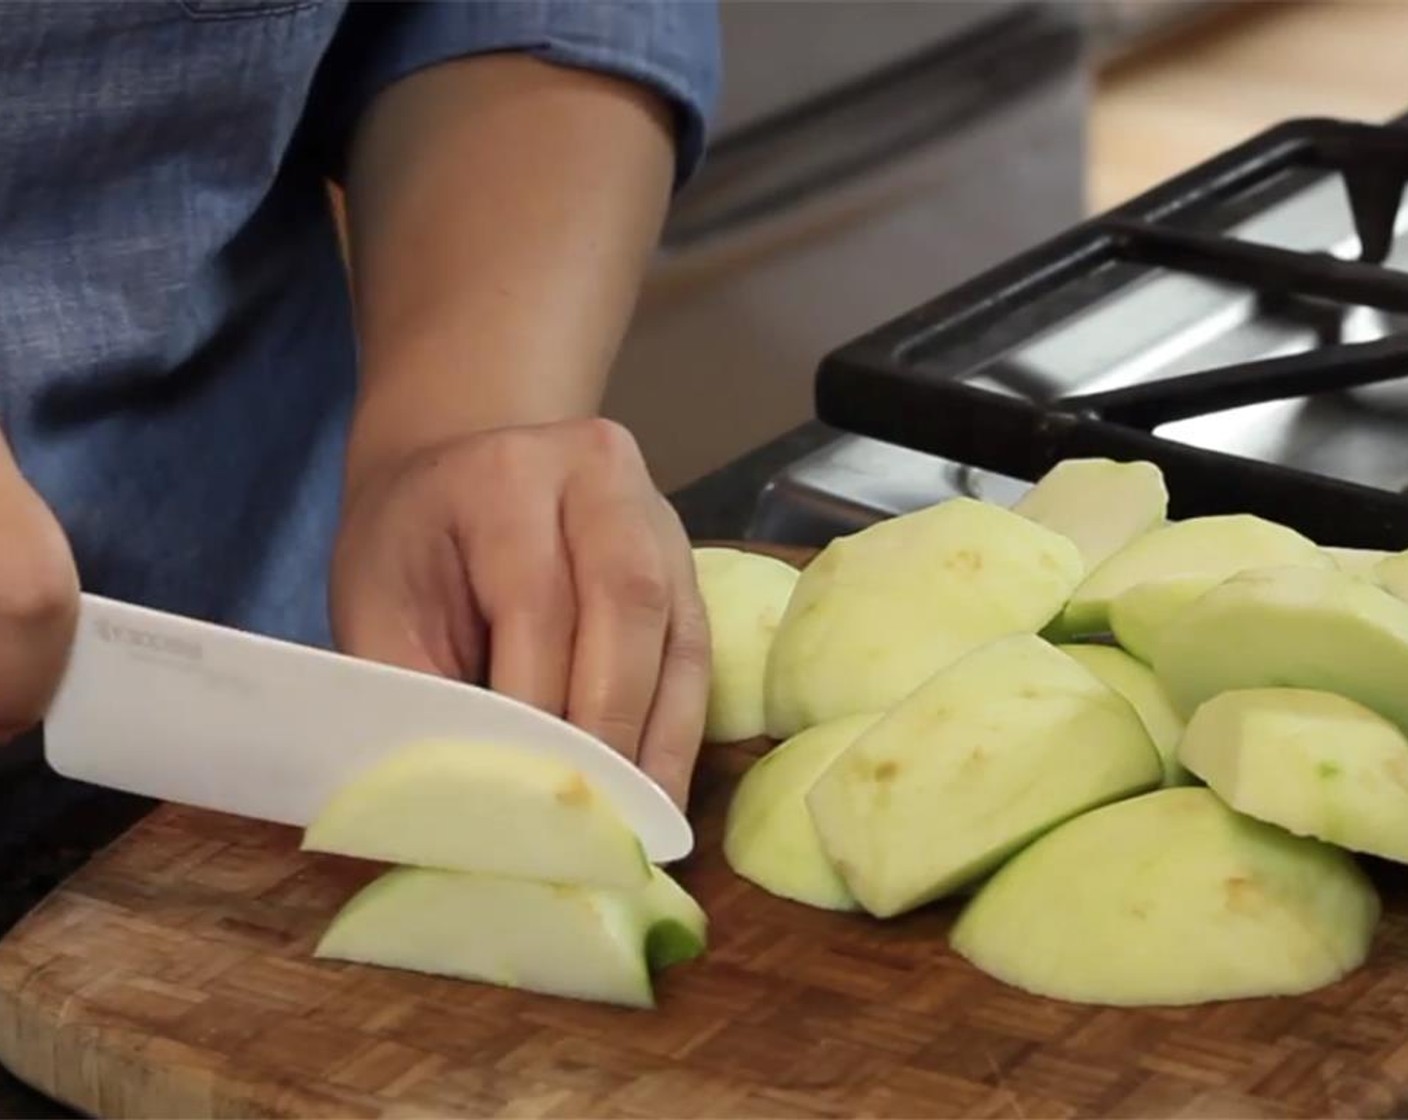
Peel the Granny Smith Apples (4) and cut around the cores. Save your peels and cores. Slice the apples in ¼-inch thick slices (thin, but not too thin).
step 11
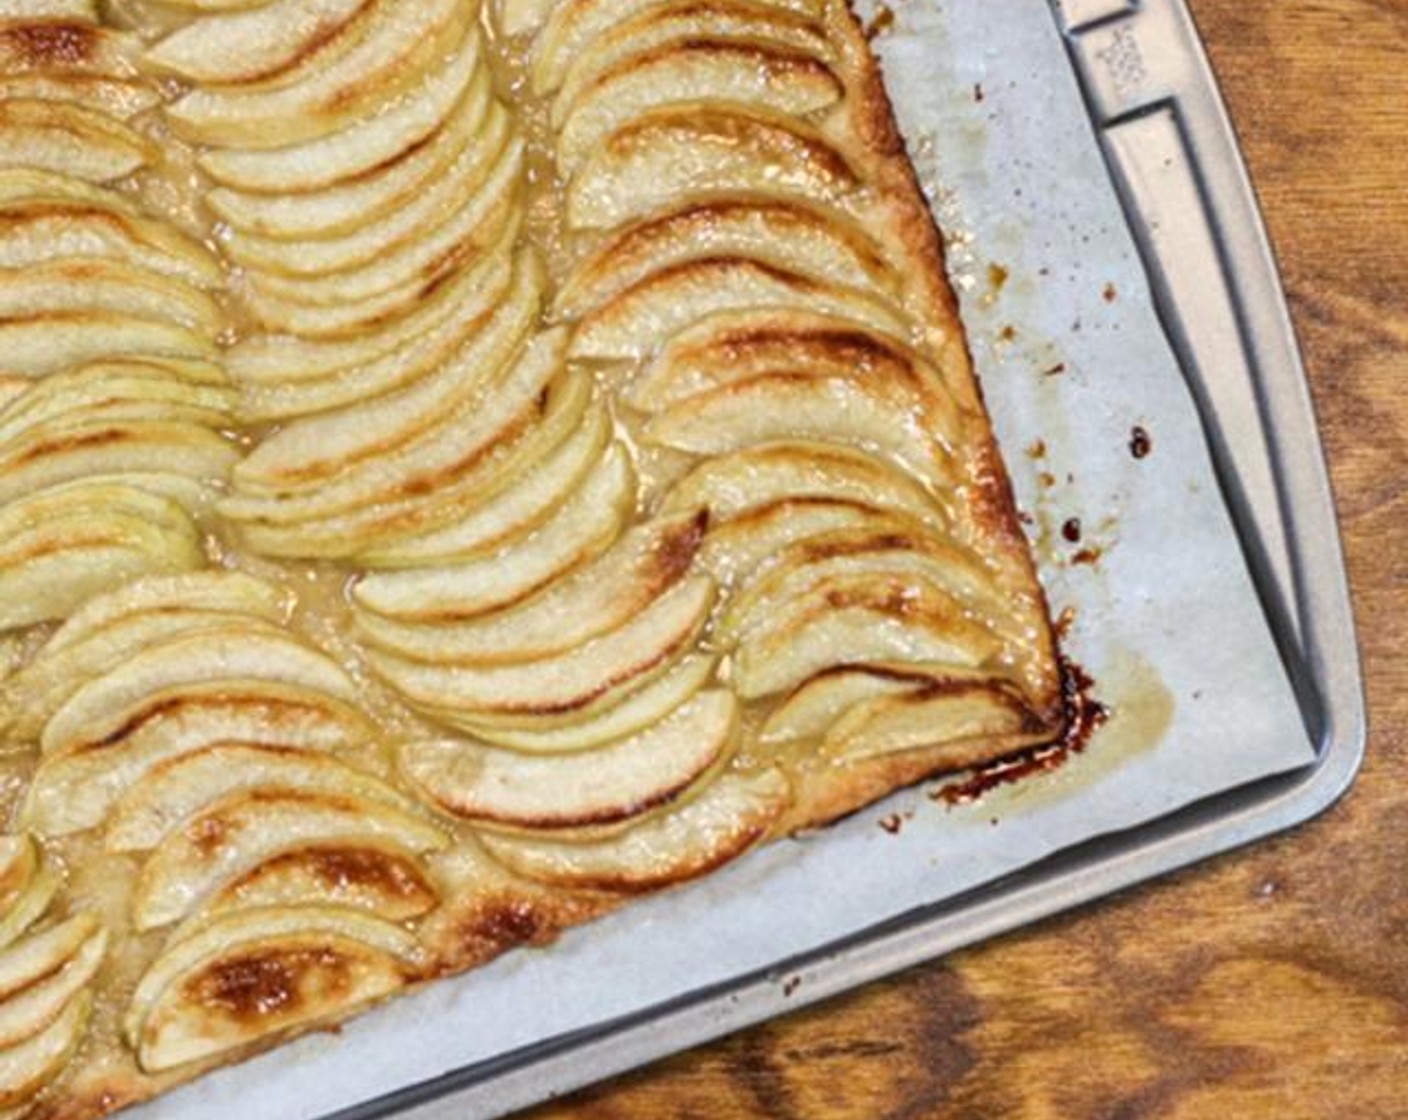
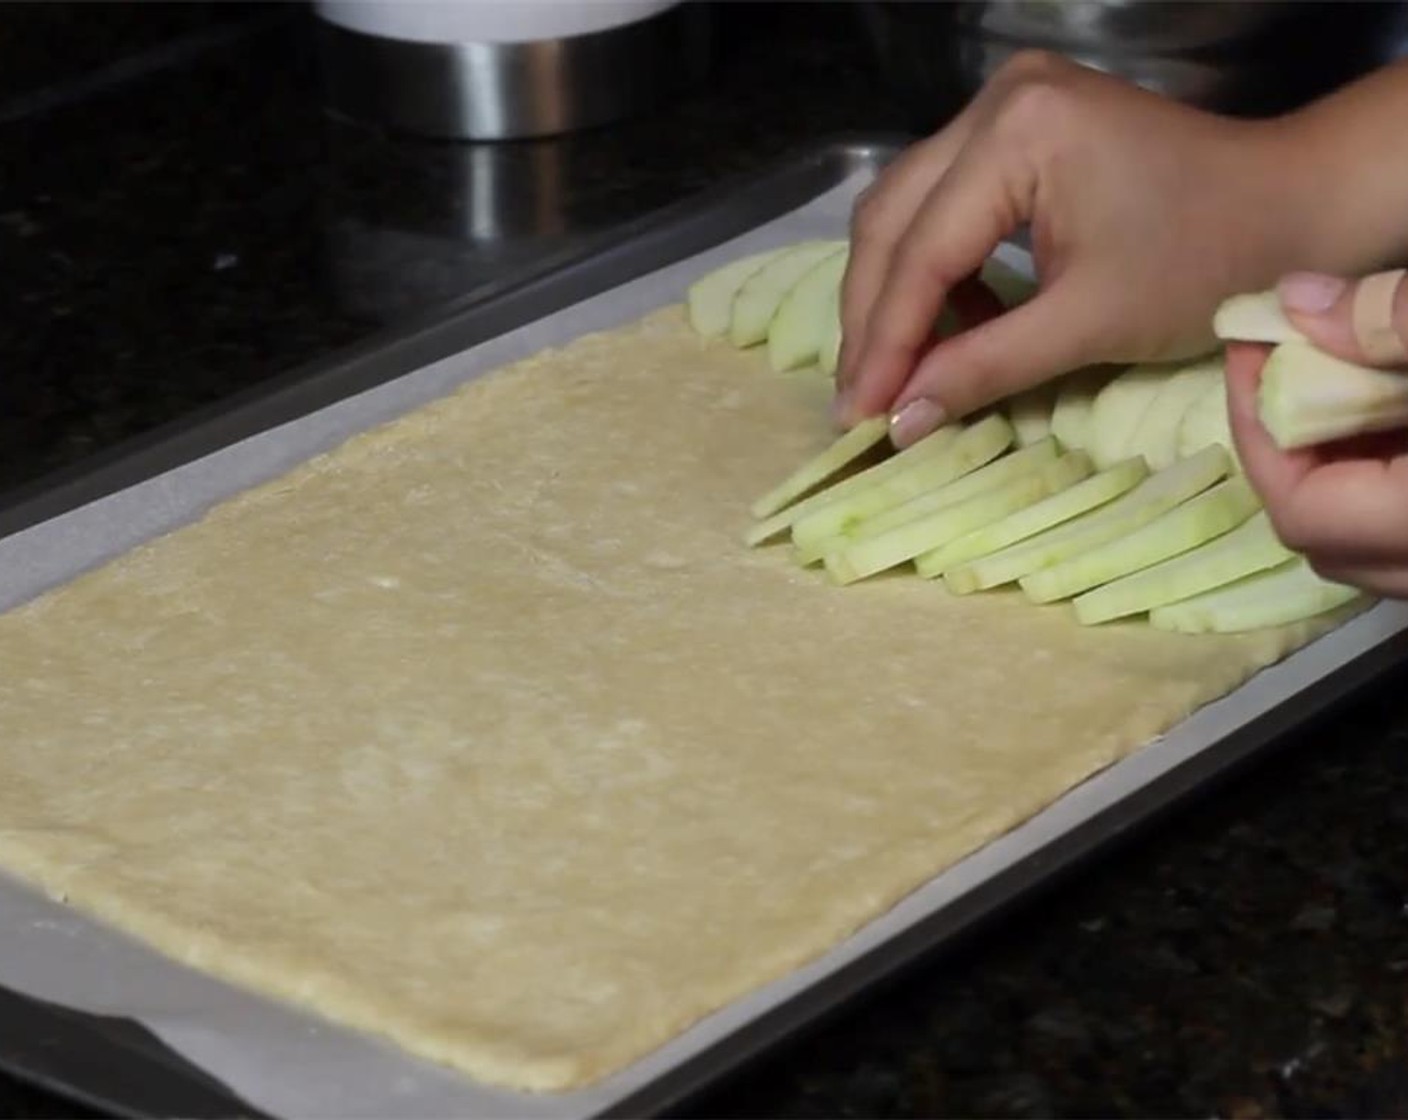
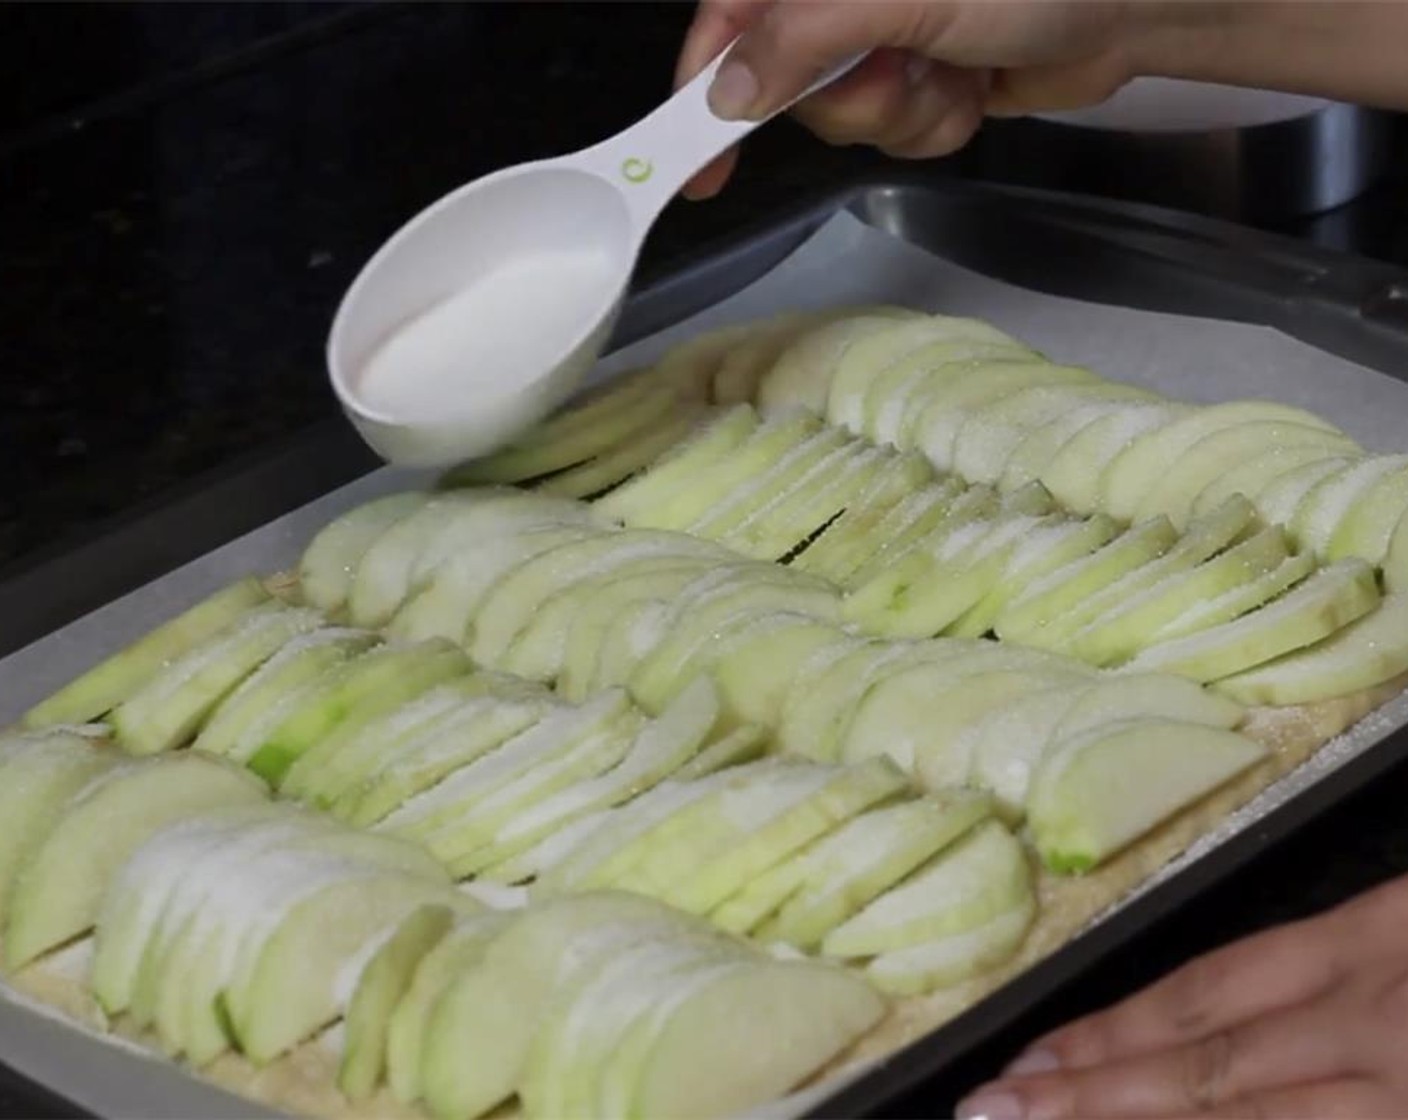
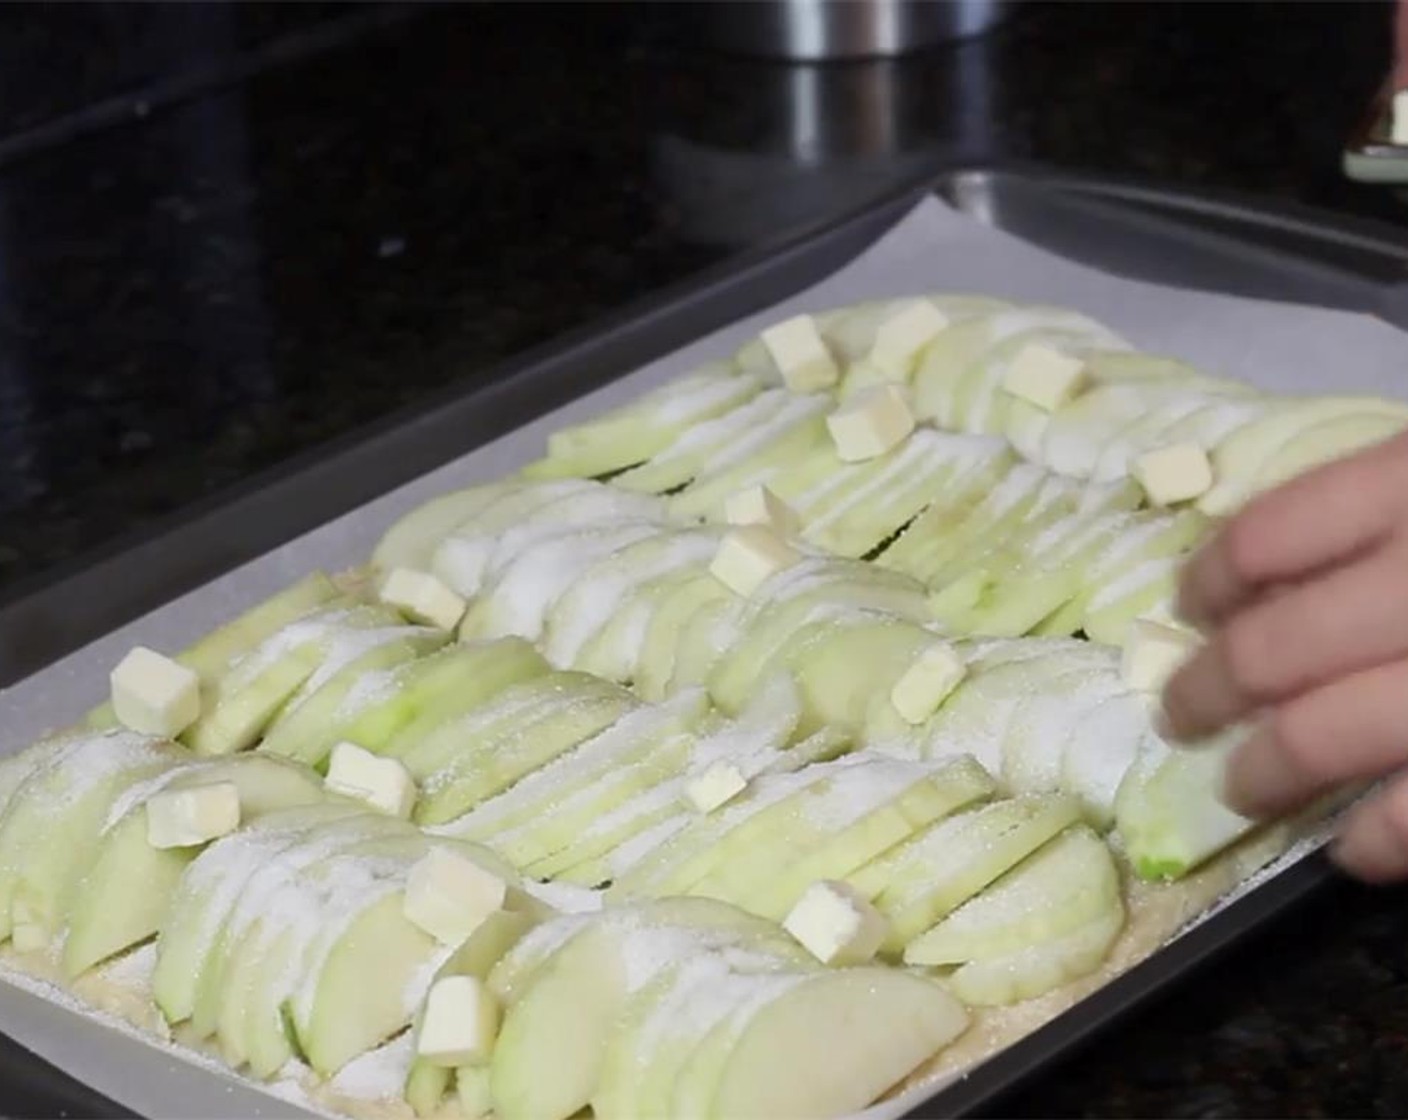
Place overlapping slices of apples on the crust any way you want until it is completely covered with apple slices, even all the way to the edges, since the apples will shrink in the oven.
step 12
Sprinkle apples with the Granulated Sugar (1/3 cup).
step 13
Cube the Unsalted Butter (1/4 cup) and dot the tart with them.
step 14
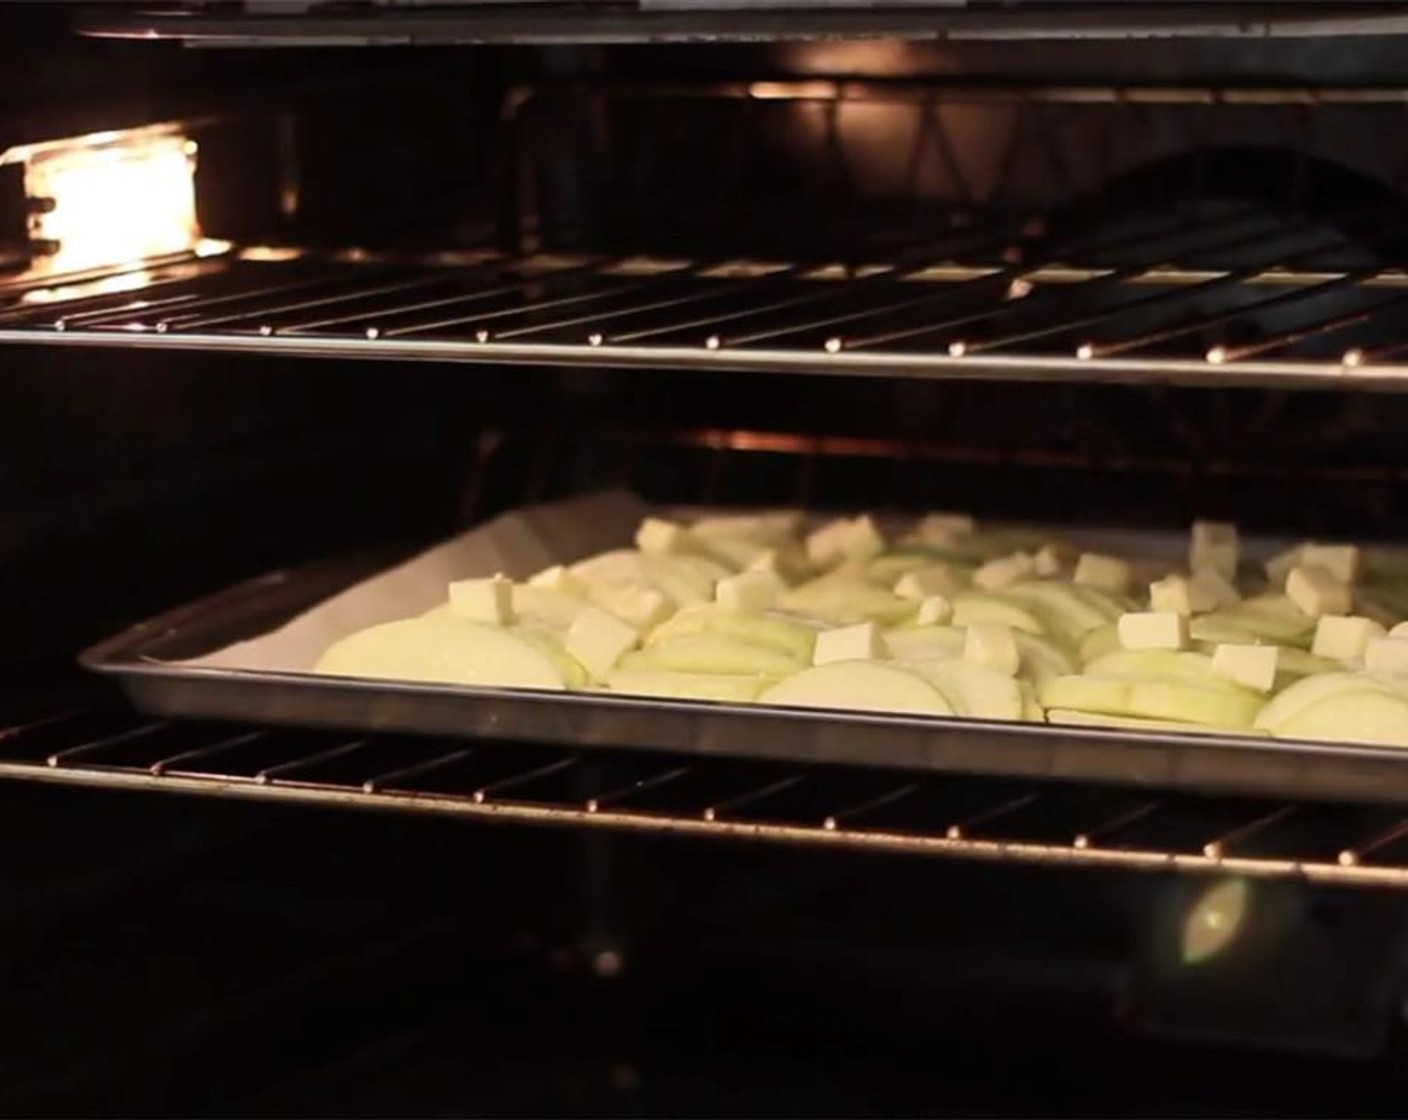
Depending on the thickness of your crust and hotness of your oven, bake the tart for 30-45 minutes, or just until the crust is cooked and the edges of the apples start to brown. Rotate the pan halfway during cooking.
step 15
Start checking it after 30 minutes to see if it's done. The apple juices will burn a little, but don’t worry because that will happen.
step 16
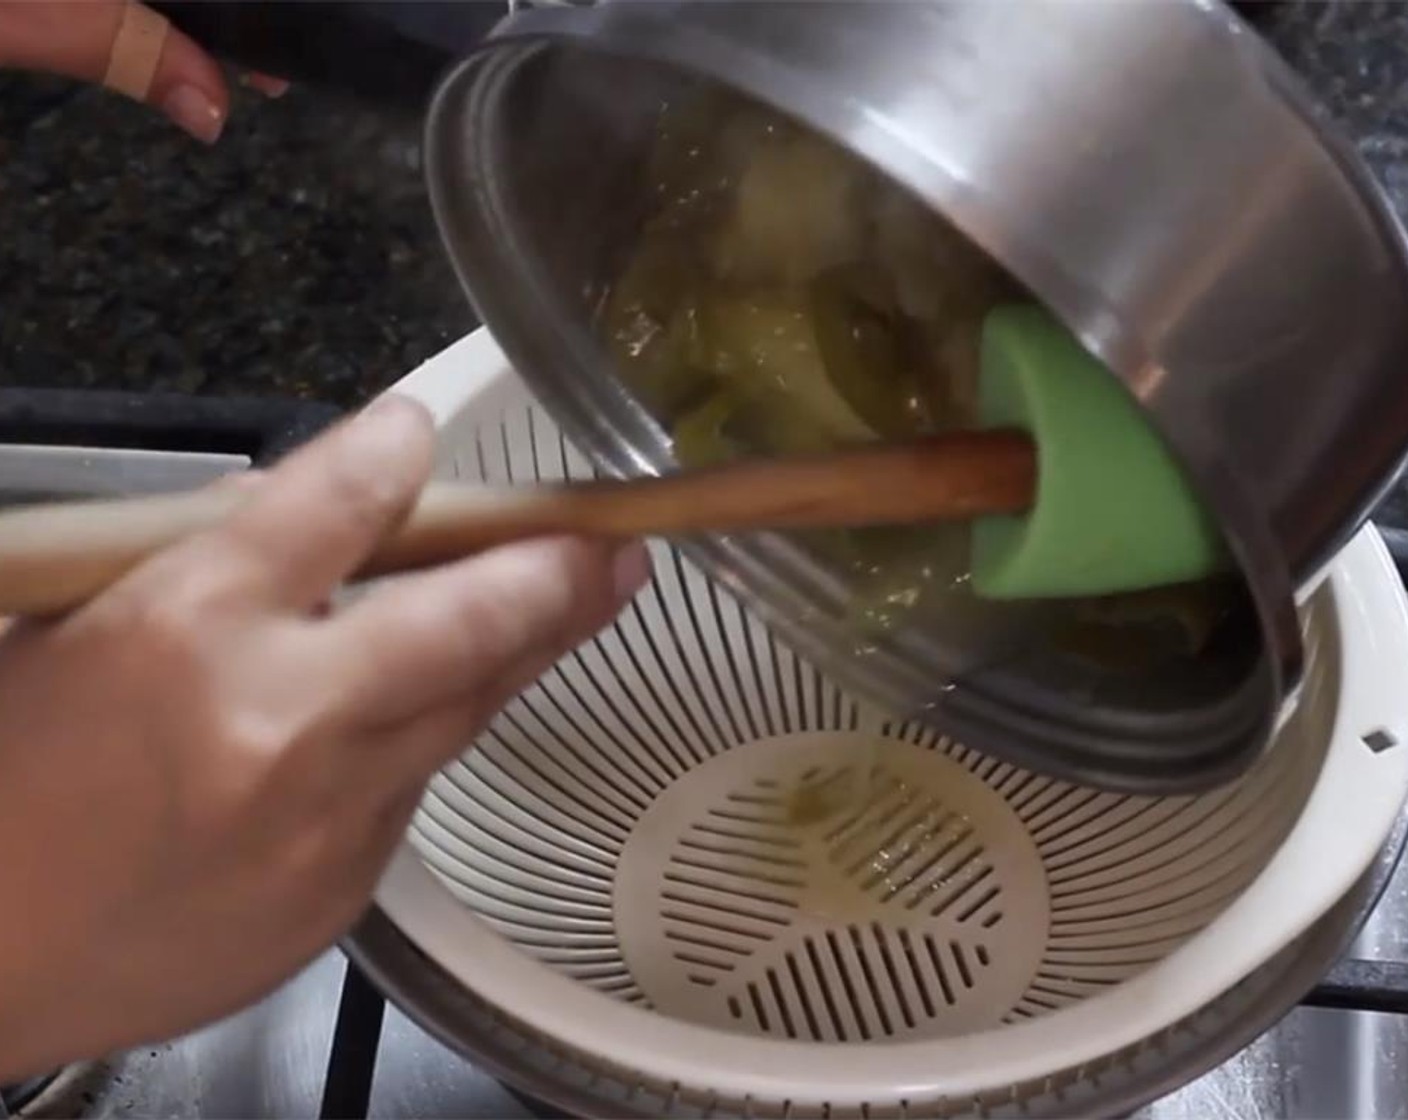
Meanwhile, make the glaze: Put apple peels, cores, and any extra pieces (if you have some) in a saucepan, along with Granulated Sugar (1/3 cup). Pour in just enough Water (to taste) to cover and simmer, uncovered, until it is reduced and thickened.
step 17
Strain syrup through a sieve.
step 18
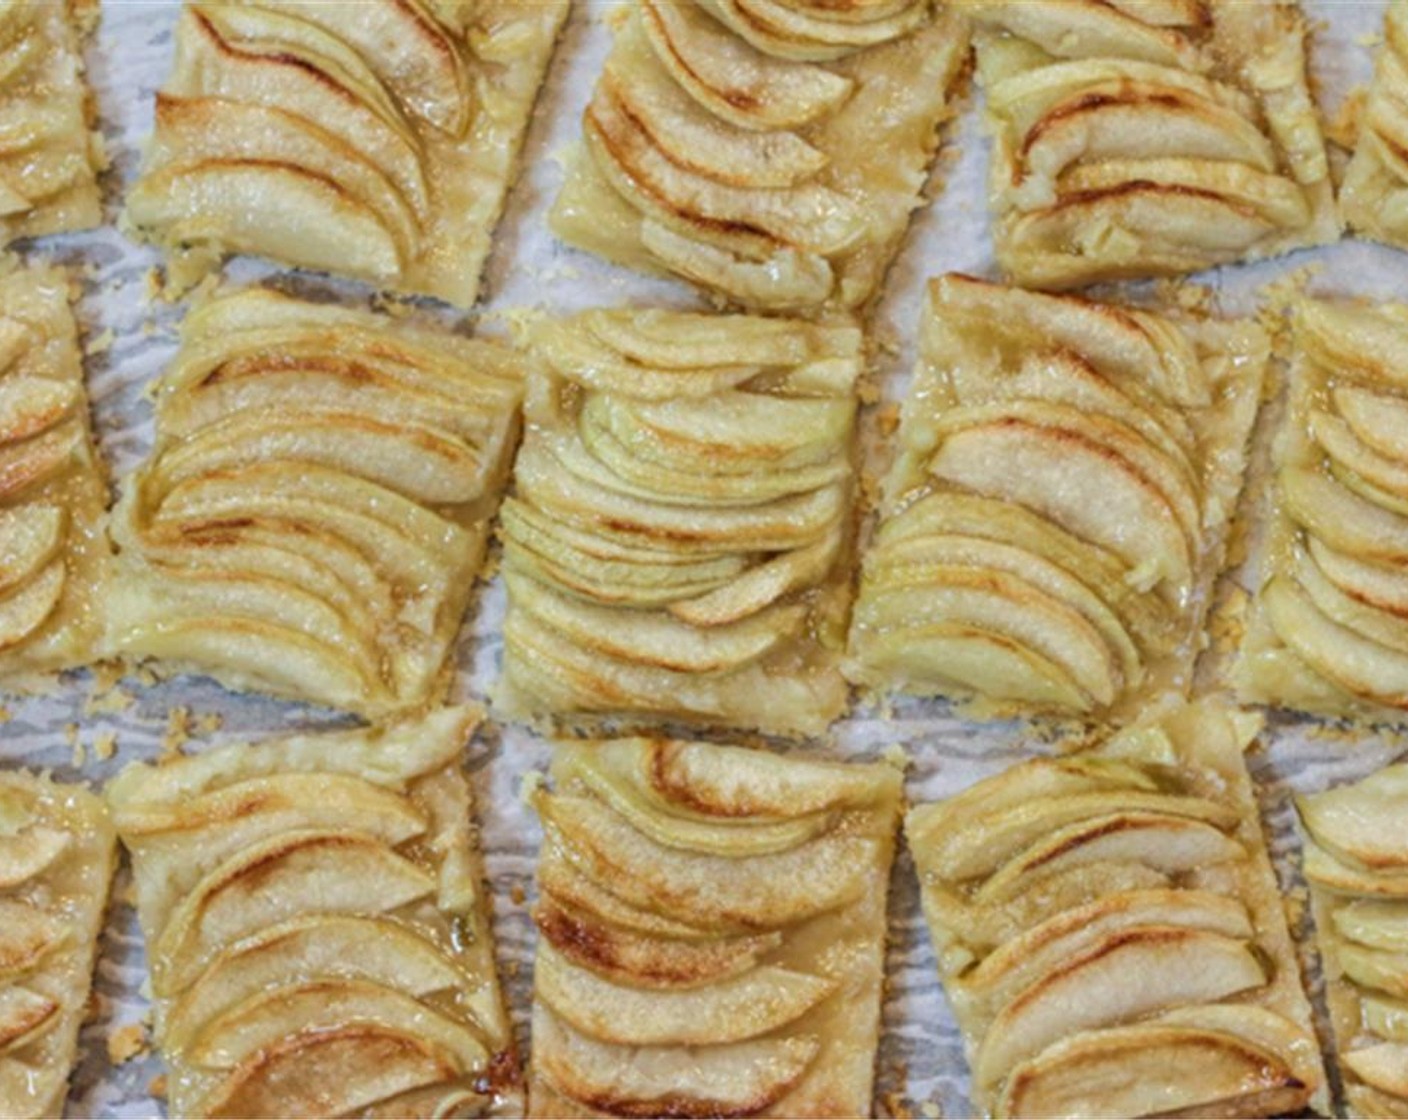
When the tart's done, lightly brush with the glaze (you will have extra leftover). If you put too much glaze on it, it might be too sweet, so use a light hand. You can always add more. Allow to cool and serve warm or room temperature.