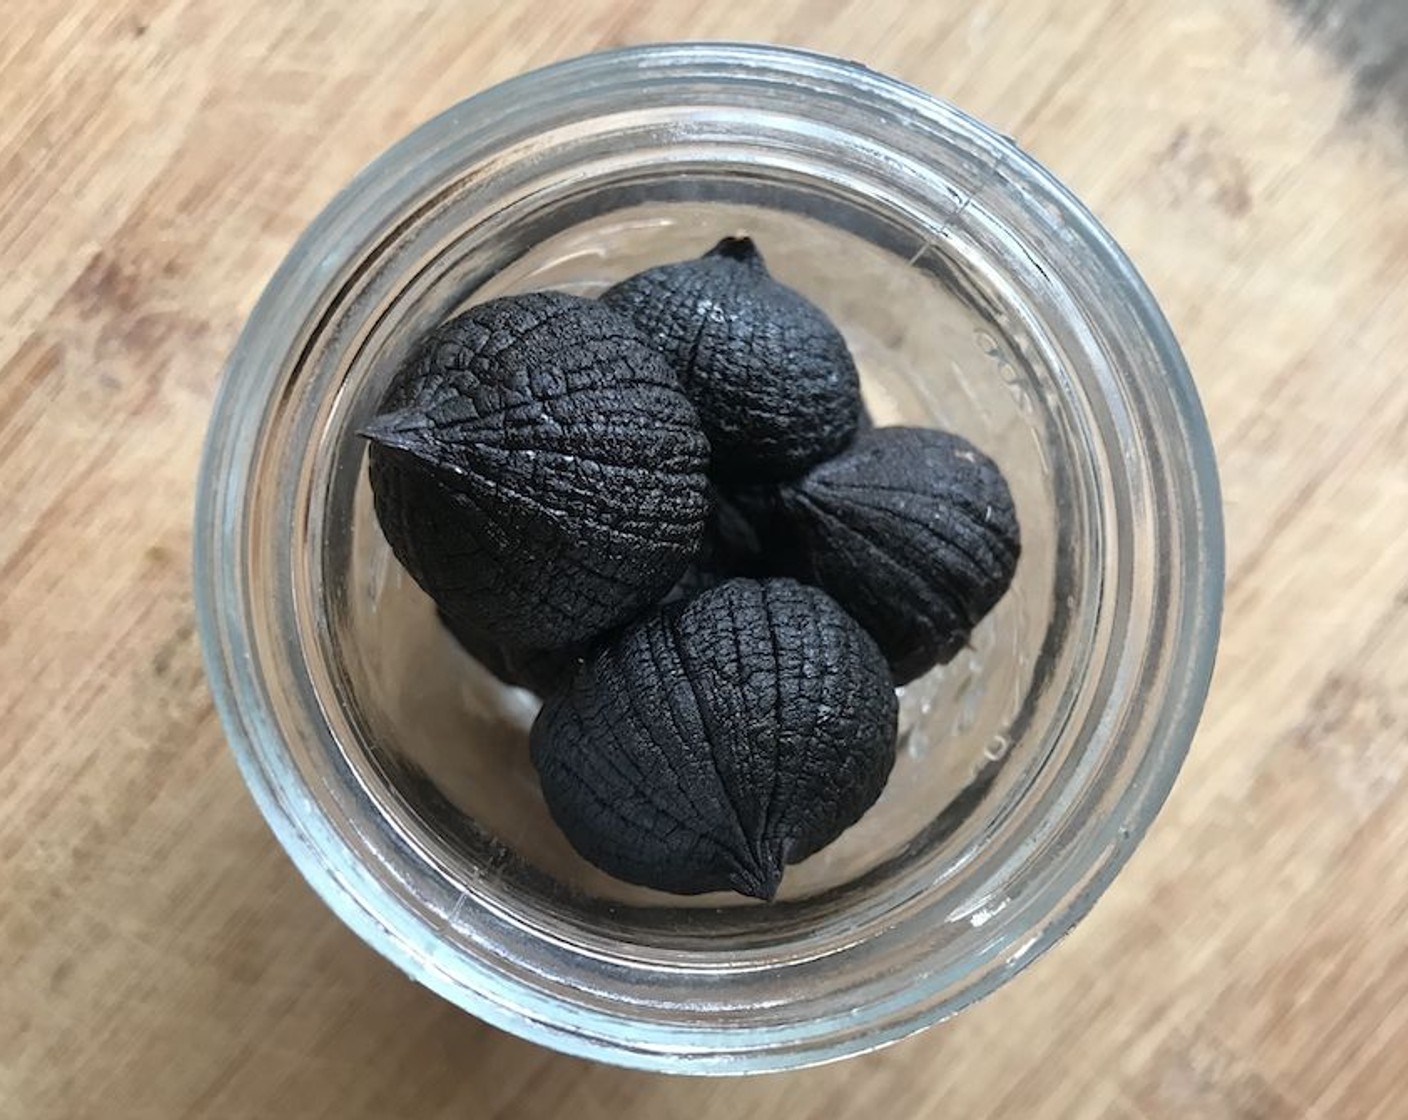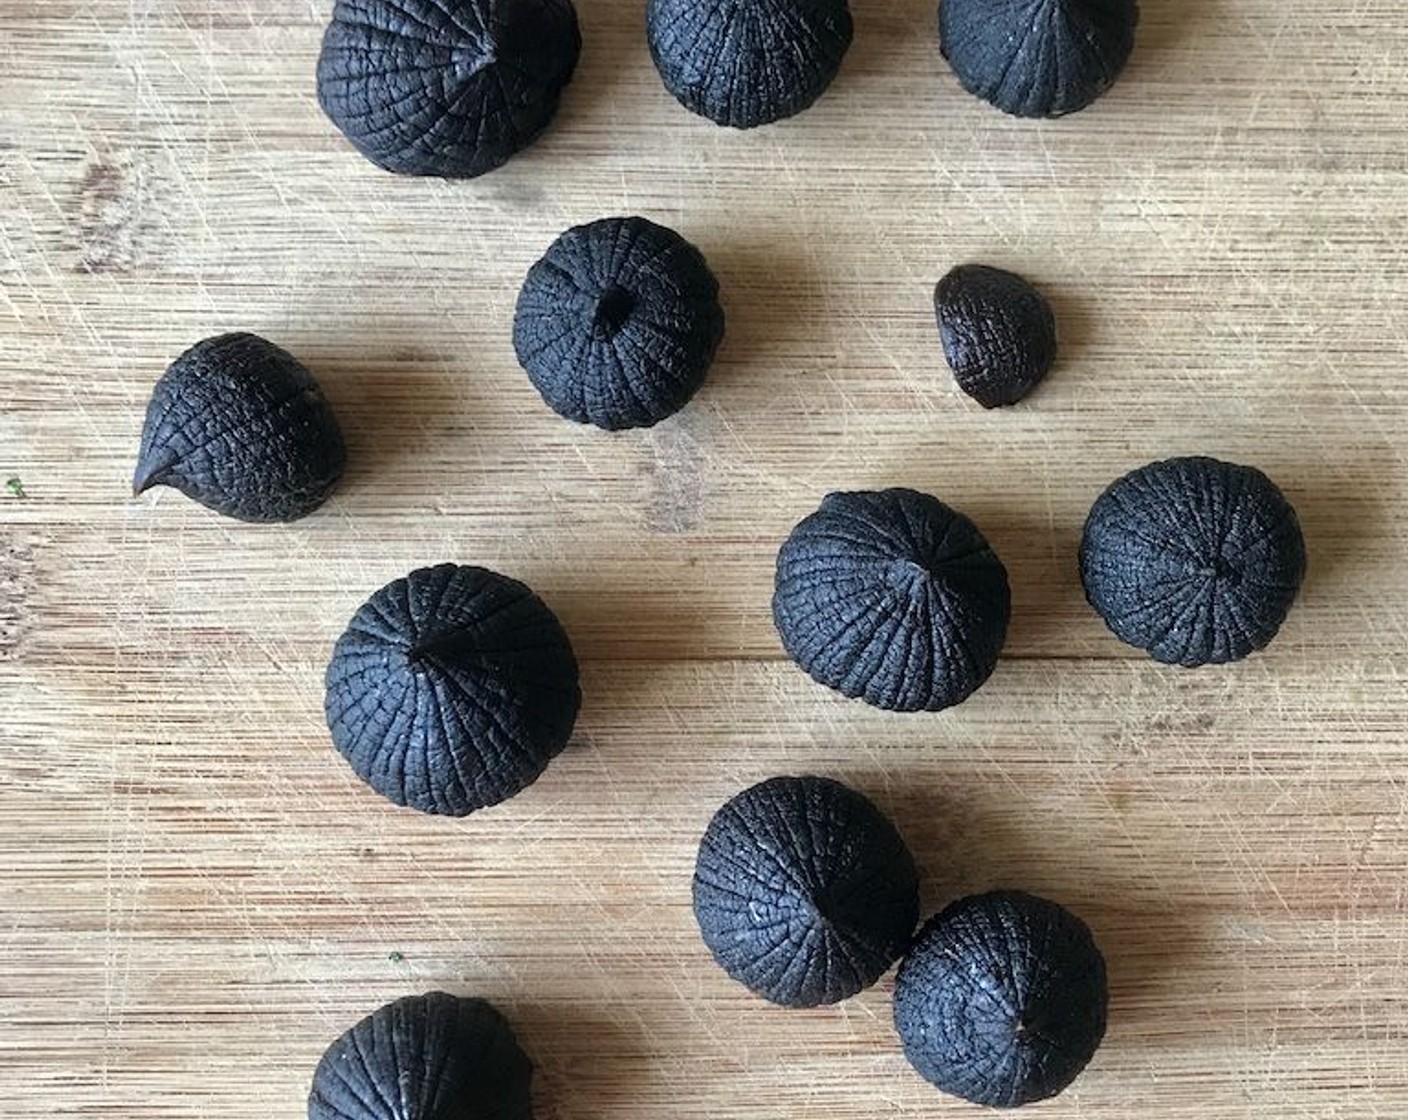

*DISCLAIMER* This recipe will take around 2 weeks but it's totally worth the time. To make your own batch of this decadent, mysterious ingredient, all you need is a rice cooker and some serious patience. This DIY Black Garlic is perfect in pasta, salad dressings, spread on sandwiches, or anything else! It's that good.

Lauren Holdcroft at SideChef
Hi, I'm Lauren, Recipe Editor at SideChef. Chipped dishware, breakfast for any meal, and eye-watering spice levels. Find me on Instagram @bitesbylauren
https://www.sidechef.com
10MINS
Total Time
$0.14
Cost Per Serving
Ingredients
Servings
12
us / metric
Nutrition Per Serving
Calories
50
Fat
0.1 g
Protein
2.3 g
Carbs
9.9 g