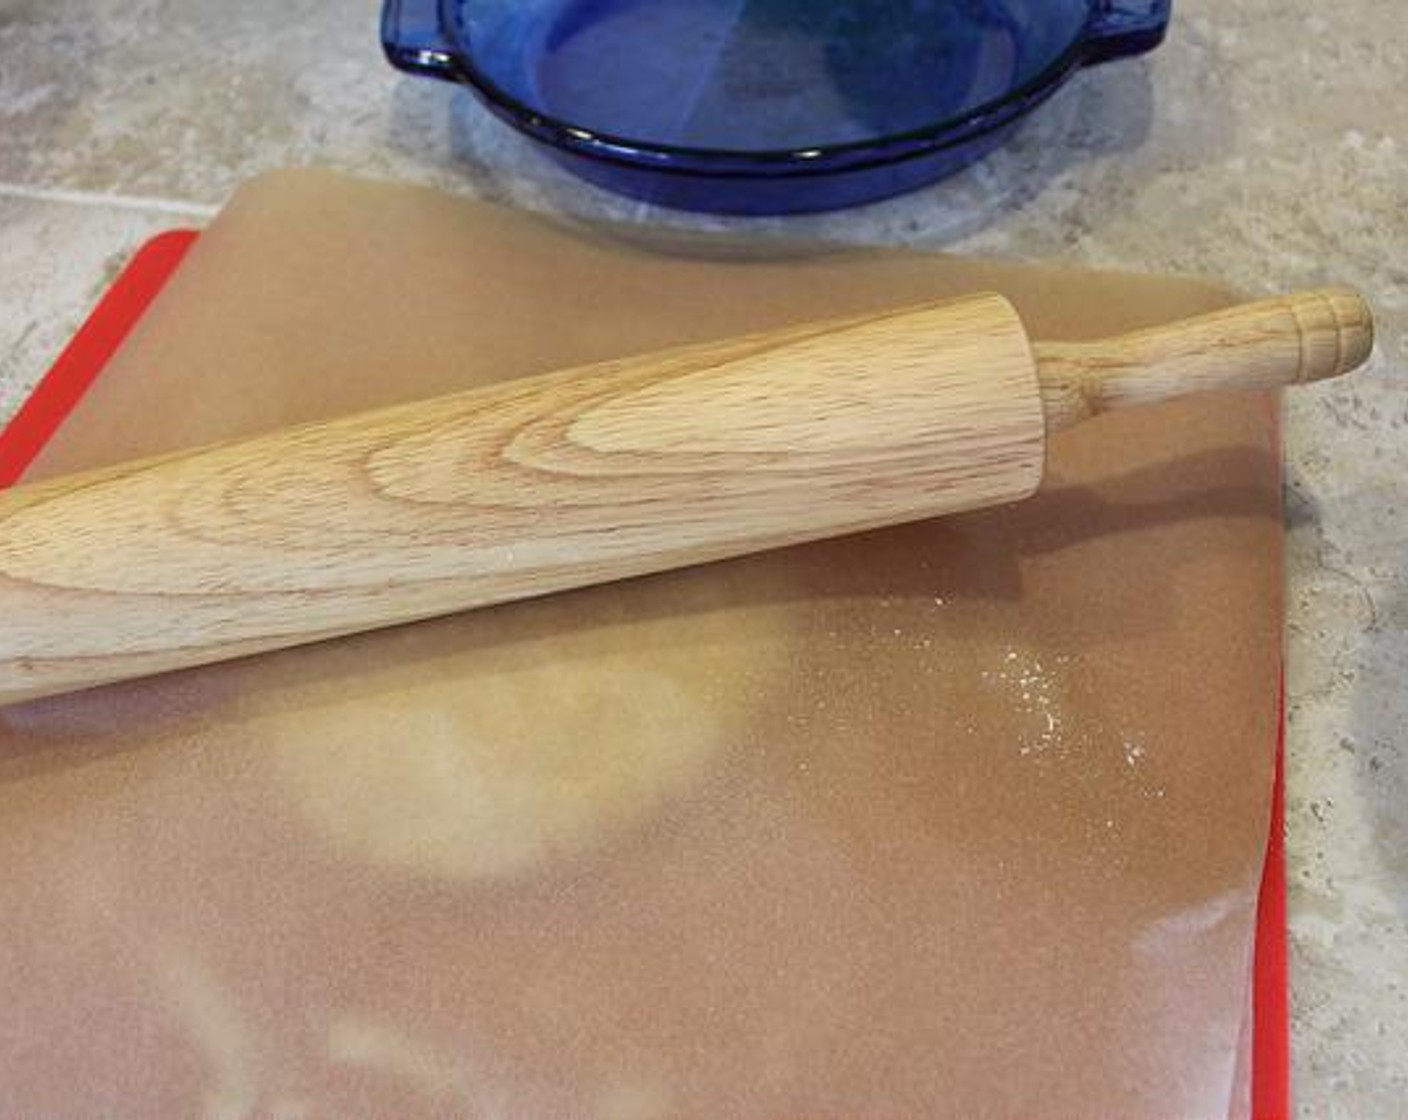
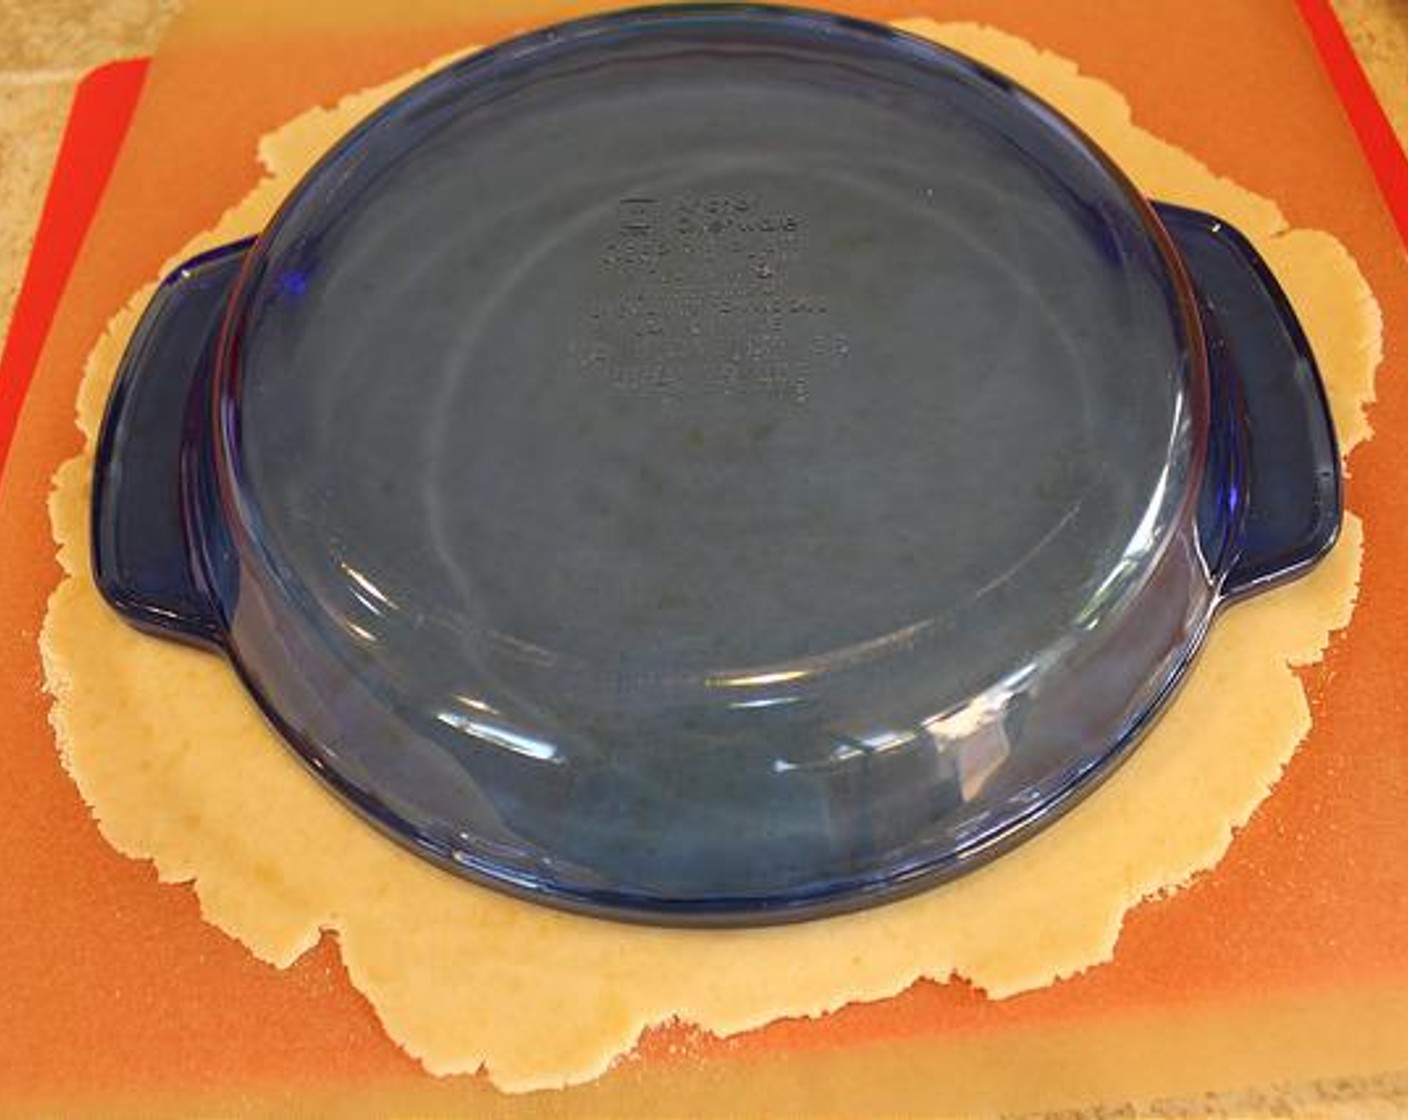
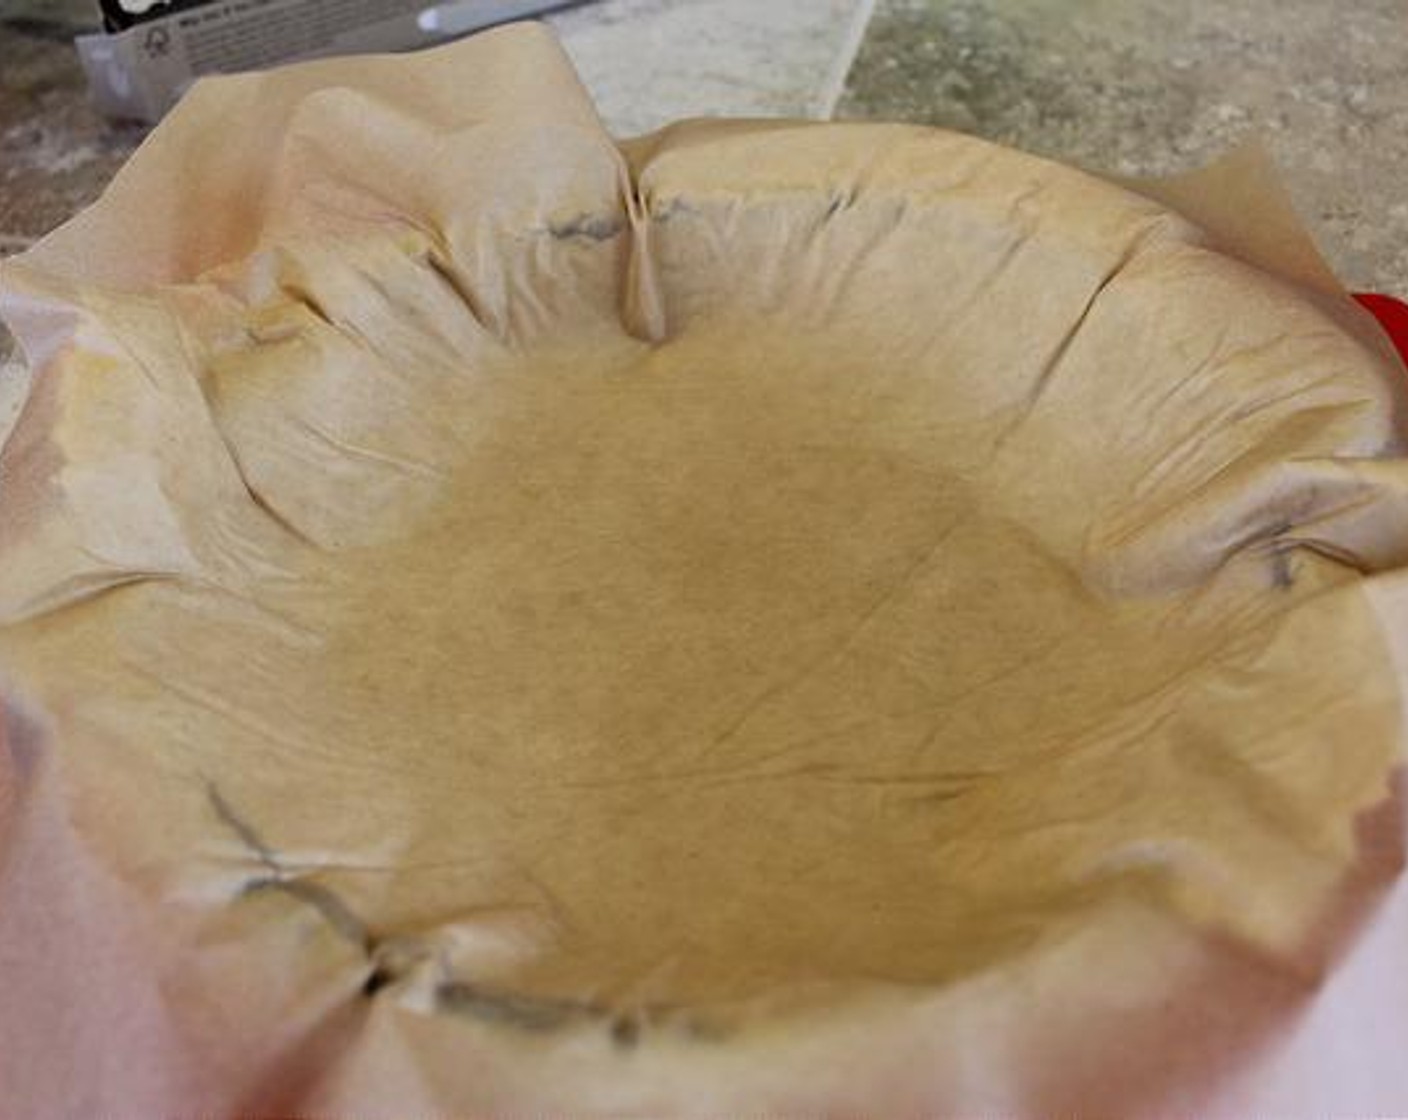
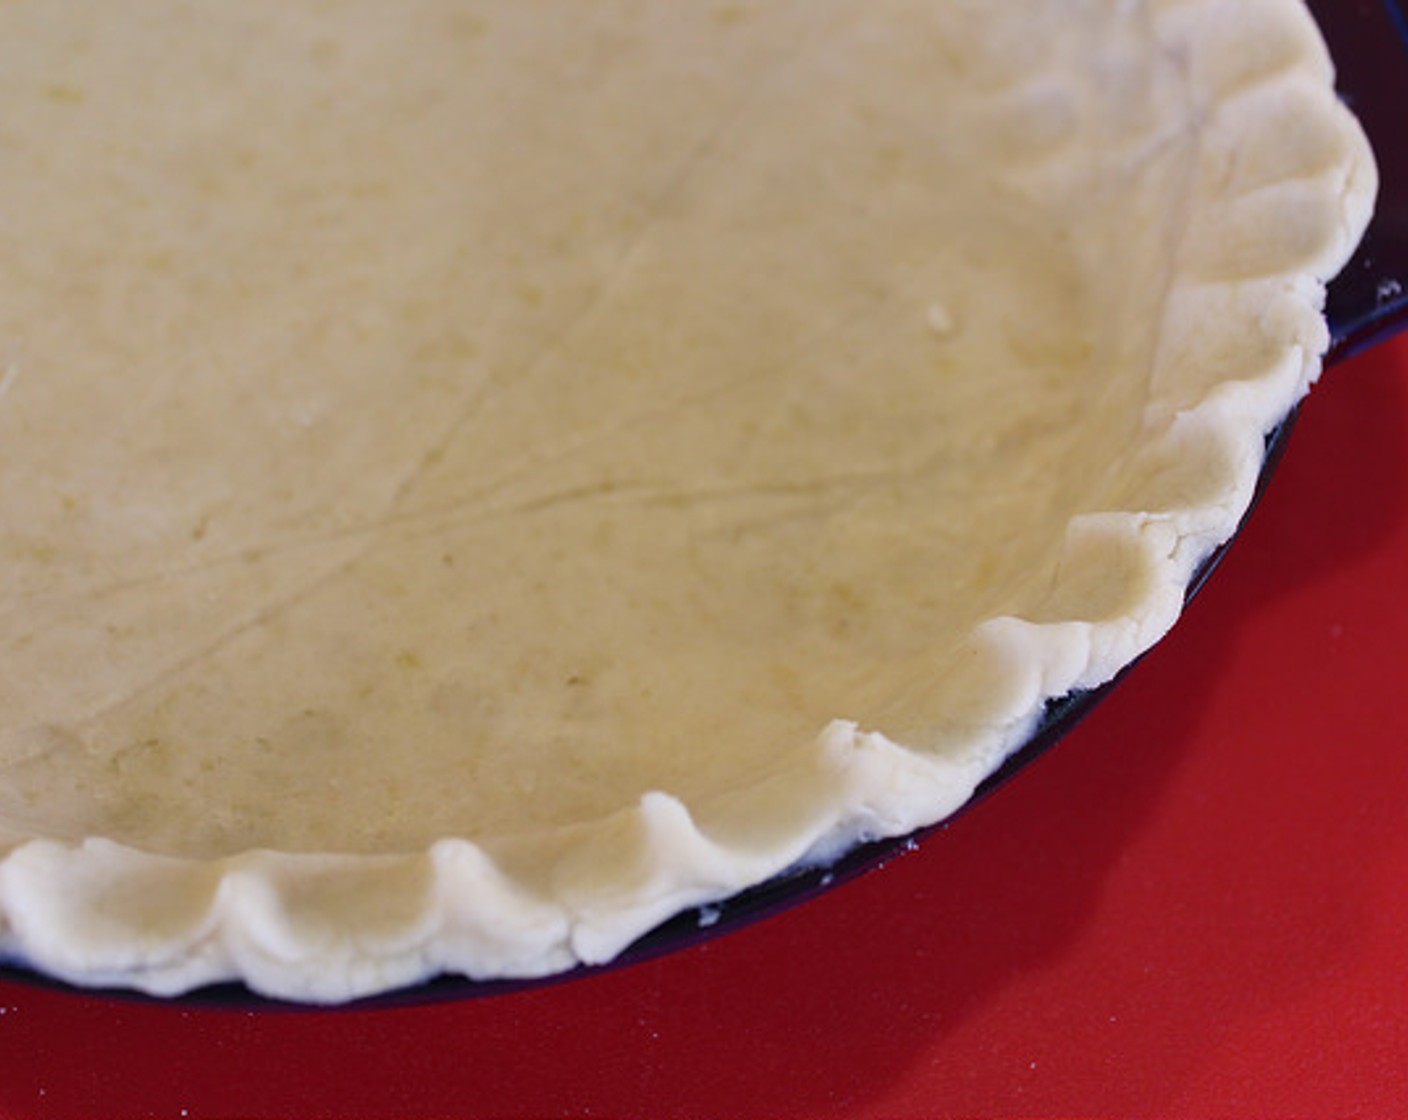
This crust rolls out smooth, can be cut into fancy decorations, bakes up perfectly light, and tastes amazing! Feel free to make the crust in advance and keep it in the fridge or freezer until you’re ready to use it. Gluten & Dairy Free Pie Crust – Sweet or Savory this recipe makes 2 Bottom Pie Crusts or 1 Set (top & bottom) Pie Crusts.

15MINS
Total Time
$2.05
Cost Per Serving
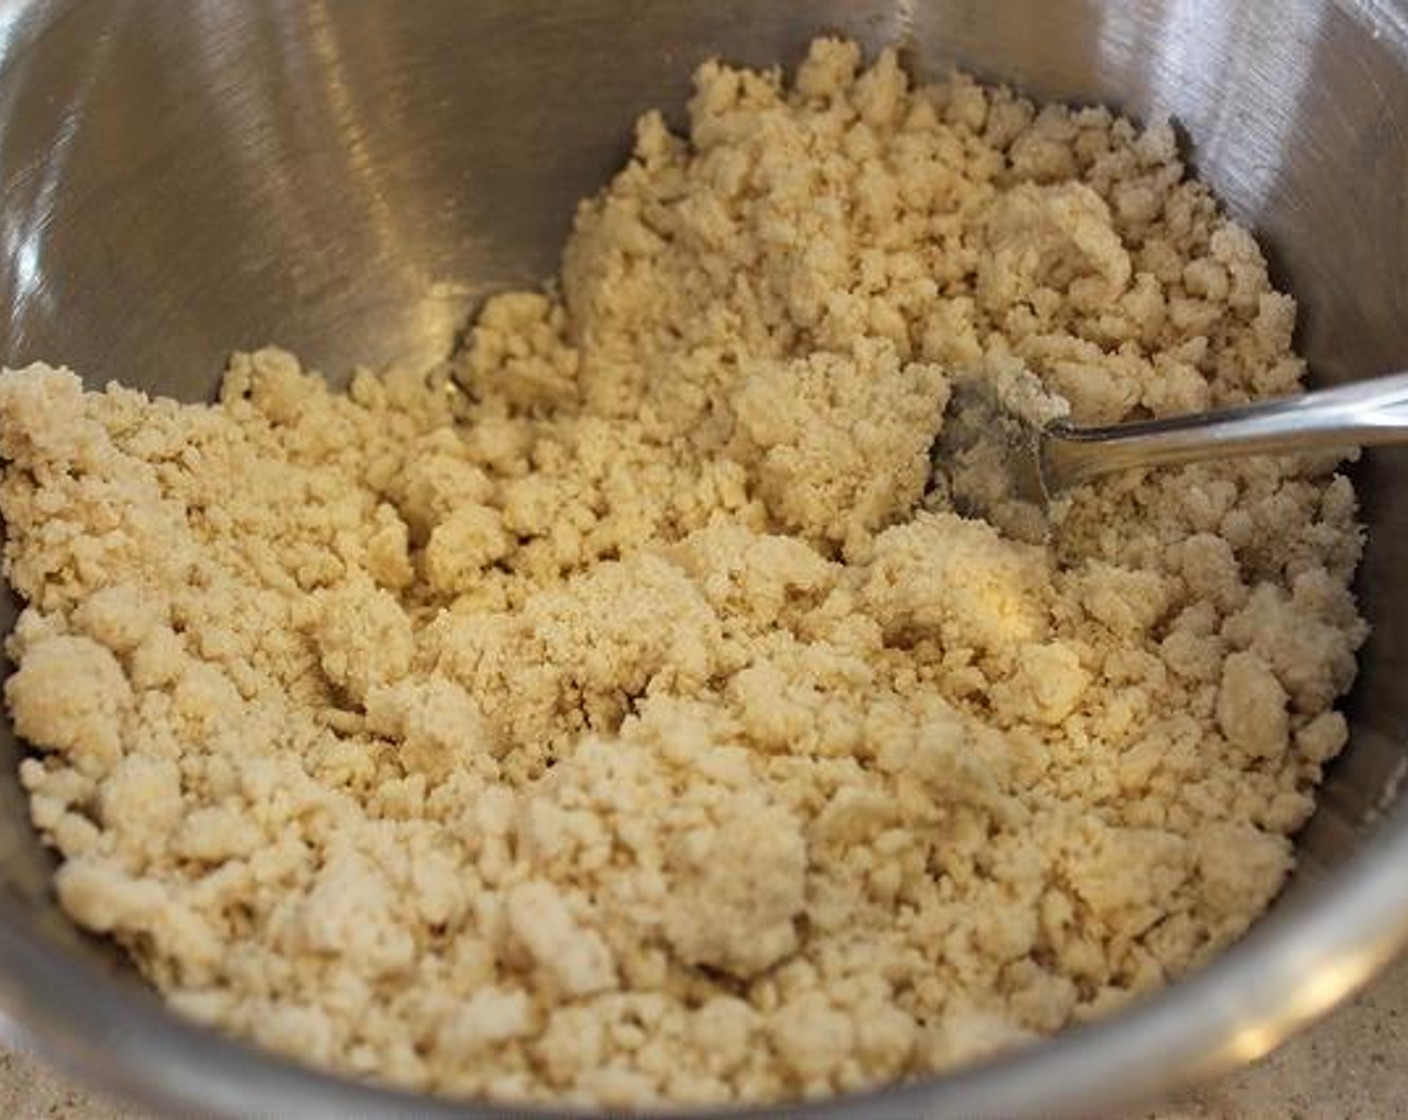
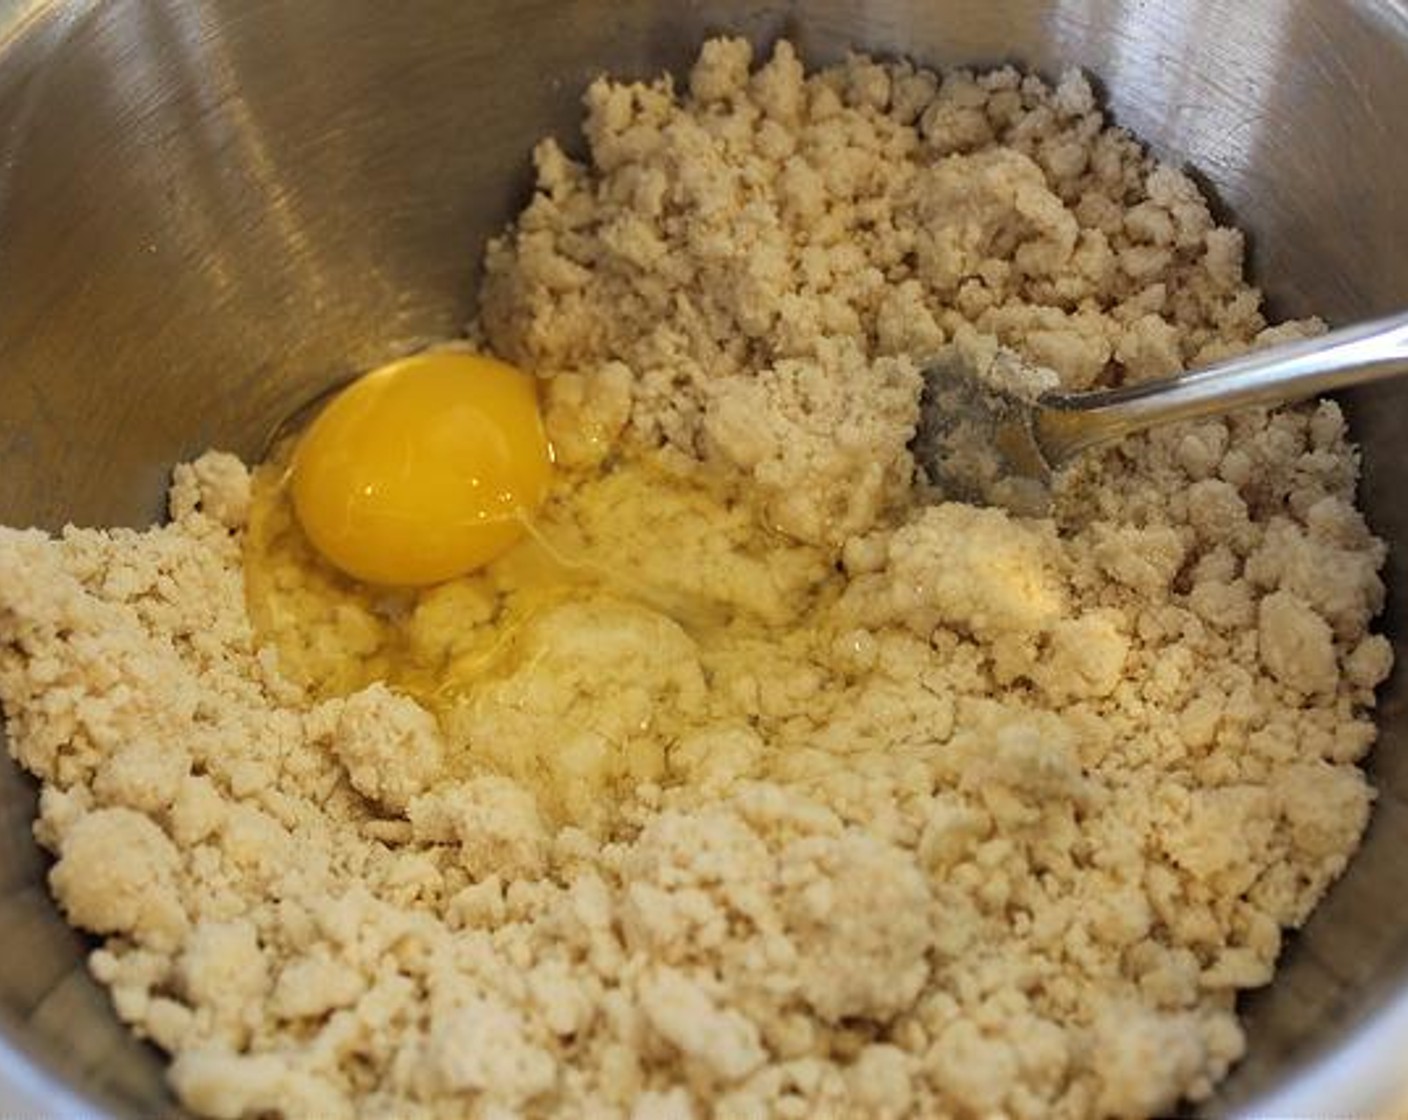
Ingredients
Servings
2
us / metric
2 cups
Gluten-Free All-Purpose Flour
1/2 cup
Palm Shortening
or Chilled Coconut Oil or Real Butter
2/3 cup
Water
Nutrition Per Serving
Calories
1033
Fat
49.8 g
Protein
10.9 g
Carbs
129.1 g