step 1
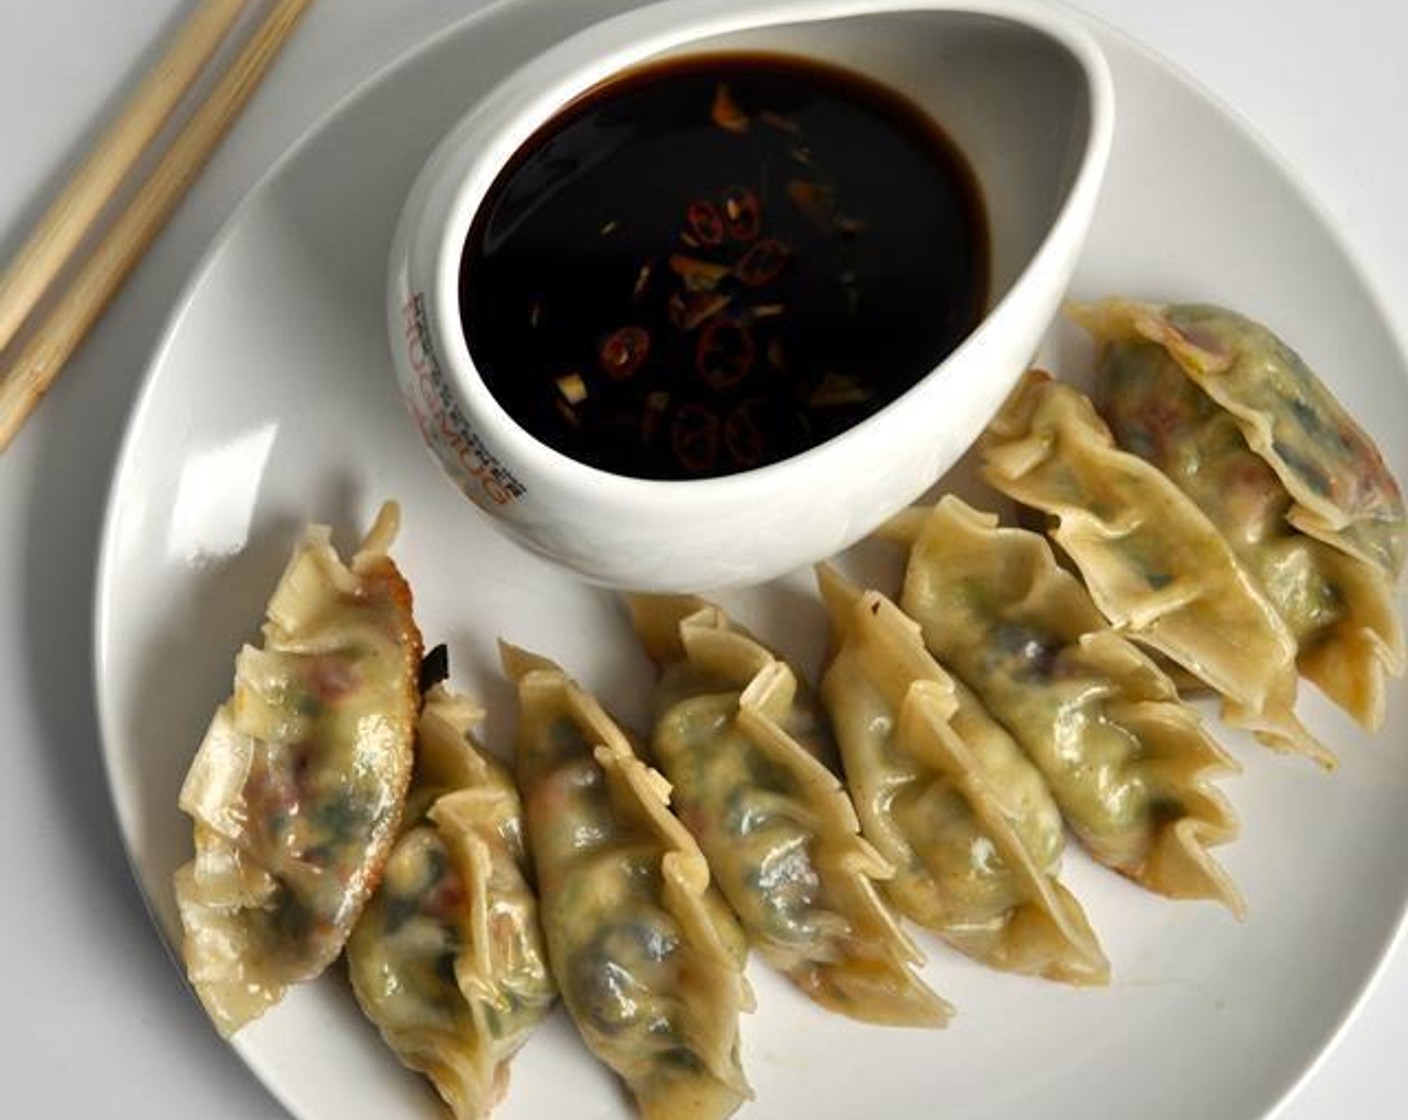
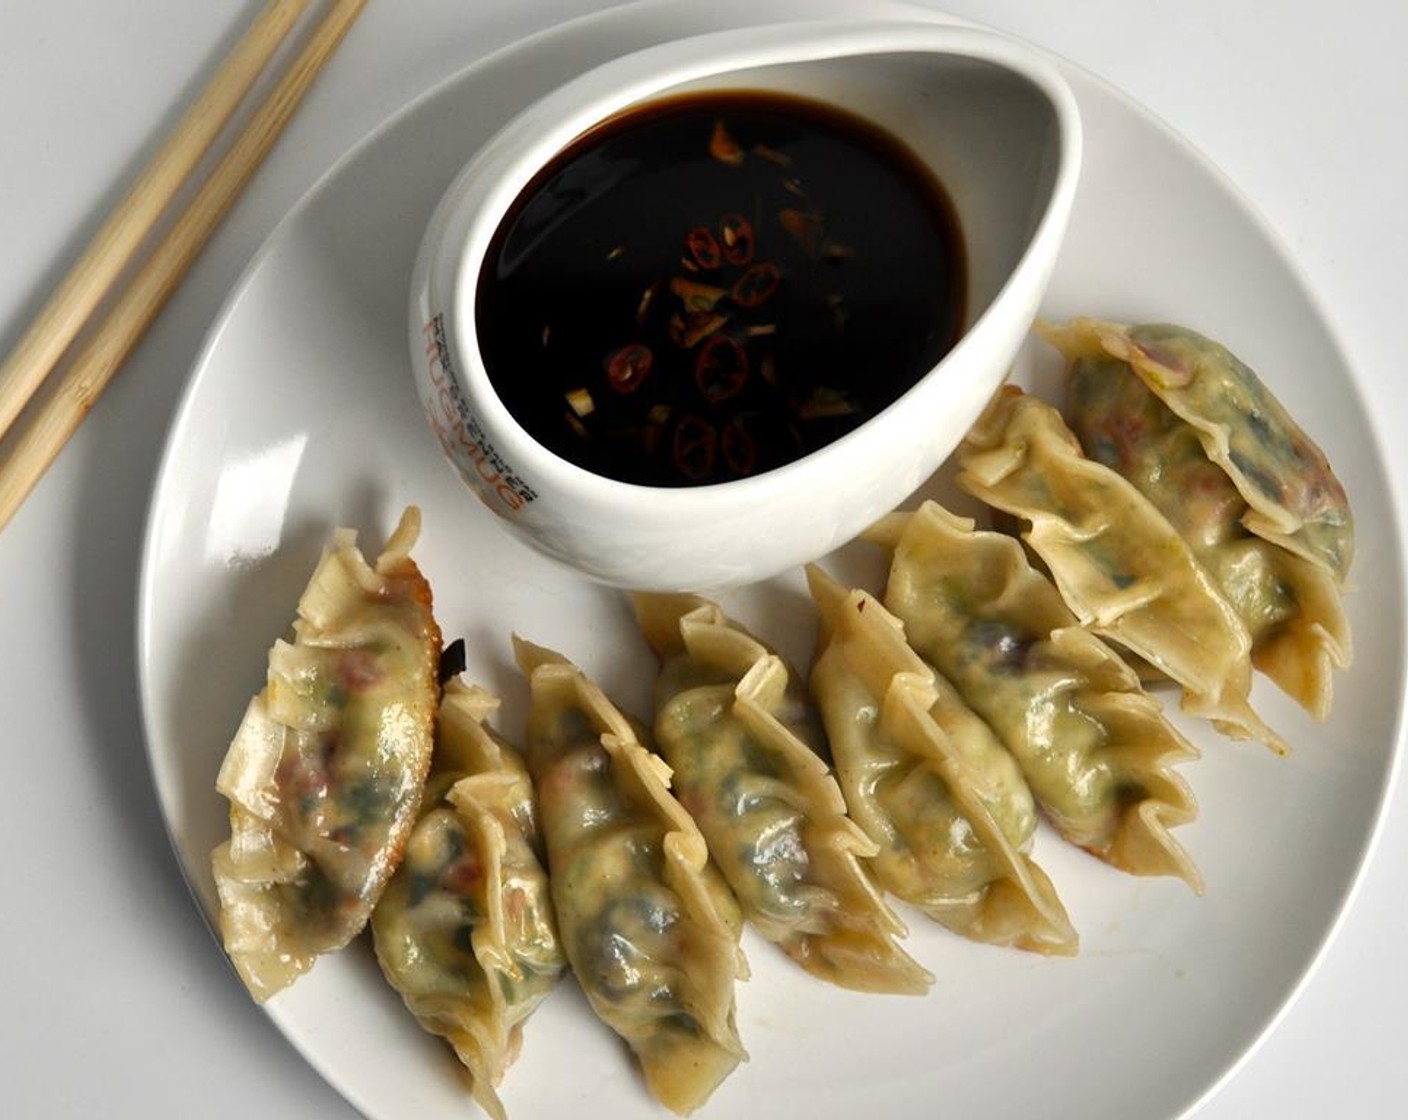
For the dipping sauce, combine the Soy Sauce (2 Tbsp), Rice Vinegar (2 Tbsp), Mirin (1 tsp), Garlic (1 clove), Thai Chili Pepper (1/2), and Honey (1/2 tsp).
step 2
In a large pan, heat up Olive Oil (1 Tbsp) and sauté the Garlic (1 clove) and Scallion (1 bunch) until they start to turn golden brown and soften.
step 3
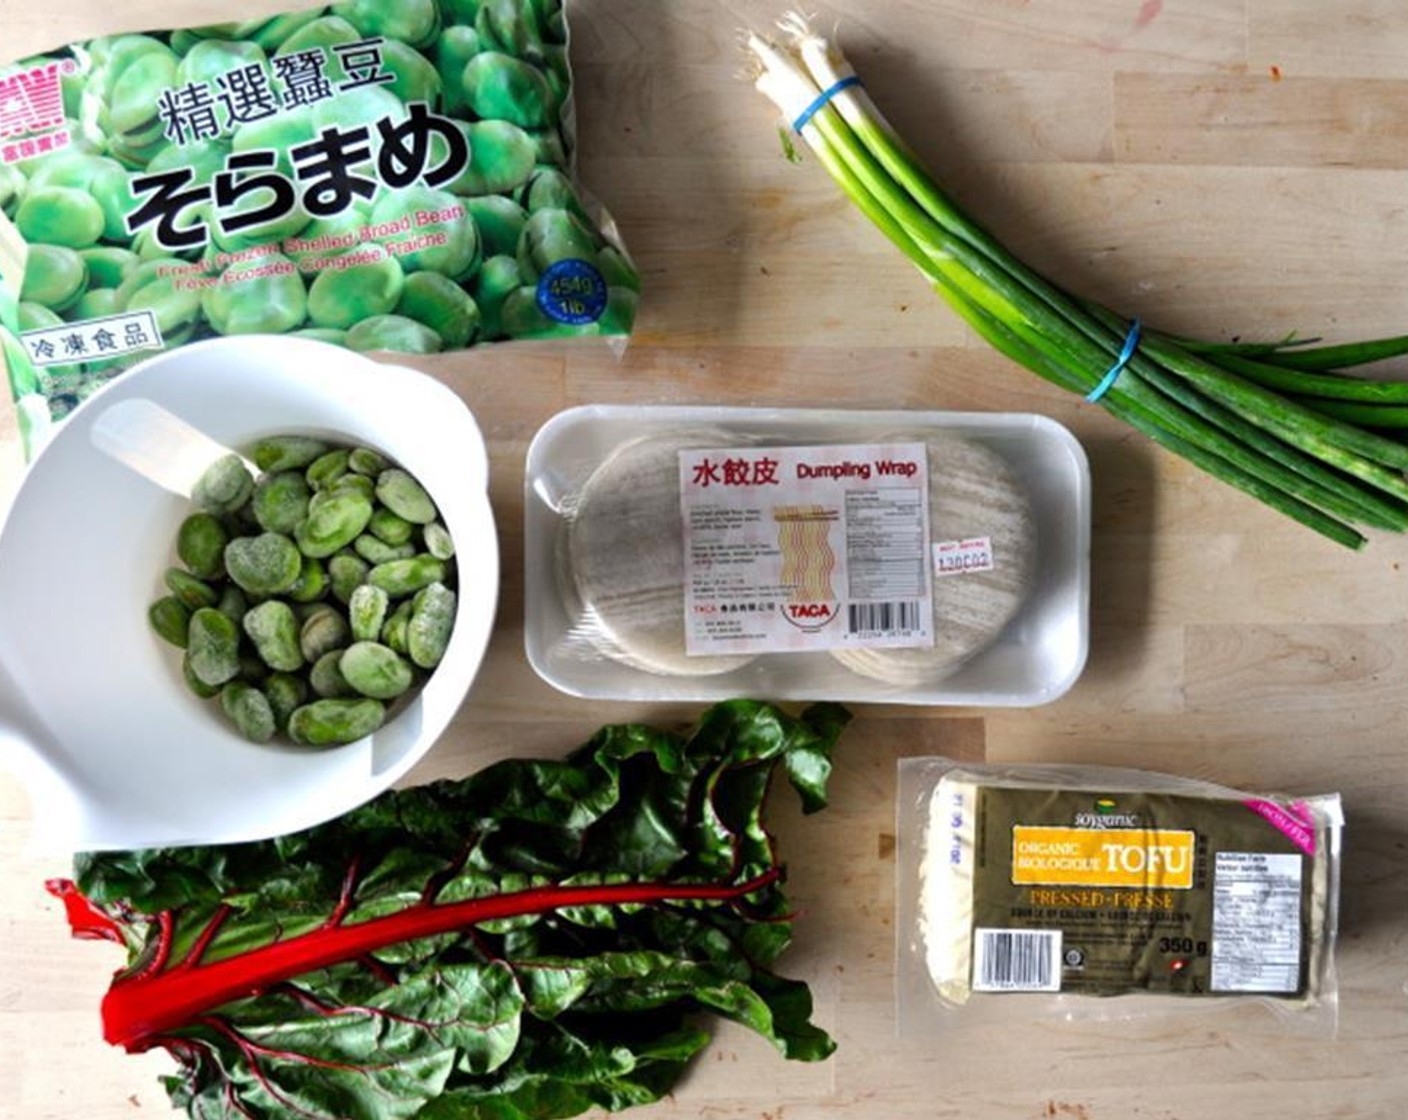
Add Fava Beans (2 cups), Chard (1 1/2 cups), Extra Firm Tofu (1 cup), Sesame Oil (1 tsp) and Kosher Salt (1/2 tsp). Sauté until the fava beans are cooked through and the chard is wilted down. Stir in Rice Vinegar (1 tsp).
step 4
Pour mixture from pan into a colander and let sit for 10-15 minutes, letting the mixture cool down and any extra moisture drain out.
step 5
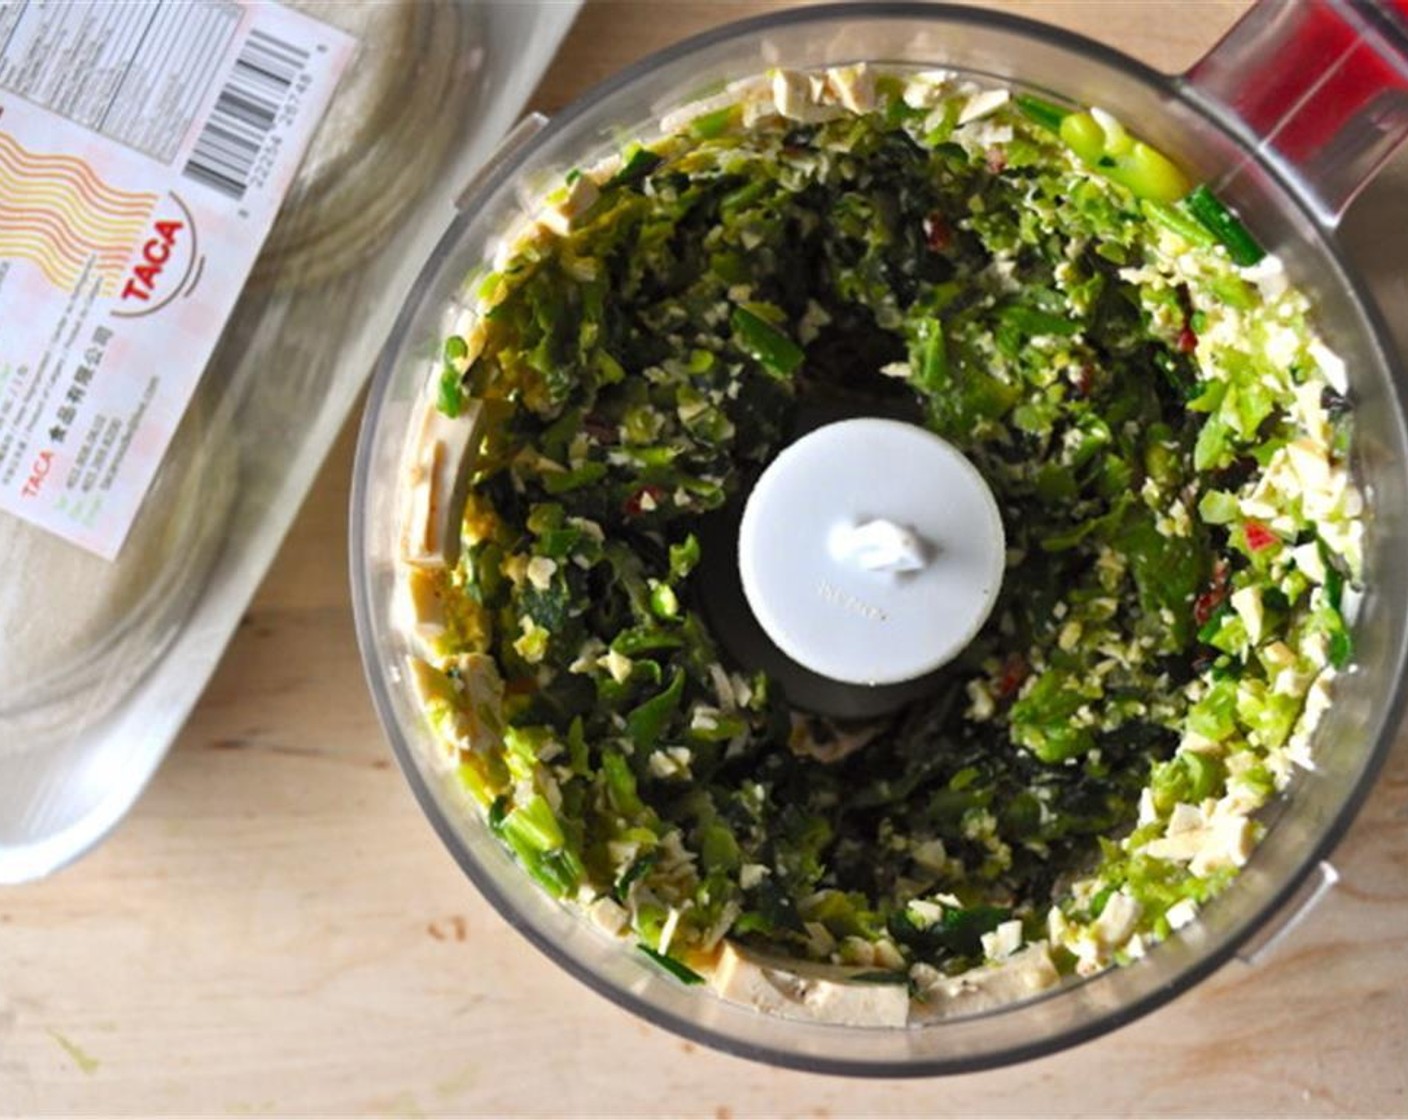
In a food processor, pulse until the mixture is still textured but evenly chopped. The vegetable pieces should be roughly the size of small peas. Taste and re-season.
step 6
Line a large baking tray with parchment paper. In a small bowl combine Water (1/2 cup) and Corn Starch (1 Tbsp), this will be the 'glue' to keep your potstickers together.
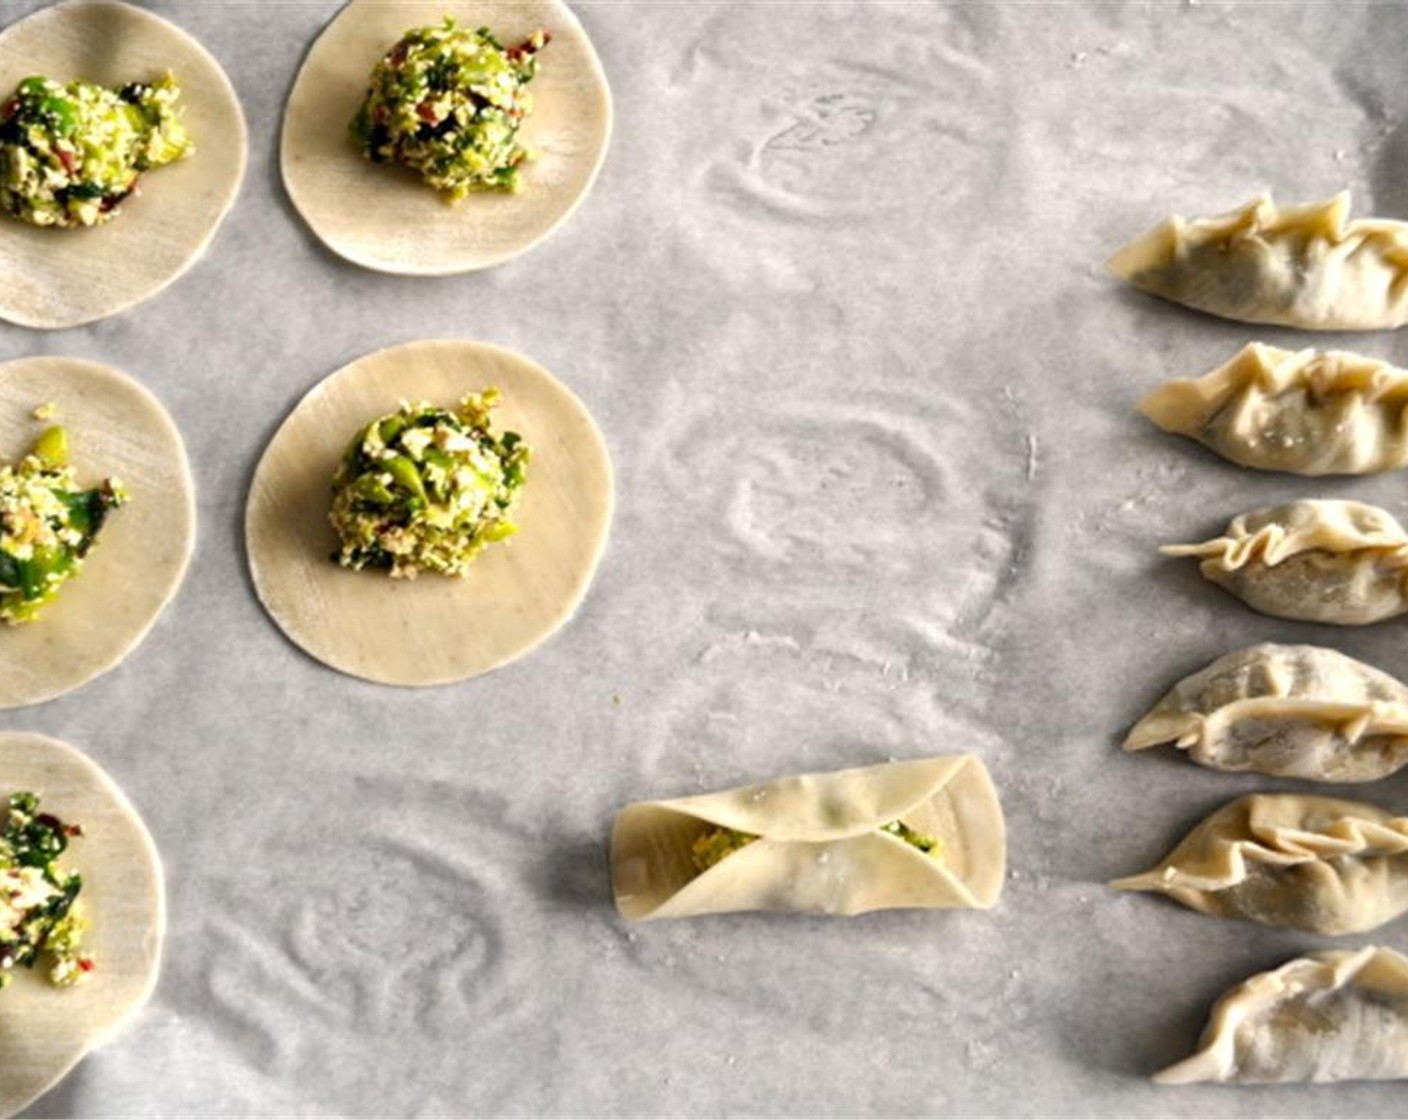
step 7
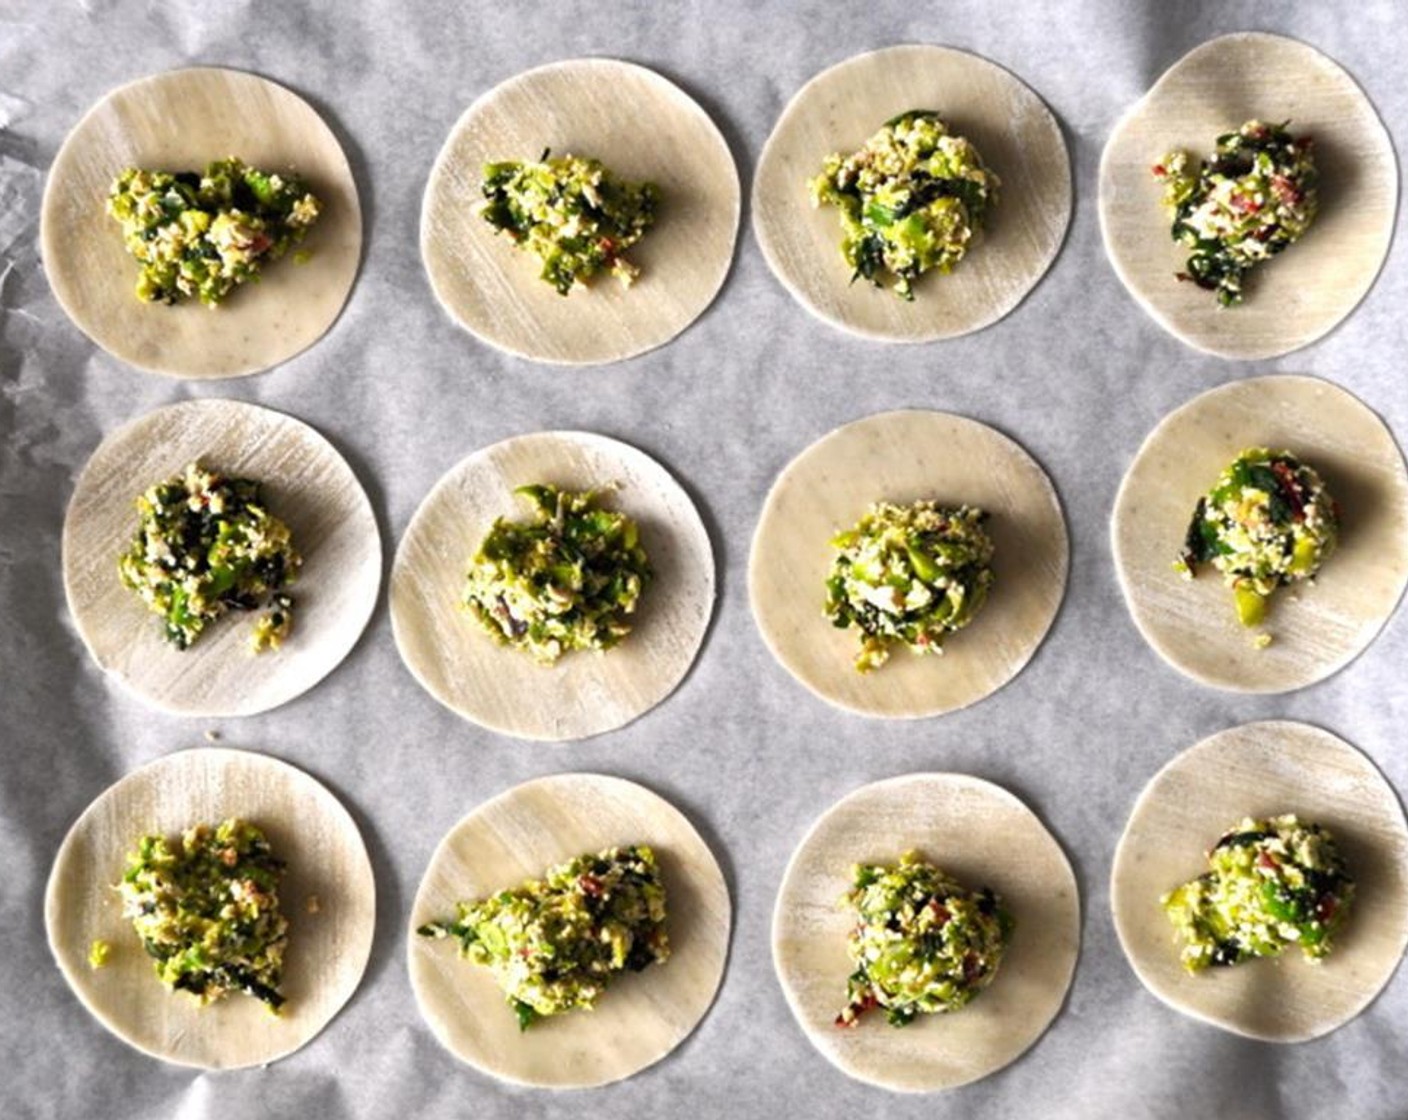
Lay out Dumpling Wrappers (50) on parchment paper. Measure out 1 tablespoon of vegetable mixture. It's best to use a measuring spoon. Place in the middle of a dumpling wrapper.
step 8
Dip your finger into water/cornstarch mixture and run it around the entire edge of the dumpling wrapper. Stick the wrapper together, folding and pressing to seal tighly and make sure there are no air pockets.
step 9
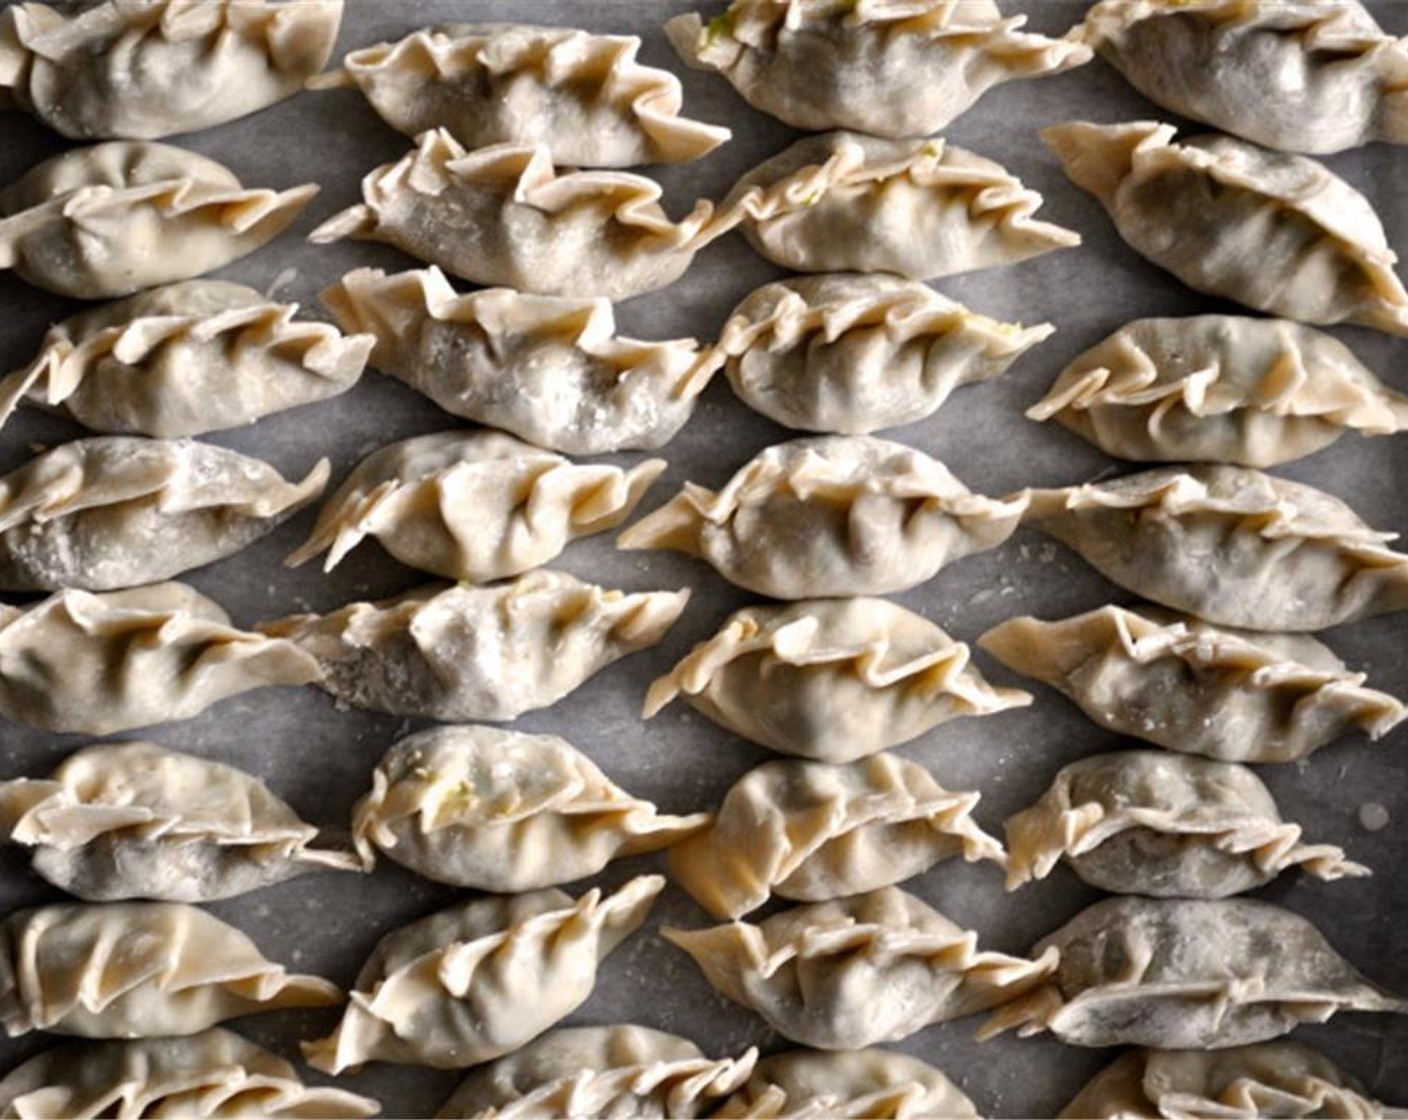
Repeat process until you have used up all of your mixture/dumpling wrappers.
step 10
While you can easily cook your potstickers in one pan, I prefer to do them in two separate pans to avoid sputtering oil.
step 11
In one pan, on high heat, heat up about 1 tablespoon of Canola Oil (1 Tbsp) for 6-8 potstickers. Also, prepare a smaller pan with a lid on high heat with about 1/2 cup of water.
step 12
Place your potstickers in the pan with the oil, letting them brown and develop a crust, about 3 minutes.
step 13
Once your potstickers have a nice brown base, transfer to the pan with water, which should be boiling at this point. Cover and cook for about 3 minutes or 5 minutes if you are doing this from frozen.
step 14
Remove from pan and enjoy with dipping sauce!