step 1
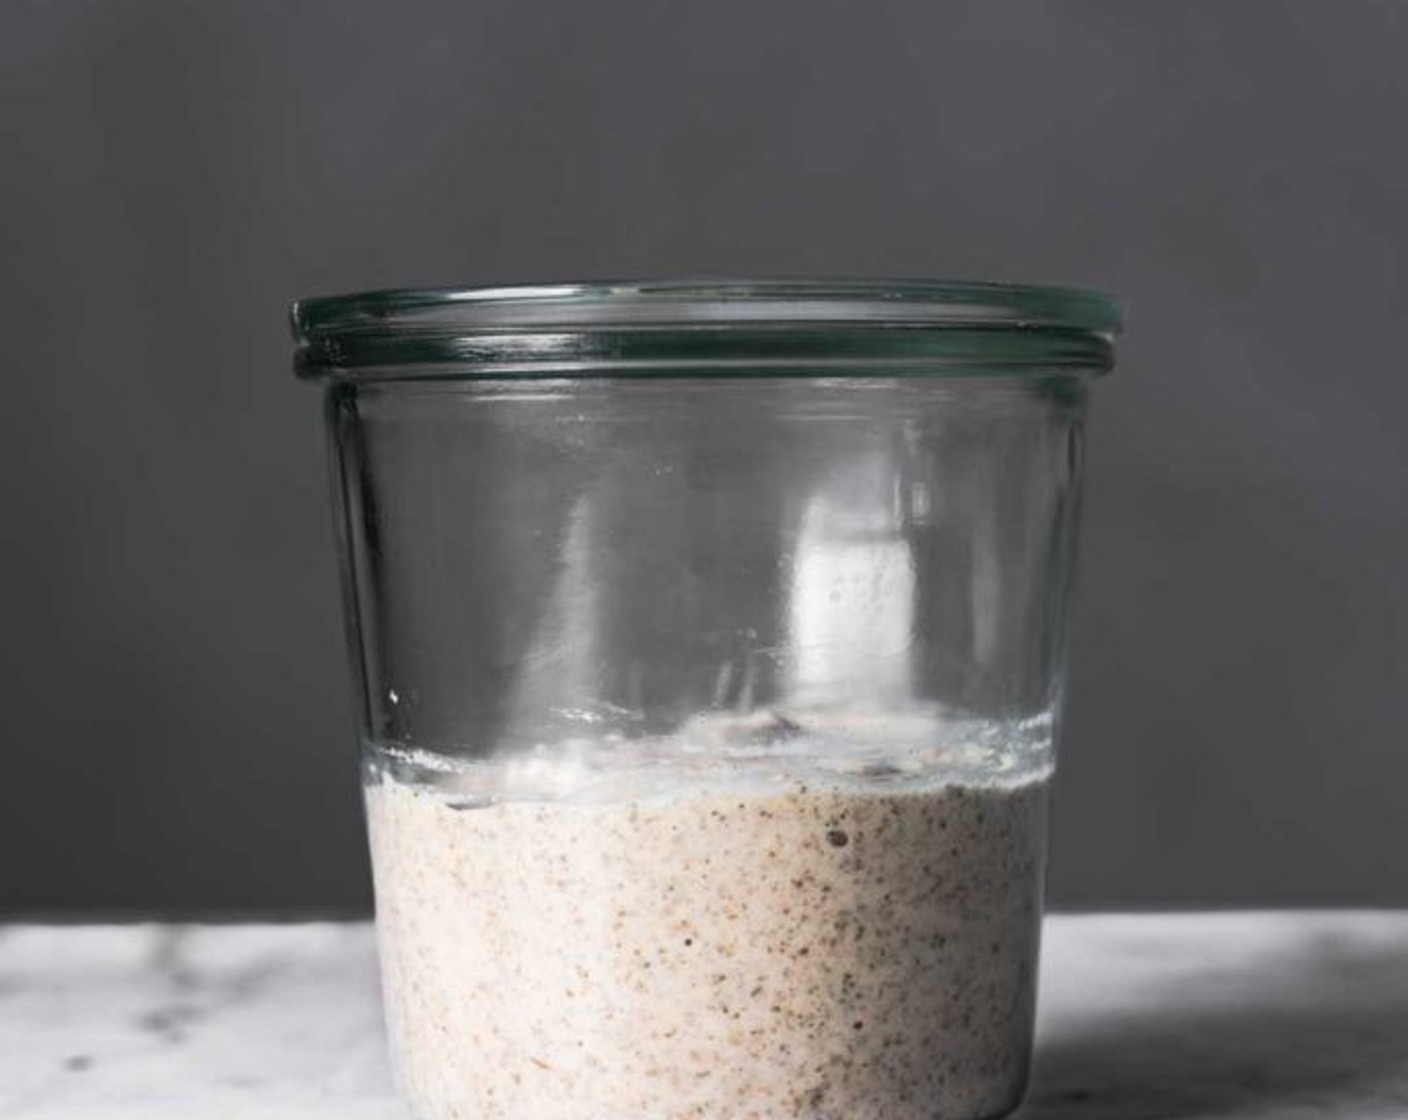
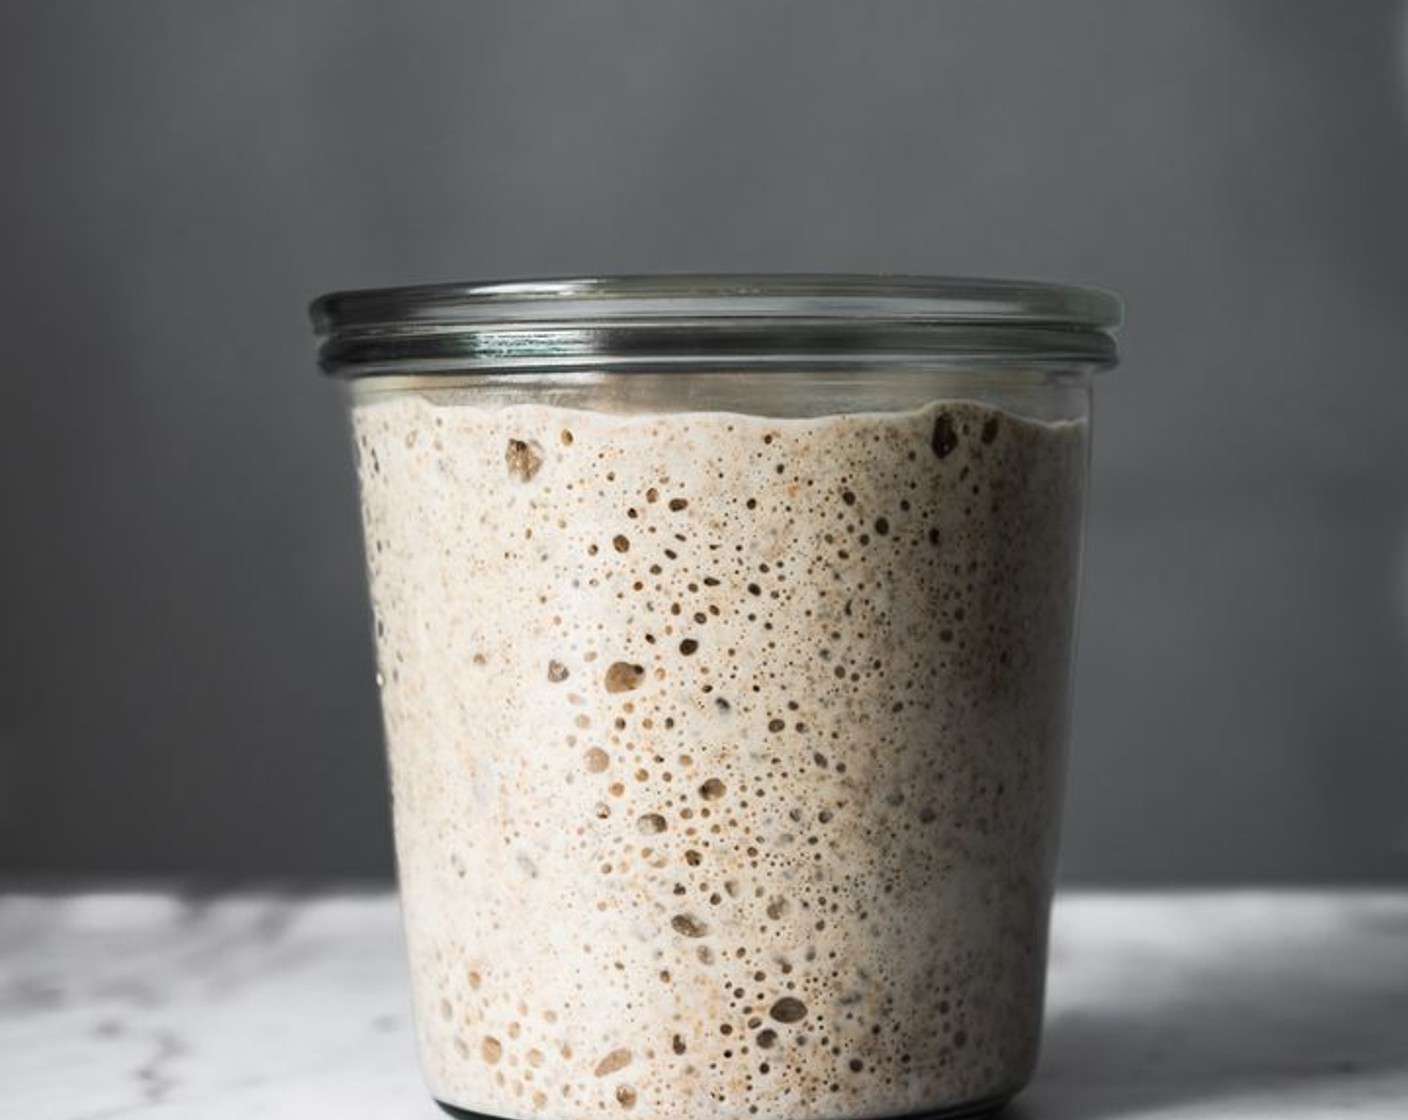
NIGHT BEFORE: Refresh your starter that has been stored in the refrigerator. Leave just Sourdough Starter (1 oz) in the jar, add Filtered Water (3 1/3 Tbsp), Bread Flour (3 Tbsp), and Whole Grain Rye Flour (3 Tbsp), stir with a spatula to combine.
step 2
Set jar to ferment overnight for 8-10 hours at 78 degrees F (25 degrees C).
step 3
Day 1: Build the leaven. Measure 50g of mature starter, Bread Flour (1/3 cup), Whole Wheat Flour (1/3 cup), and Filtered Water (1/3 cup). This is the foundation that will ferment your sourdough loaves.
step 4
Leave the leaven covered to rise in a warm environment for a total of 5 hours.
step 5
Autolyse dough; mix Bread Flour (3 cups), All-Purpose Flour (2 cups), Whole Wheat Flour (1 cup), and Water (2 1/3 cups) until all flour is hydrated.
step 6
Smooth dough with wet hand. Cover and proof alongside the leaven for 3 hours.
step 7
By now your leaven is ready and autolyse of the dough is complete. Add the leaven to the top of the dough. Use your wetted hand to fold and squish the leaven into the dough about 5 minutes or until the two have become one.
step 8
Once well combined, we cover and let the dough rest in a warm place for 20 minutes.
step 9
Sprinkle the Salt (2 tsp) over the dough and use your wetted hand to fold and squish the salt into the dough, about 1 minute.
step 10
Once the salt is starting to mix into the dough, you will use the Rubaud Method to mix the dough for 4 minutes. It can be described as a scoop, lift, and slap method that mimics the action of a diving arm mixer. With each slap, you are incorporating air and building a very extensible dough.
step 11
Once done mixing, we cover and begin bulk fermentation for 30 minutes. Bulk fermentation is the first proof of our sourdough. It is called bulk fermentation because you are letting the entire batch of dough ferment as one mass, before dividing and shaping it into loaves
step 12
Every 30 minutes throughout bulk fermentation, we are going to perform coil folds to strengthen and develop gluten in the dough. To coil the dough, lift and stretch half the dough and coil it under itself. Rotate 90 degrees and repeat.
step 13
Cover and continue bulk ferment for 30 minutes.
step 14
After 30 minutes of rest, perform coil fold number 2. Cover and continue bulk ferment.
step 15
After 30 minutes of rest, perform coil fold number 3. Cover and continue bulk ferment.
step 16
After 30 minutes of rest, perform coil fold number 4. Cover and continue bulk ferment for 1hour.
step 17
After 1 hour of rest, perform coil fold number 5. Let dough rest without folding for the remainder of bulk fermentation. If your dough is fermenting at 78 degrees F (25 degrees C), bulk fermentation should be complete in about 4.5 to 5 hours.
step 18
You will know when to end bulk fermentation when the dough has increased strength, elasticity, smoothness, volume gain, and a bubbly appearance. When you gently shake the bowl, the dough mass will jiggle letting you know that the dough is nice and lively.
step 19
Once bulk ferment is complete, turn dough out from bowl. Sprinkle flour down the center and split dough in half.
step 20
We then divide the dough and perform a pre-shape. Let dough rest for 20 minutes.
step 21
Flip the dough gently and stretch into a rectangle. Fold each corner into the center diagonally. Repeat the same folding pattern. Fold and roll the last corner up and over the load to shape into a batard. Use a bench scraper to form the batard uniformly.
step 22
Gently rub a bit of flour, flip, and place in floured banneton. Cover each banneton with a damp kitchen towel or place in a reusable plastic bag.
step 23
Place covered bannetons in 37 degrees F (3 degrees C) refrigerator to retard overnight, about 12-16 hours.
step 24
Day 2: Preheat oven to 500 degrees F (260 degrees C) with a baking stone or steel on the bottom rack & covered dutch oven set on the middle rack for 1 hour.
step 25
Turn one of your loaves out of its form onto a piece of parchment that is cut to fit your dutch oven.
step 26
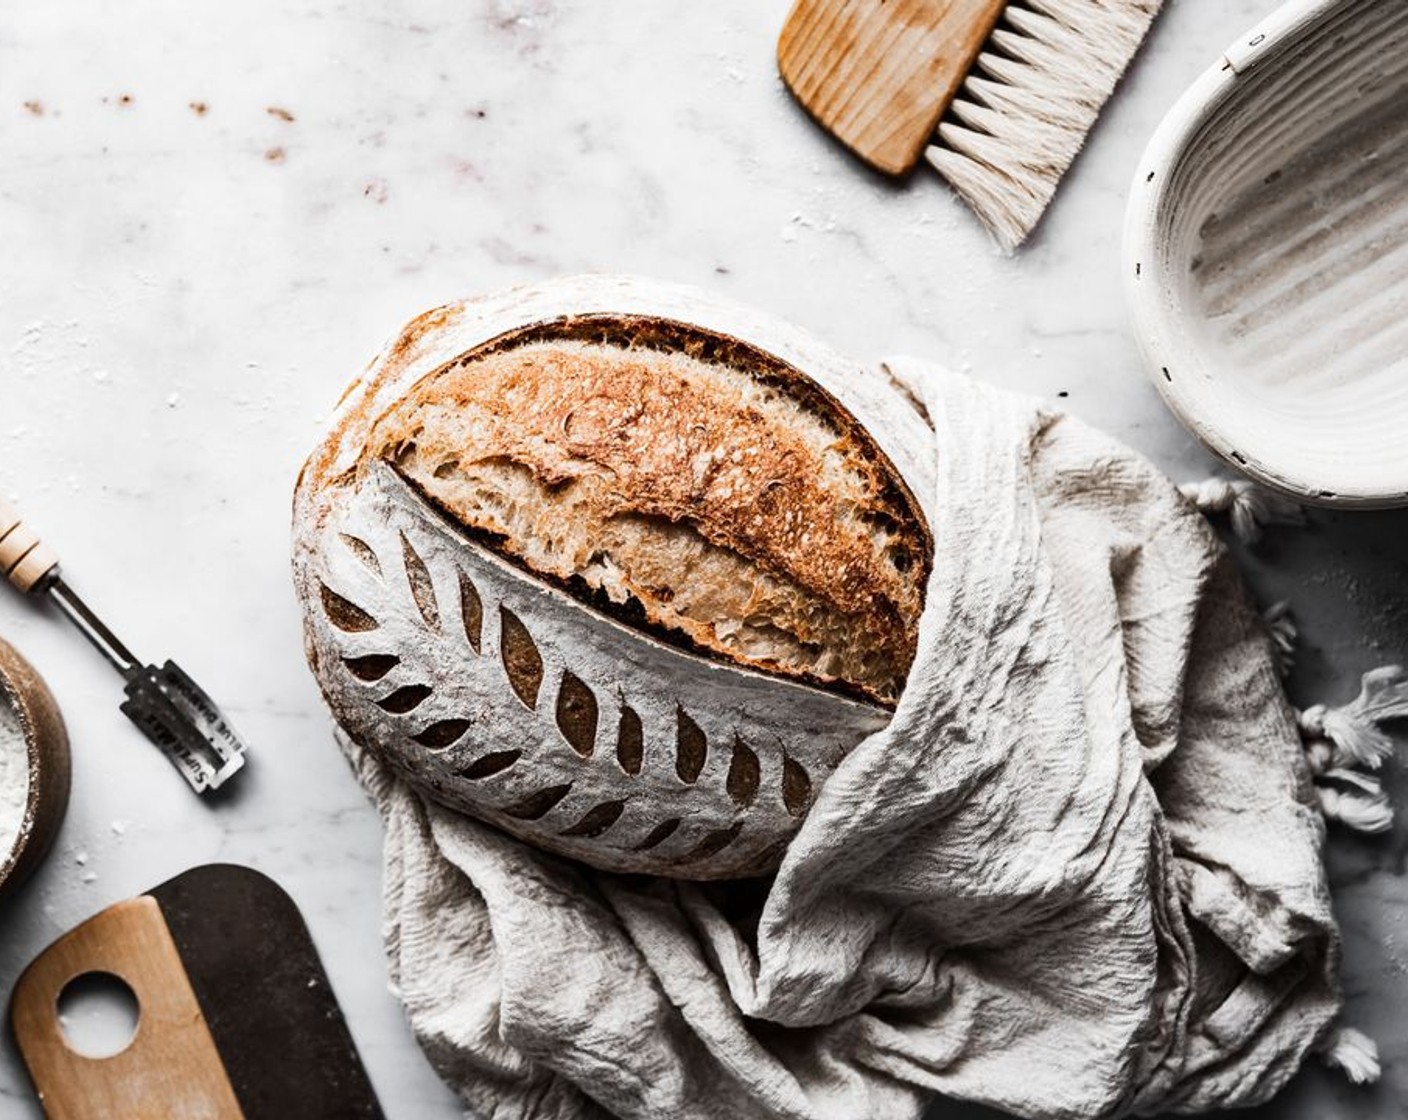
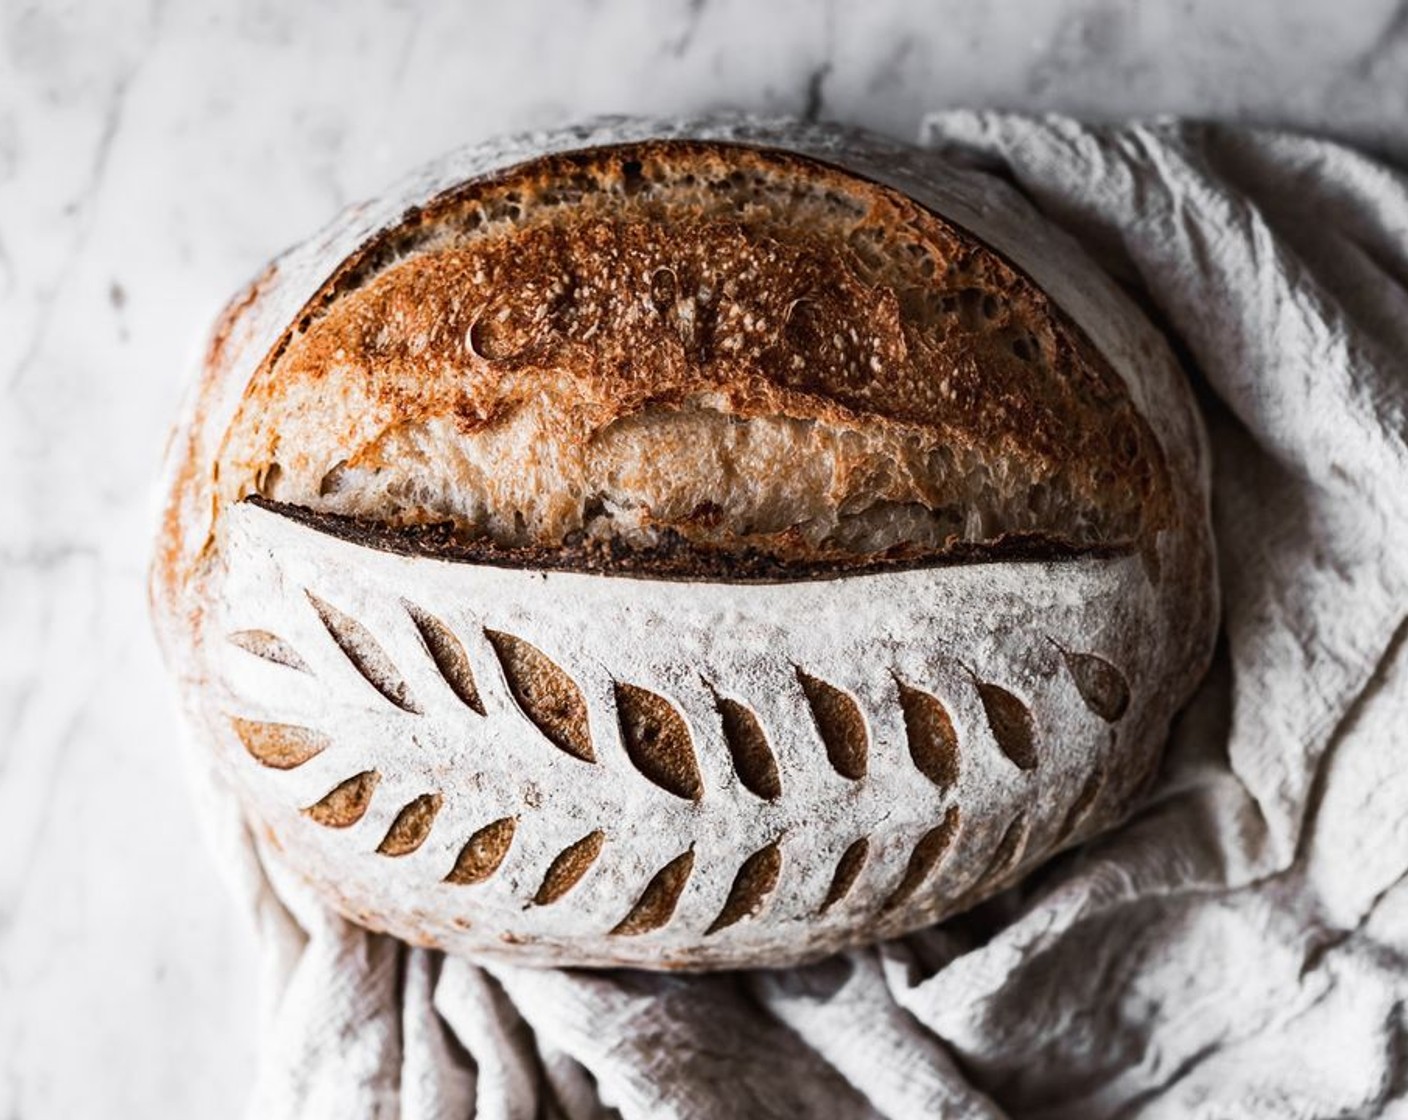
Gently rub the top of the loaf with some bread flour, slash loaf & score with desired design.
step 27
Gently place loaf in preheated dutch oven, cover and bake for 18 minutes.
step 28
Remove dutch oven from oven, uncover and lift bread from the dutch oven by the parchment paper and place bread on a baking sheet.
step 29
Turn down the oven to 400 degrees F (200 degrees C) and bake bread for another 22 minutes. Interior temp should register 210 degrees F (98 degrees C).
step 30
Allow loaf to cool at room temperature on a cooling rack.
step 31
Baking the second loaf: When you remove the first loaf to finish its last 22 minutes of baking, return the covered dutch oven back to the oven to stay hot.
step 32
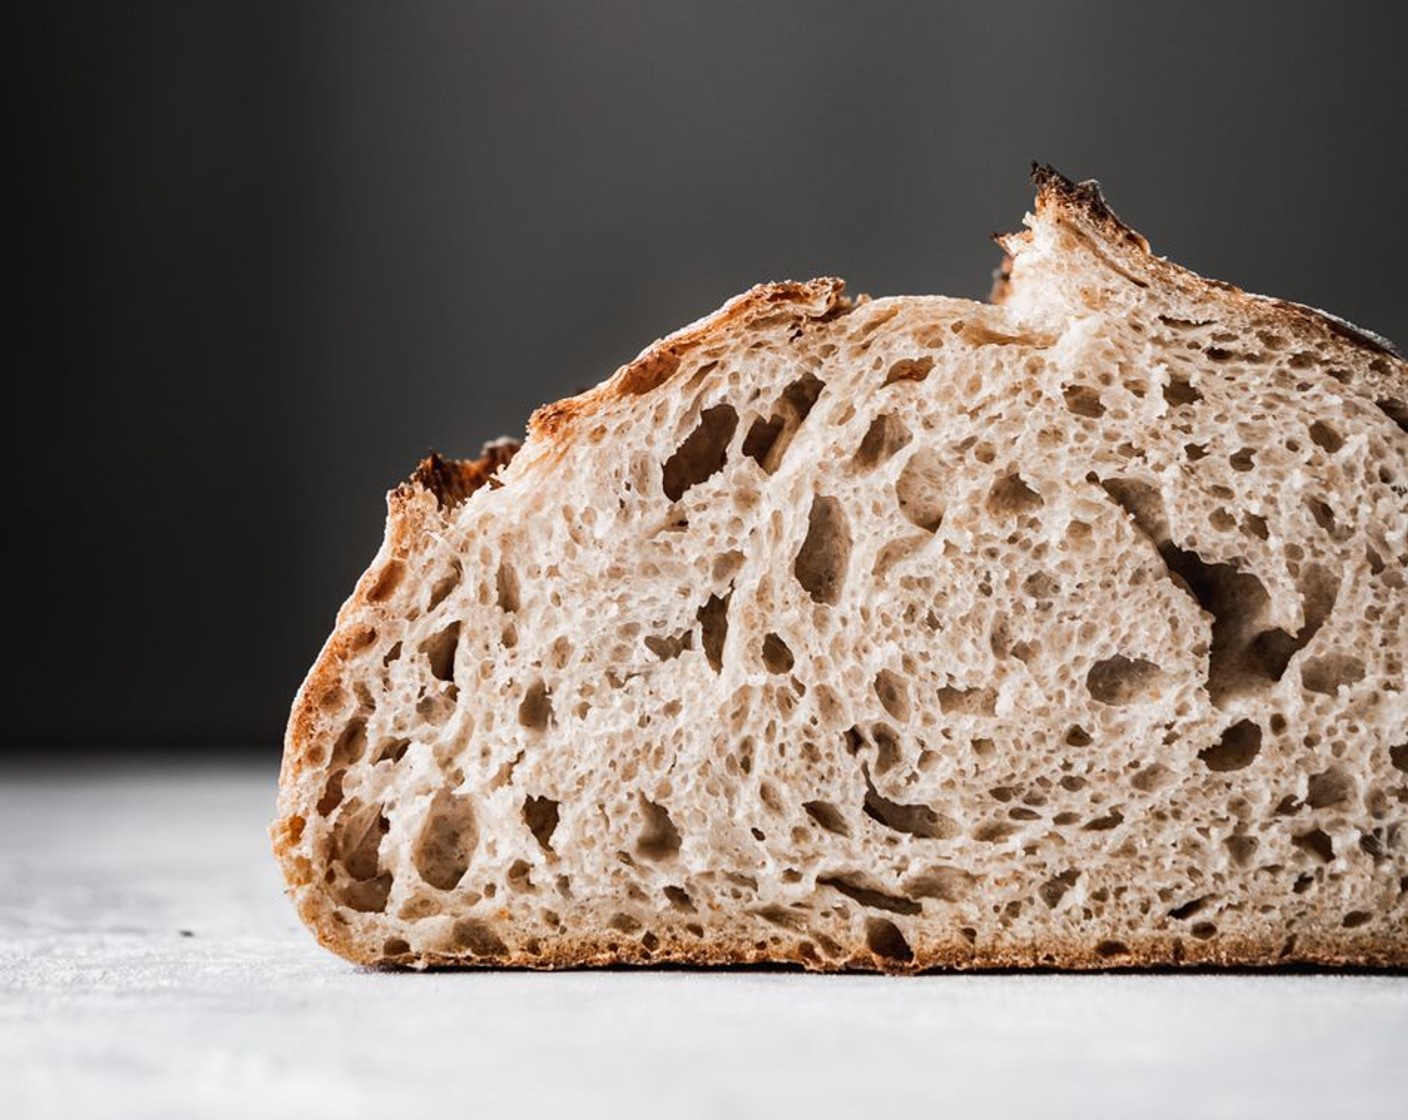
When first loaf is done baking re-heat oven to 500 degrees F (260 degrees C) and heat the covered dutch oven for 30 minutes at 500 degrees F before baking the second loaf as per instructions above.
step 33
Sourdough loaves keep best stored at room temperature in a bread bag or box if you are going to eat the entire loaf within the first day. Leftover sourdough is best when toasted. To preserve the freshness of your leftover sourdough, slice and freeze any leftovers.