step 1
Preheat the oven to 400 degrees F (200 degrees C). Line a rimmed baking sheet with parchment paper.
step 2
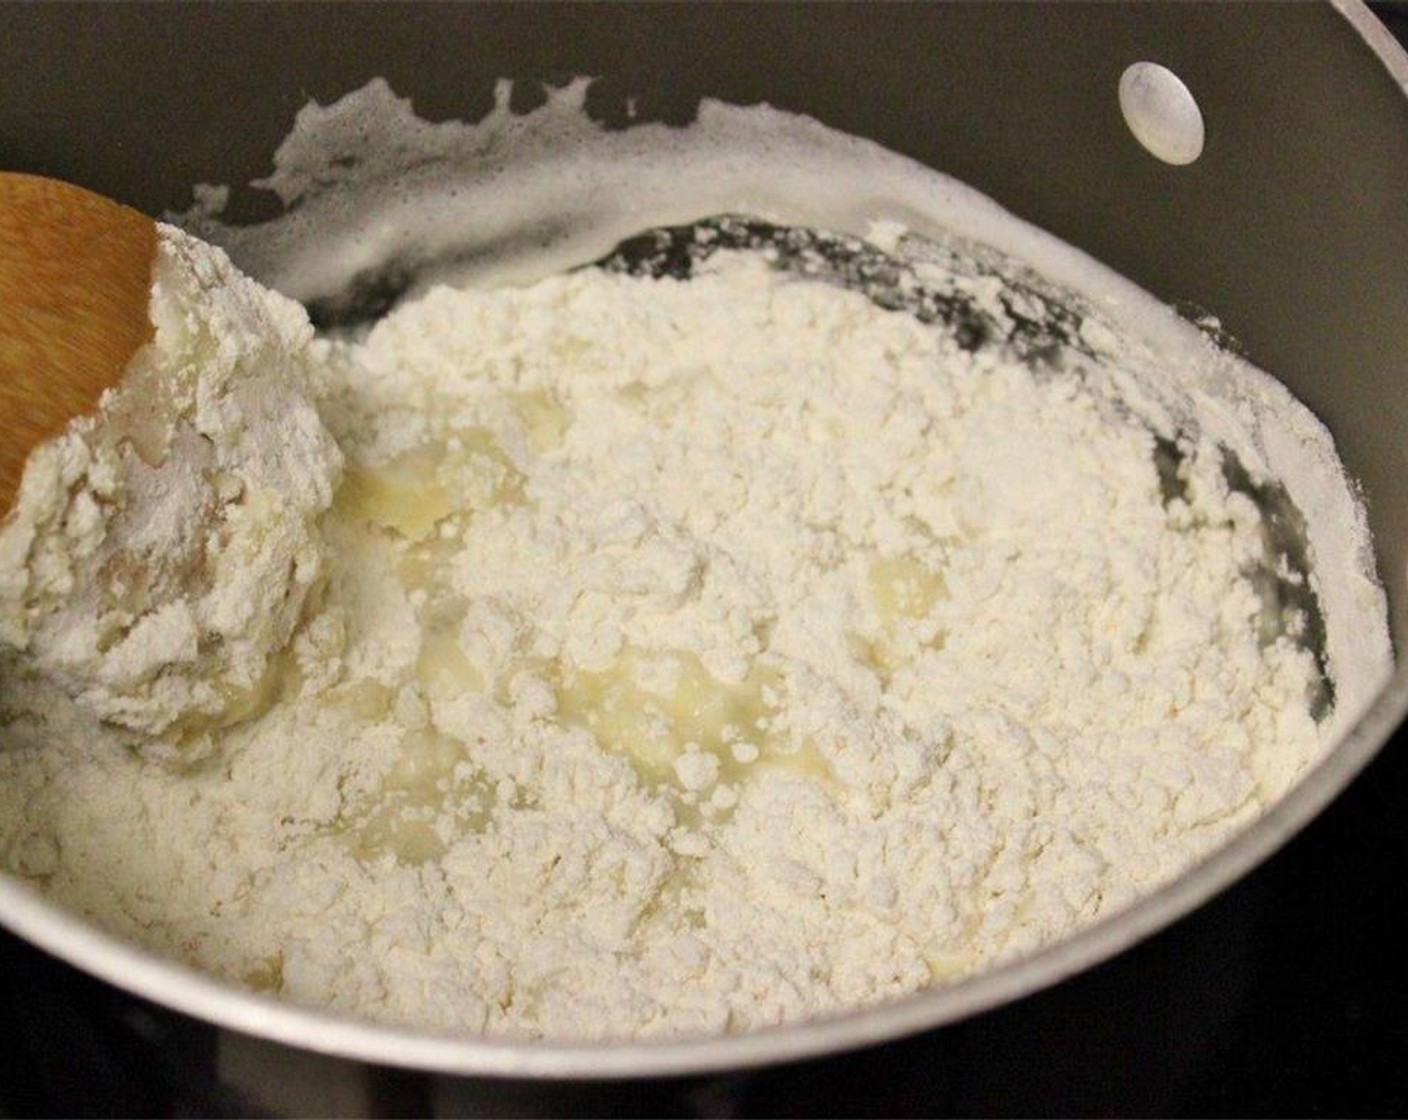
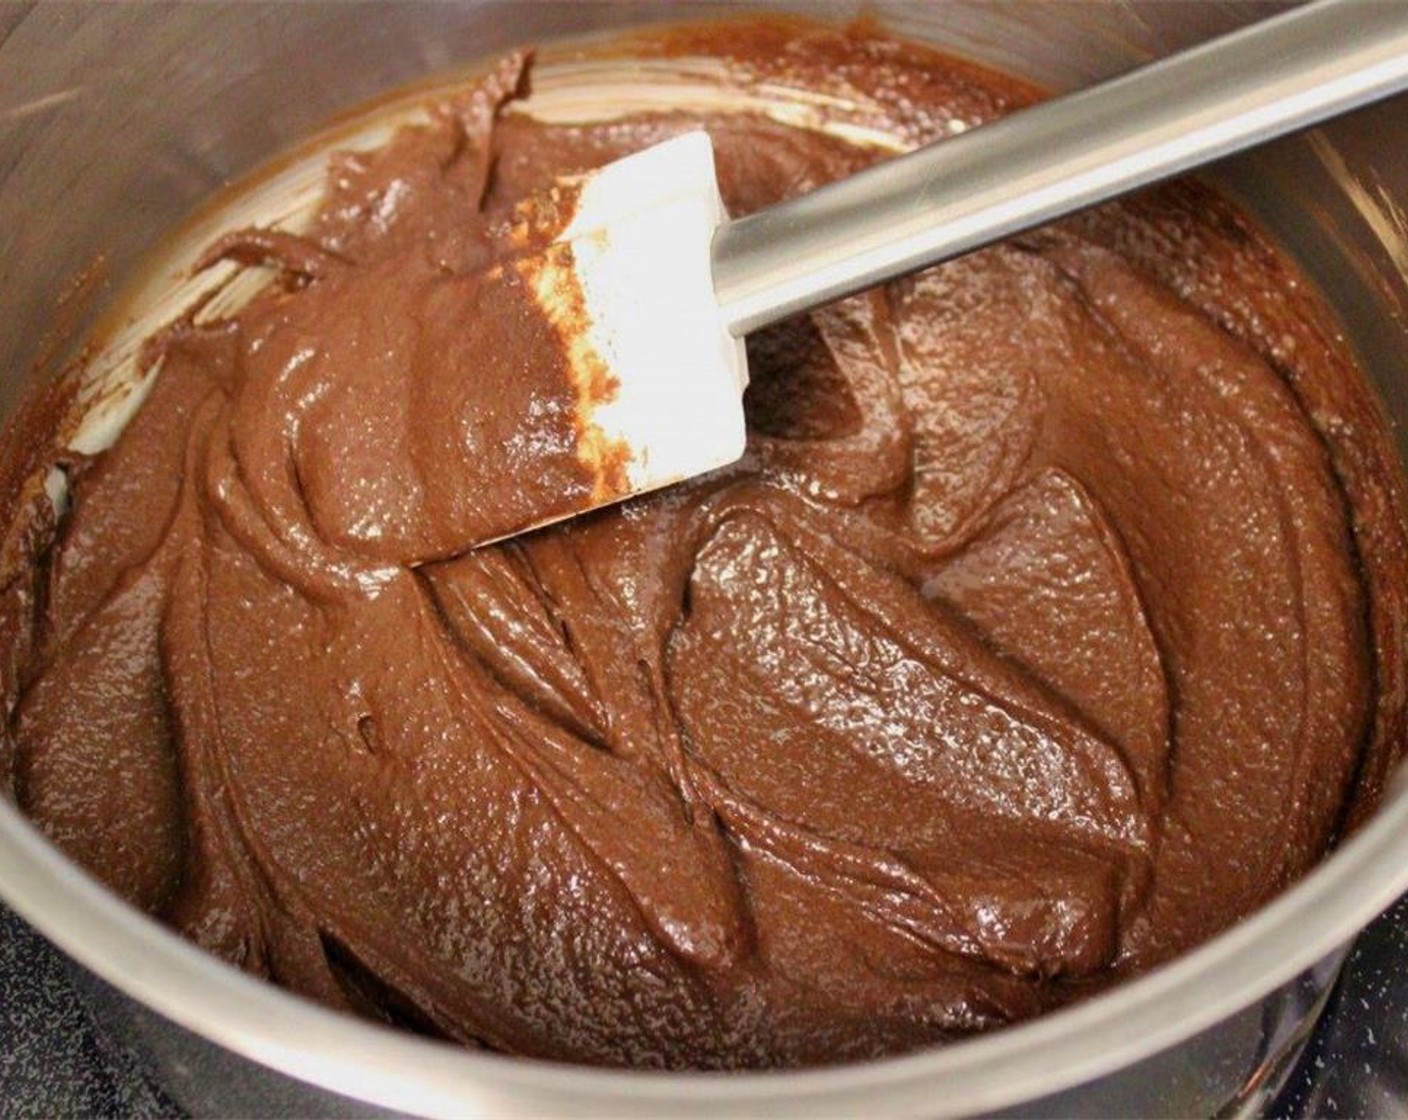
Bring the Water (1 1/2 cups), Butter (1 1/2 sticks), and Salt (1/8 tsp) to a boil in a medium saucepan. Add All-Purpose Flour (1 1/2 cups).
step 3
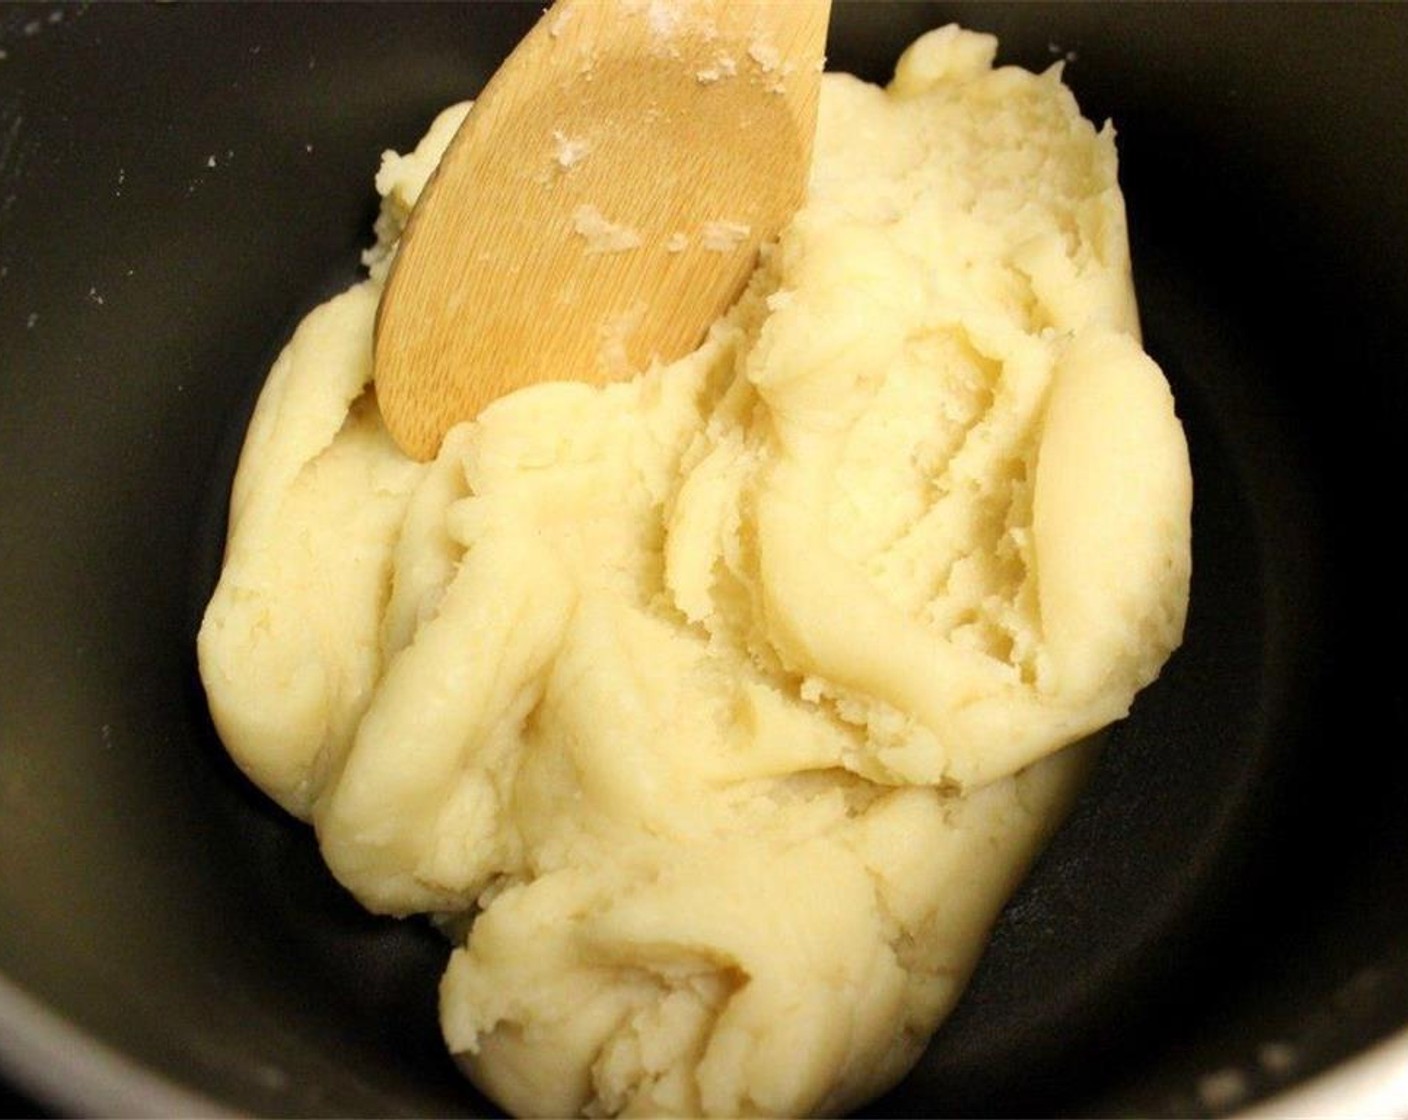
Mix with a wooden spoon until it forms a ball and the flour is mixed in thoroughly.
step 4
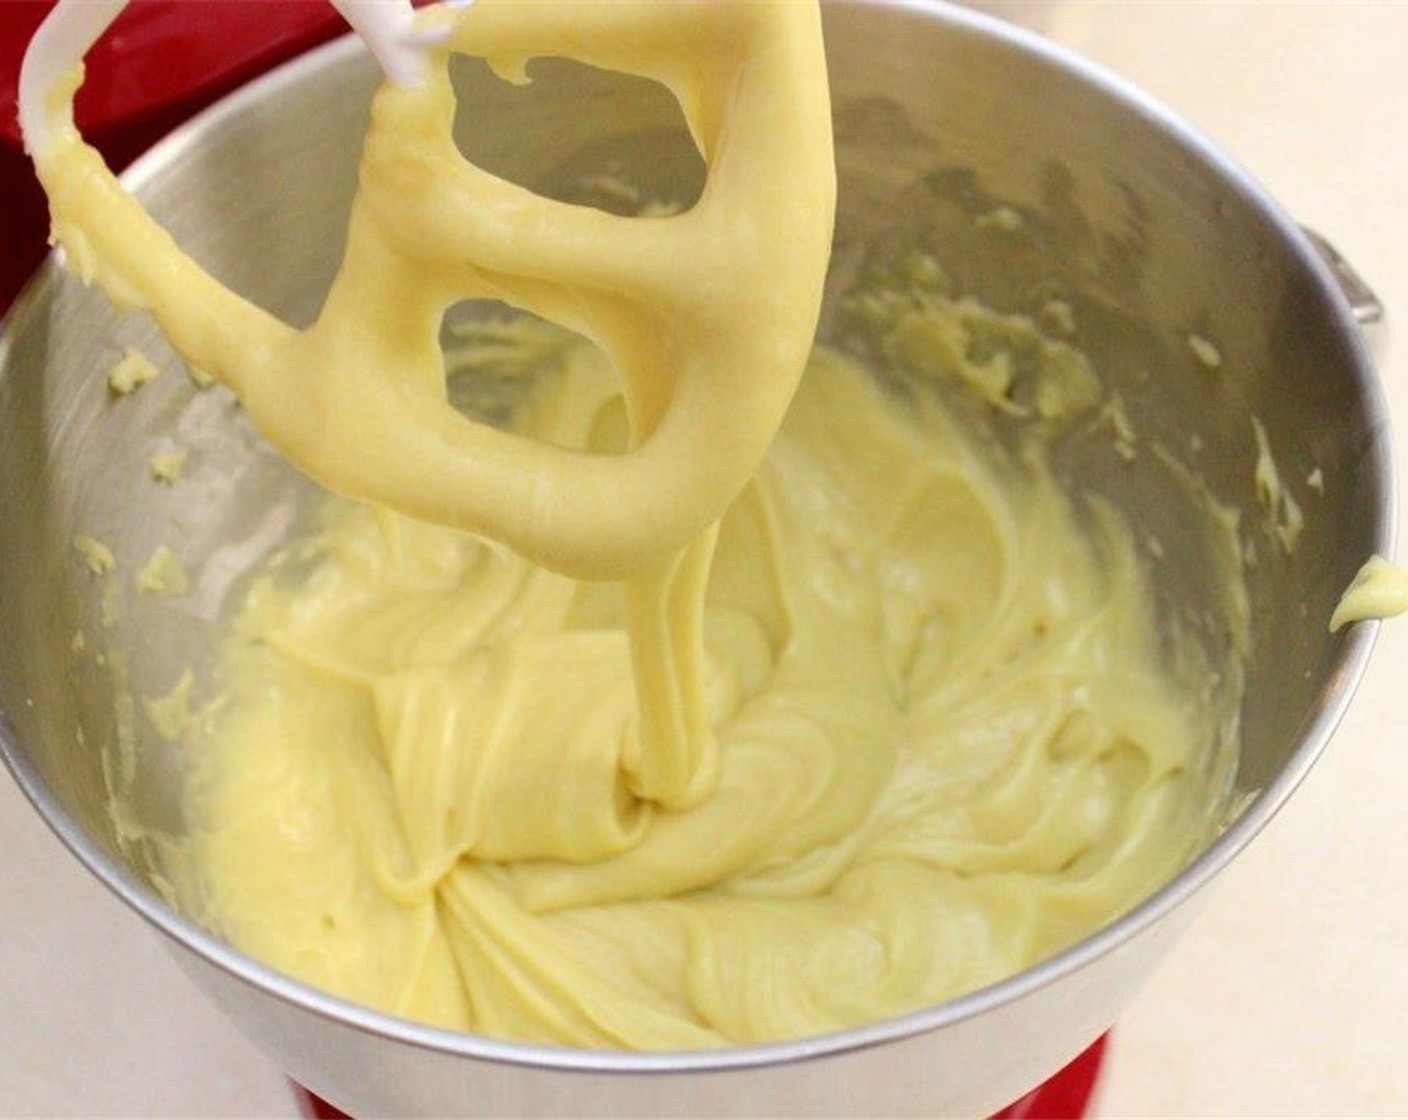
Cool for about 5 minutes or mix with a paddle attachment in a standing mixer or with a hand mixer until steam is no longer rising. Add Eggland's Best Classic Eggs (6) one at a time.
step 5
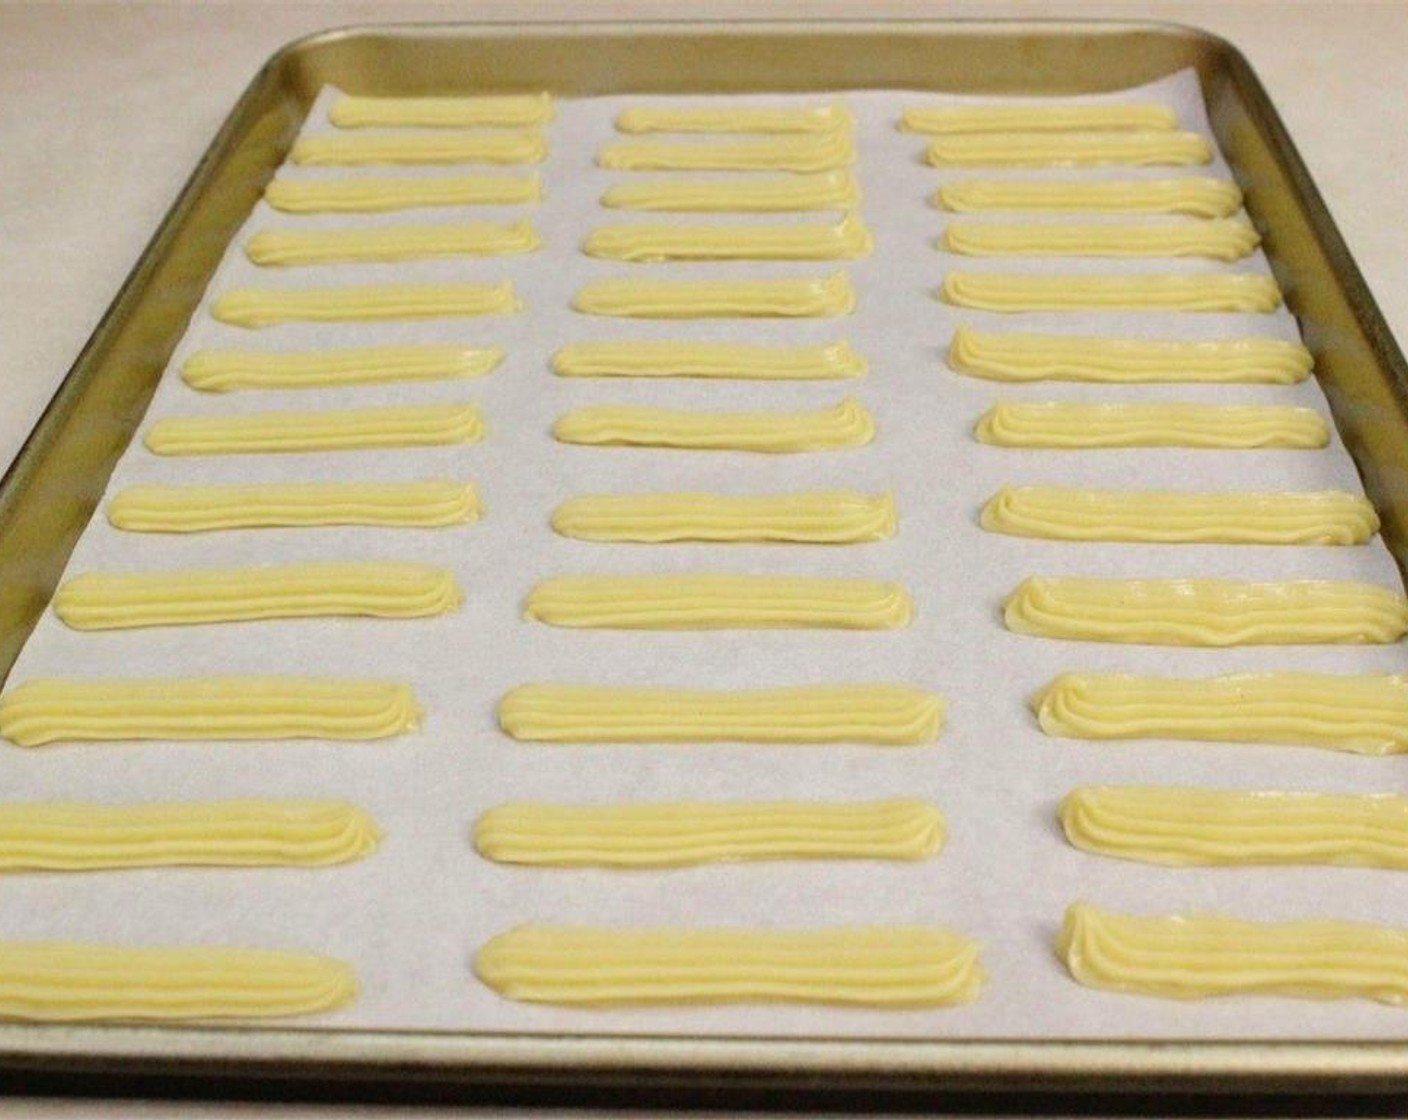
Transfer the batter to a large ziptop bag or a pastry bag and pipe 2-3 inch long strips, about 1 cm thick onto the prepared baking sheet.
step 6
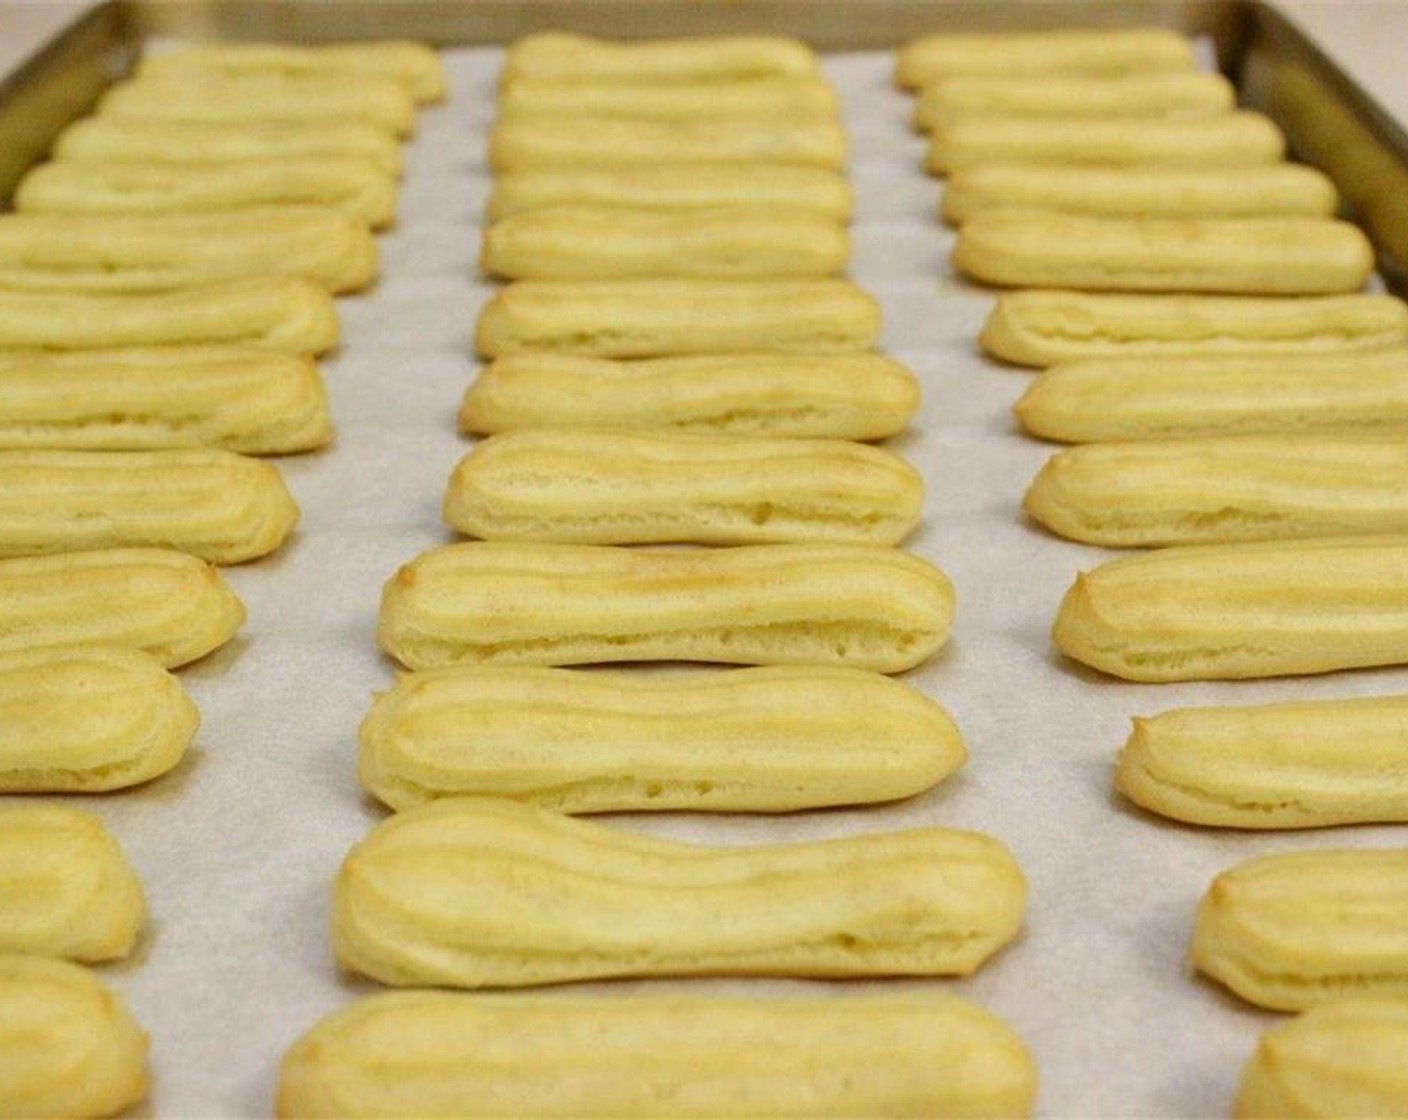
Bake for 15-20 minutes in the preheated oven.
step 7
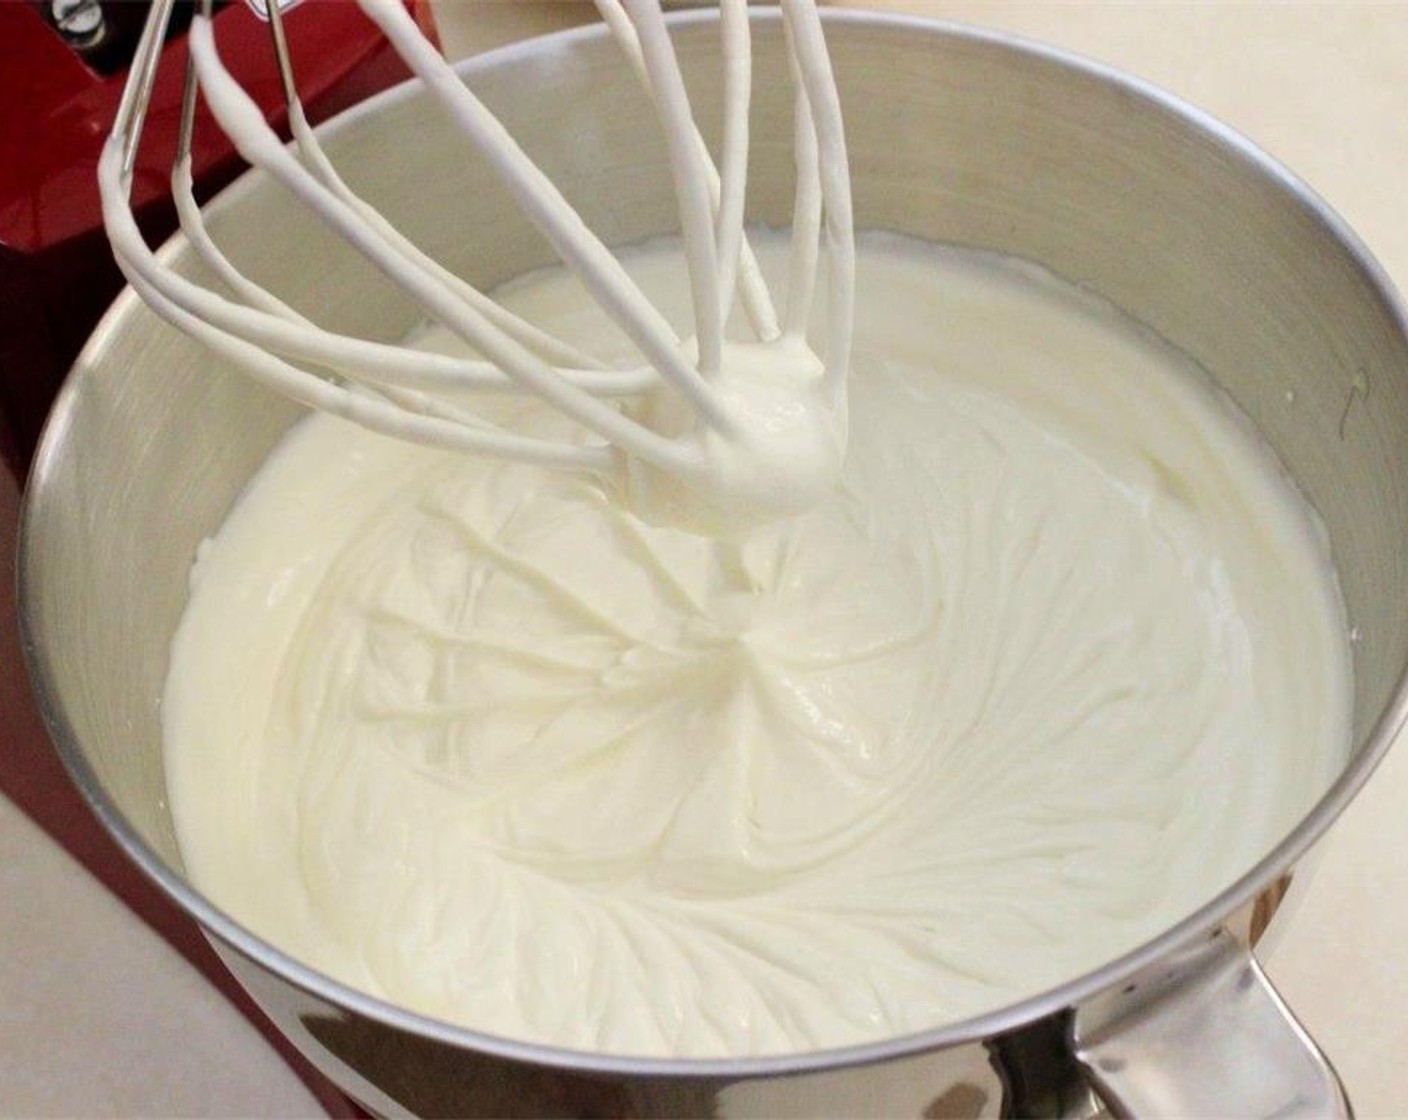
Combine the Sour Cream (4 Tbsp), Sweetened Condensed Milk (1 can), Powdered Confectioners Sugar (1/2 cup), and Simply Organic Vanilla Extract (2 tsp) in a standing mixer using the whisk attachment. Add the heavy Heavy Cream (1 cup) and continue whisking until frosting thickens.
step 8
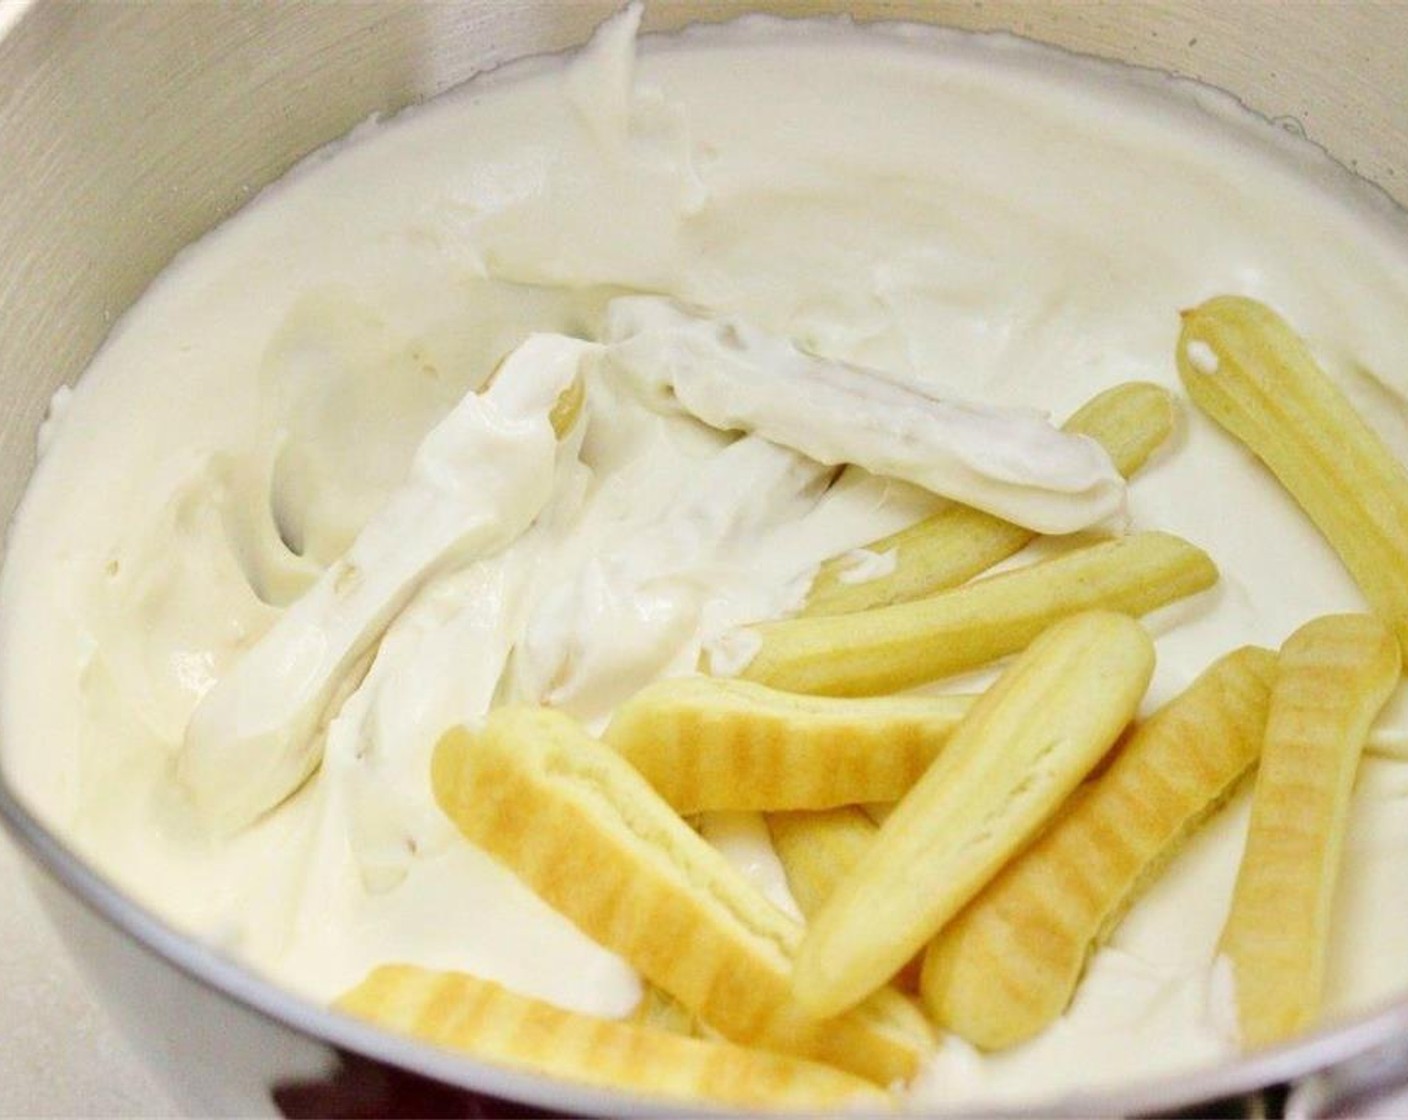
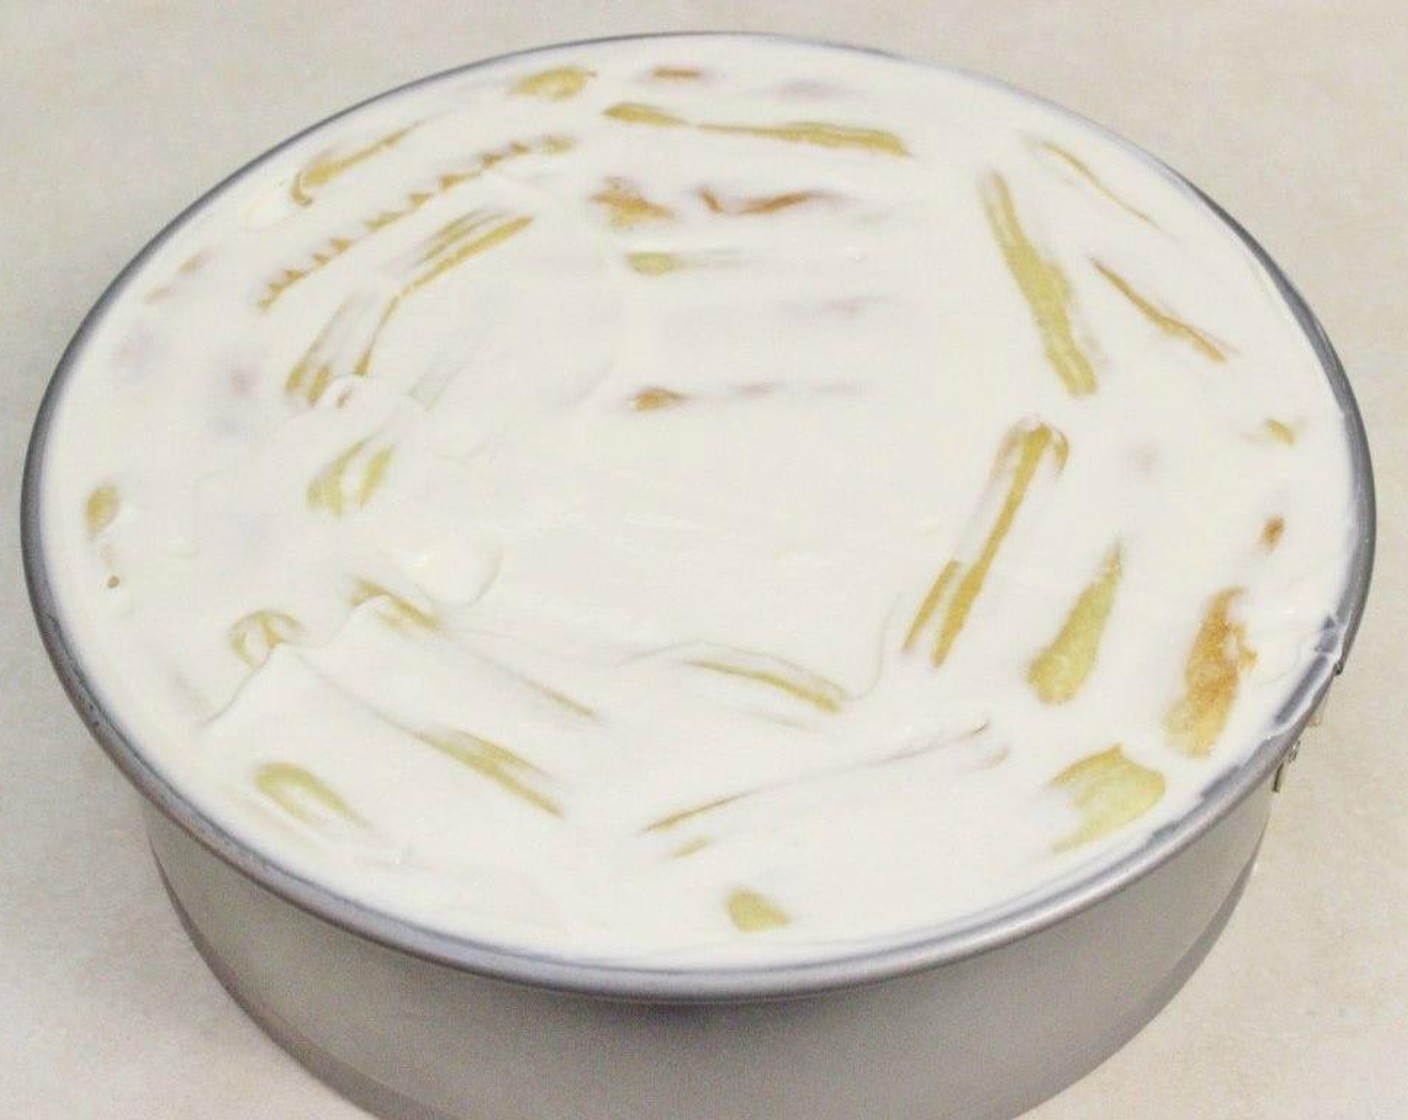
In a 9 inch spring form pan, spread some frosting, about 1/4 cup, on the bottom of the pan. Dip the lady fingers in the frosting bowl.
step 9
Starting at the rim, arrange the lady fingers in a circle in multiple layers to fill the pan all the way to the top.
step 10
Make sure to arrange the lady fingers tightly, if you have little gaps, break the lady fingers into the size that you need.
step 11
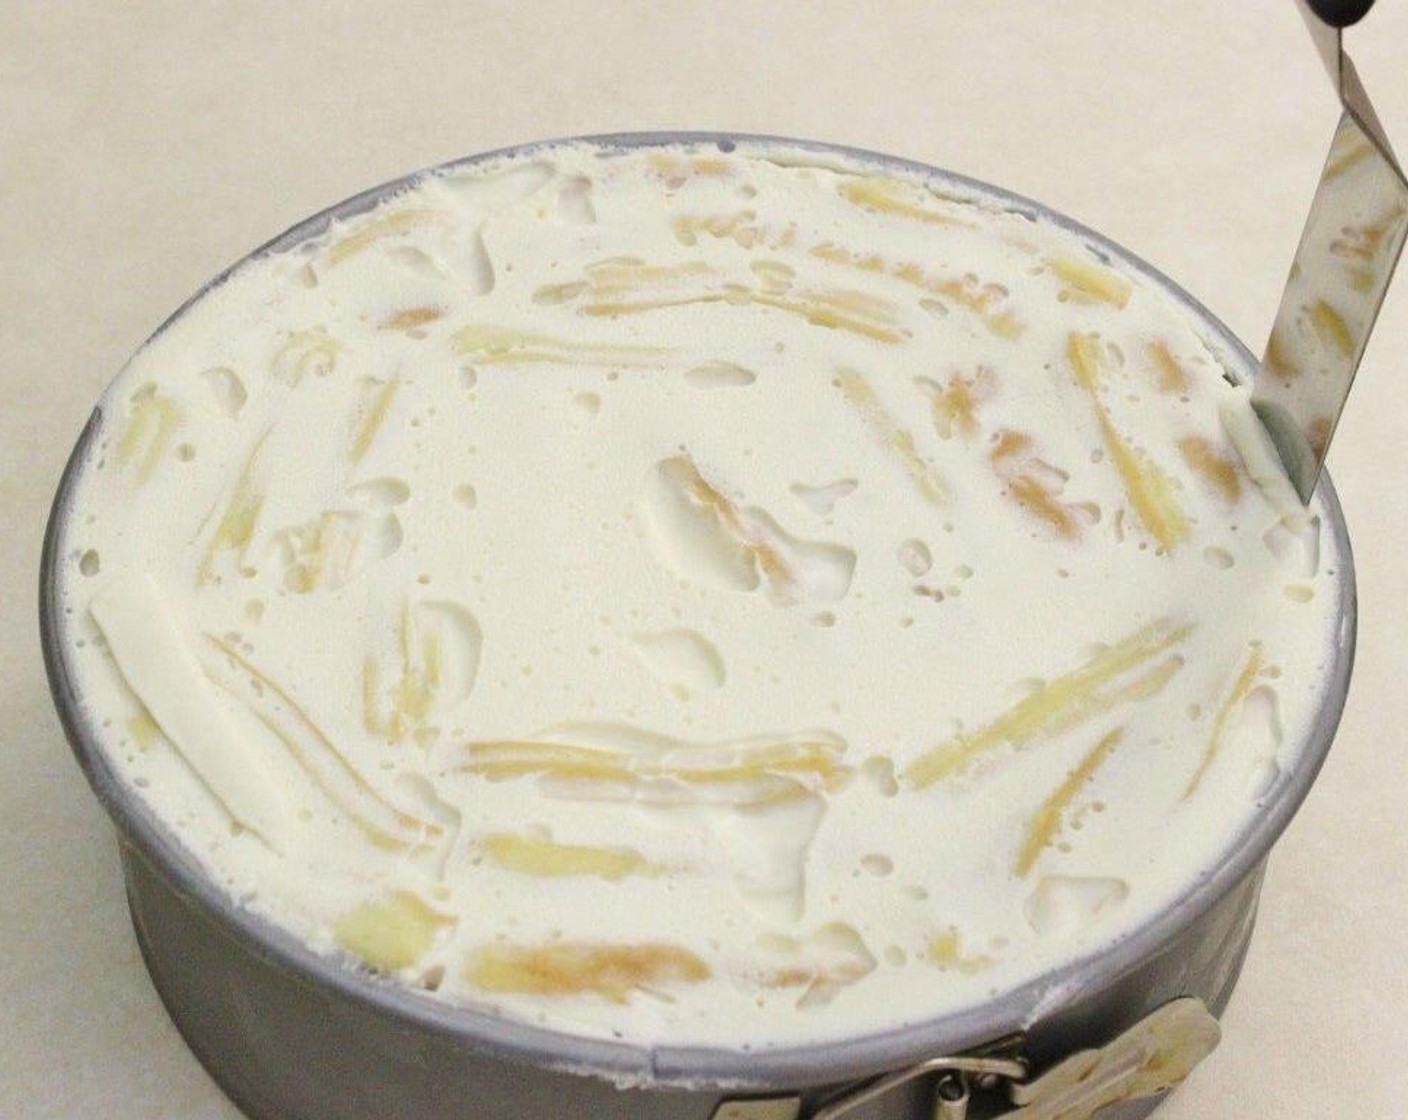
Reserve the left over frosting in a small bowl. Place the cake in the refrigerator to set for a few hours or overnight.
step 12
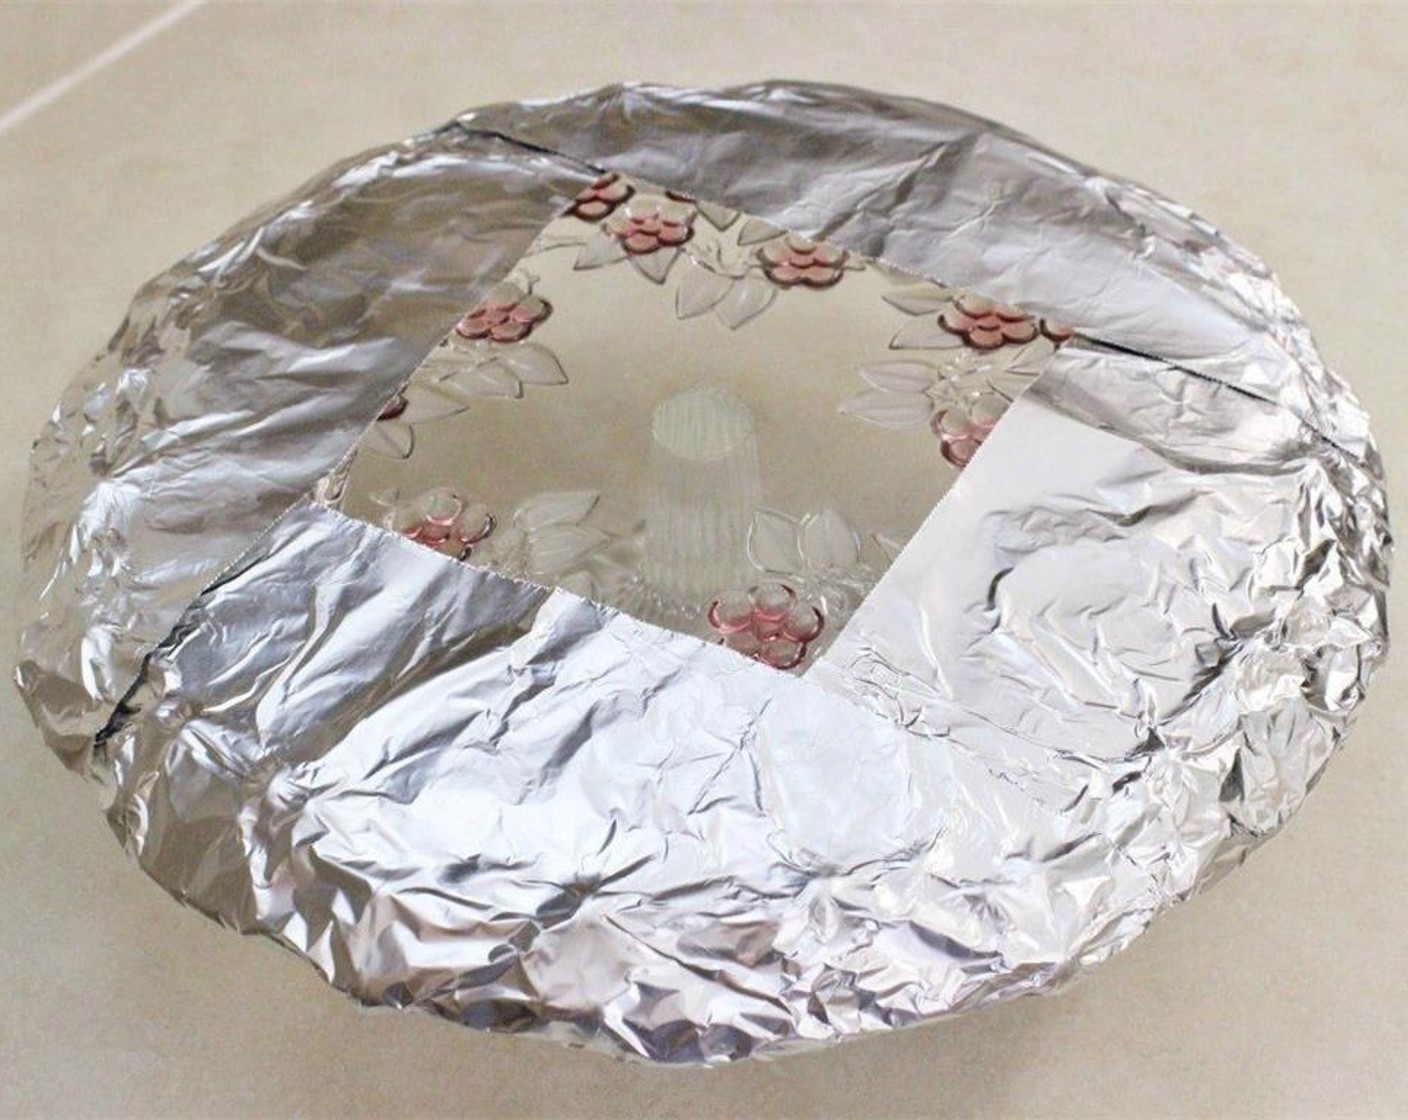
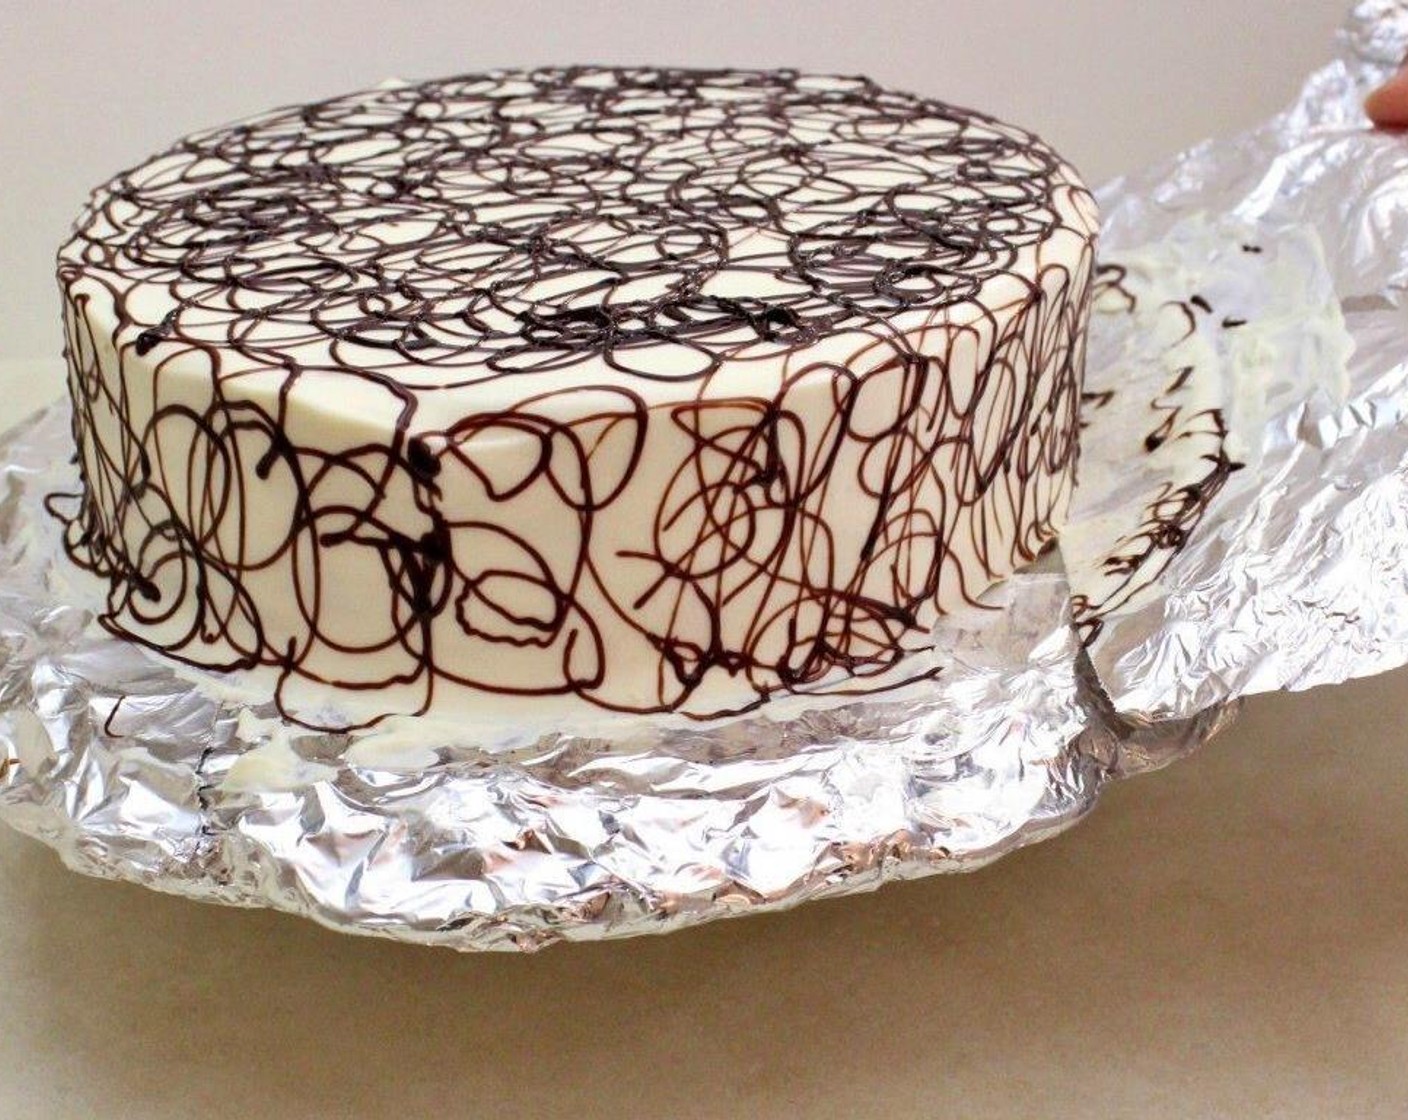
Line the edges of a cake stand or plate with sheets of aluminum foil. (This is to facilitate easy clean up later.)
step 13
After the cake has set in the fridge, run a knife or spatula around the edges of the cake.
step 14
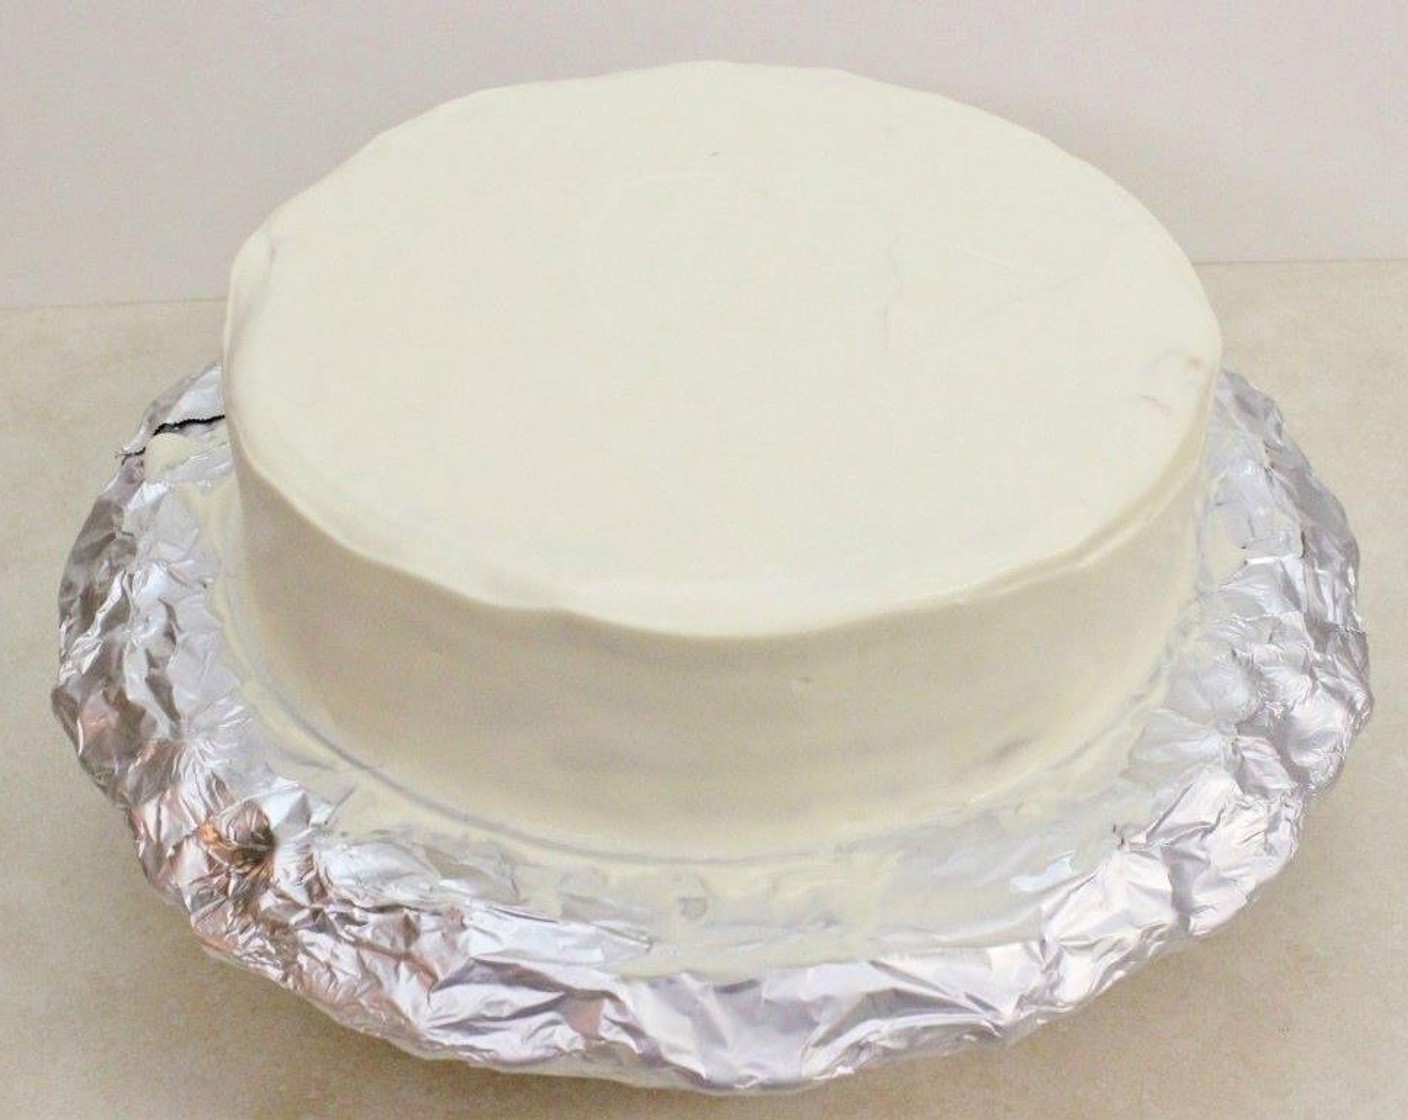
Invert the cake onto the center of the platter and take it out of the spring form pan.
step 15
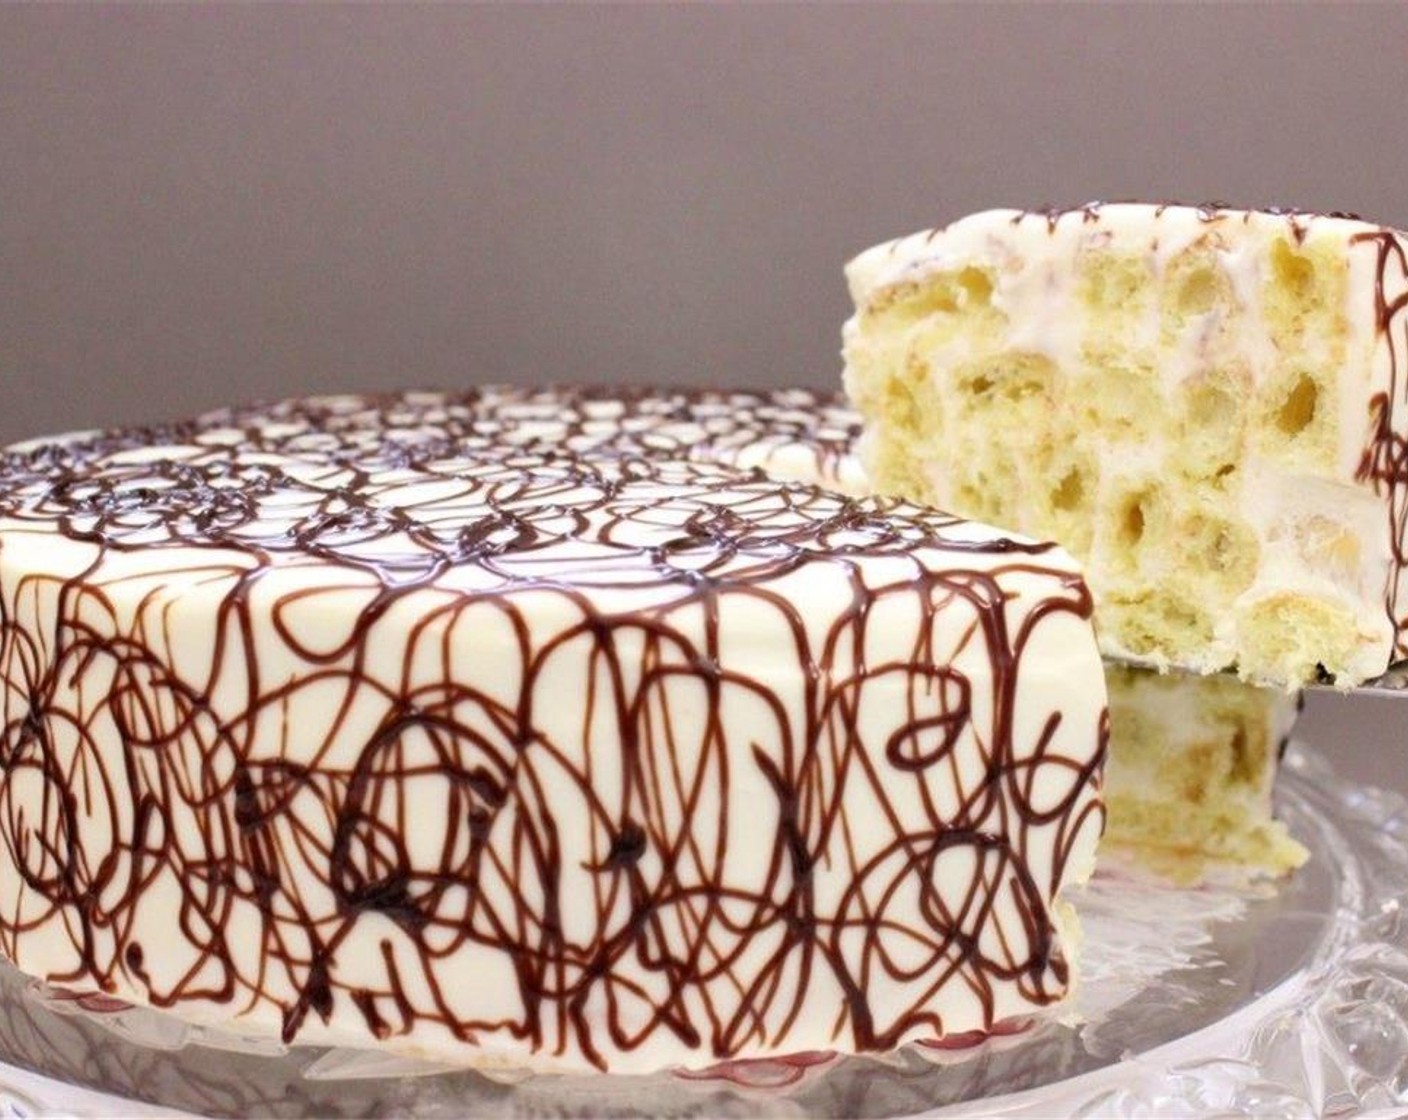
Cover the top and sides with the reserved frosting.
step 16
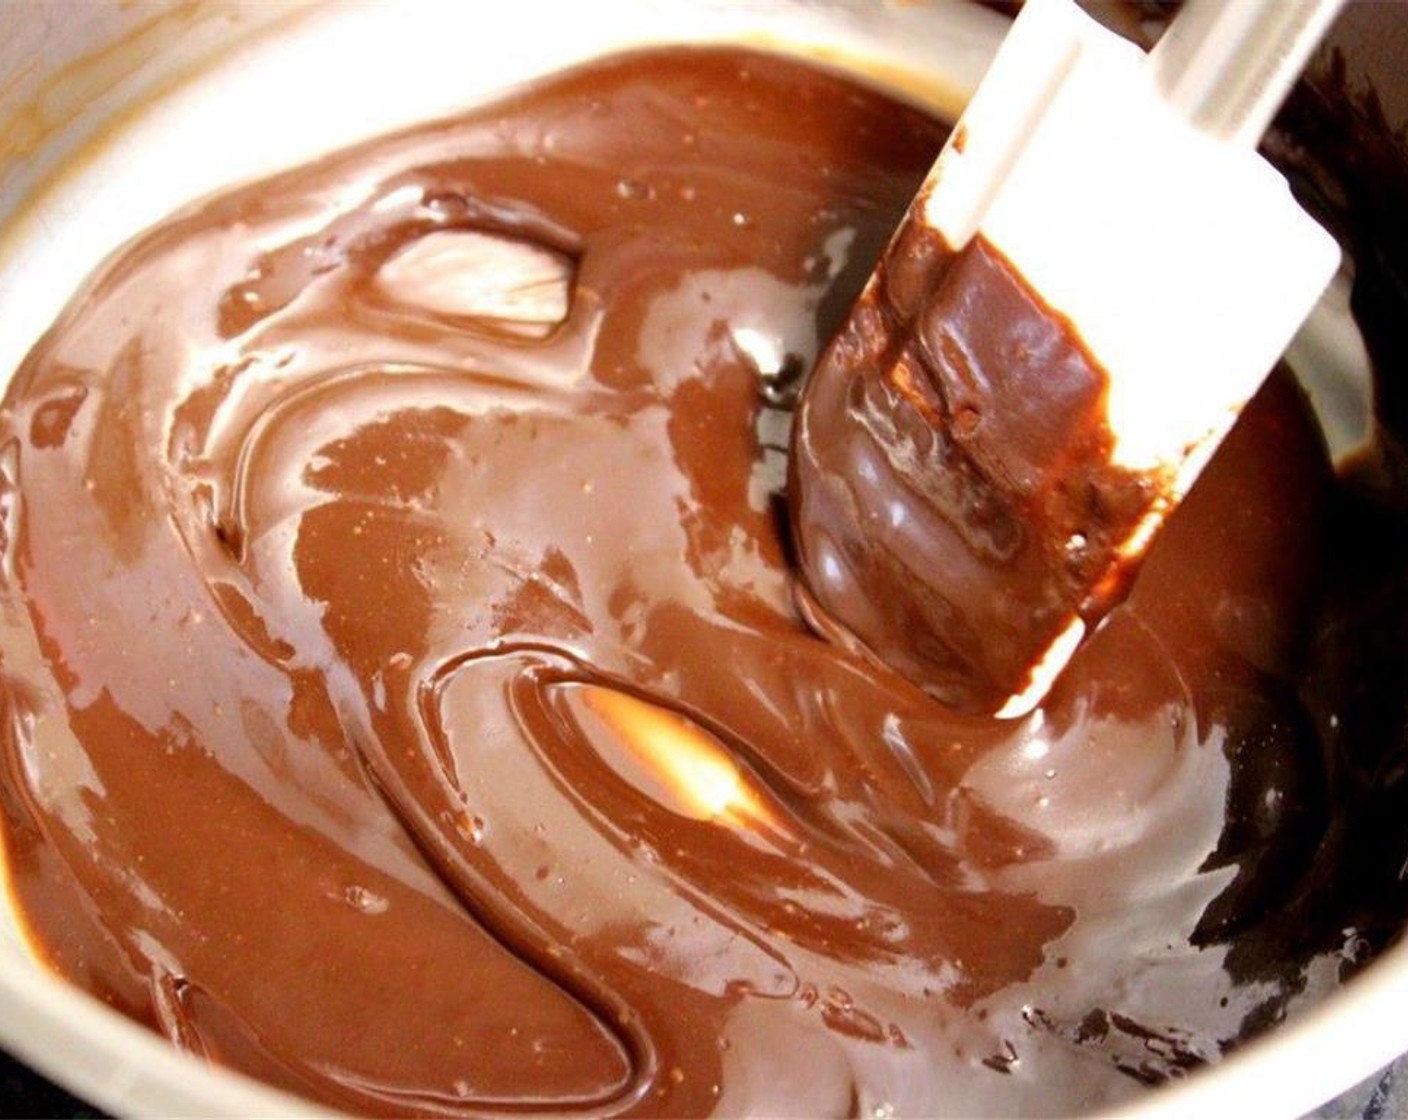
CHOCOLATE GLAZE: in a small saucepan, whisk together Unsweetened Cocoa Powder (3 Tbsp), Sour Cream (2 tubs), and Granulated Sugar (1/3 cup) while they are still cold.
step 17
Cook over medium heat until the liquid comes to a boil, simmer for a few minutes until sugar dissolves and the glaze thins out to a syrup consistency. Whisk in the Butter (2 Tbsp)
step 18
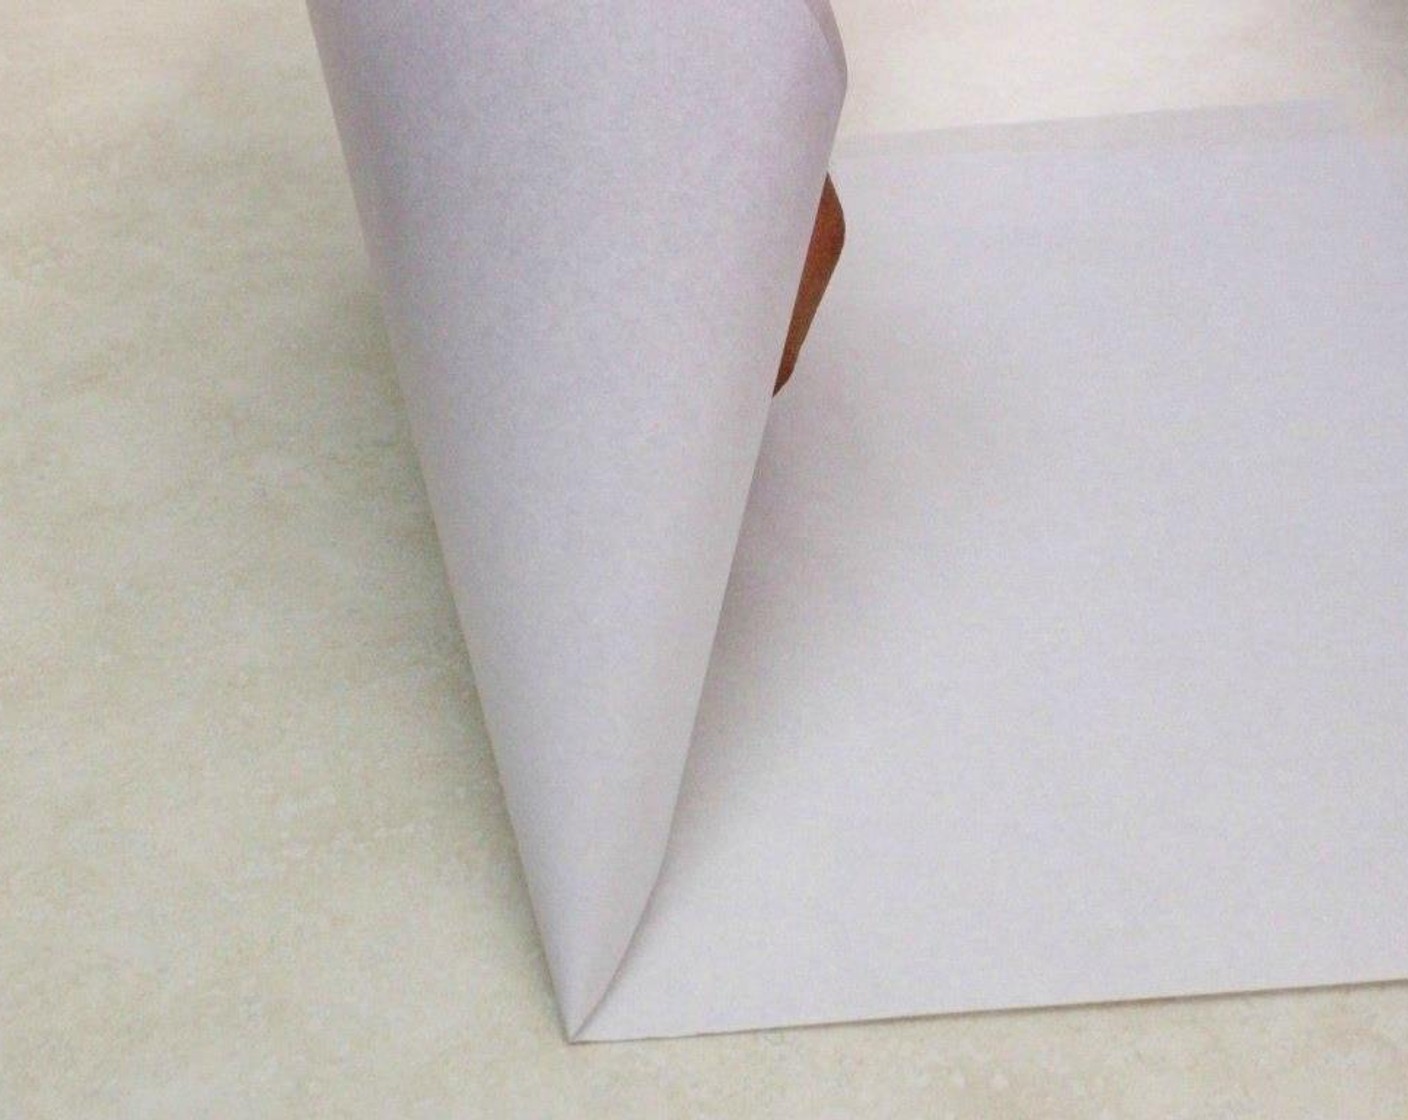
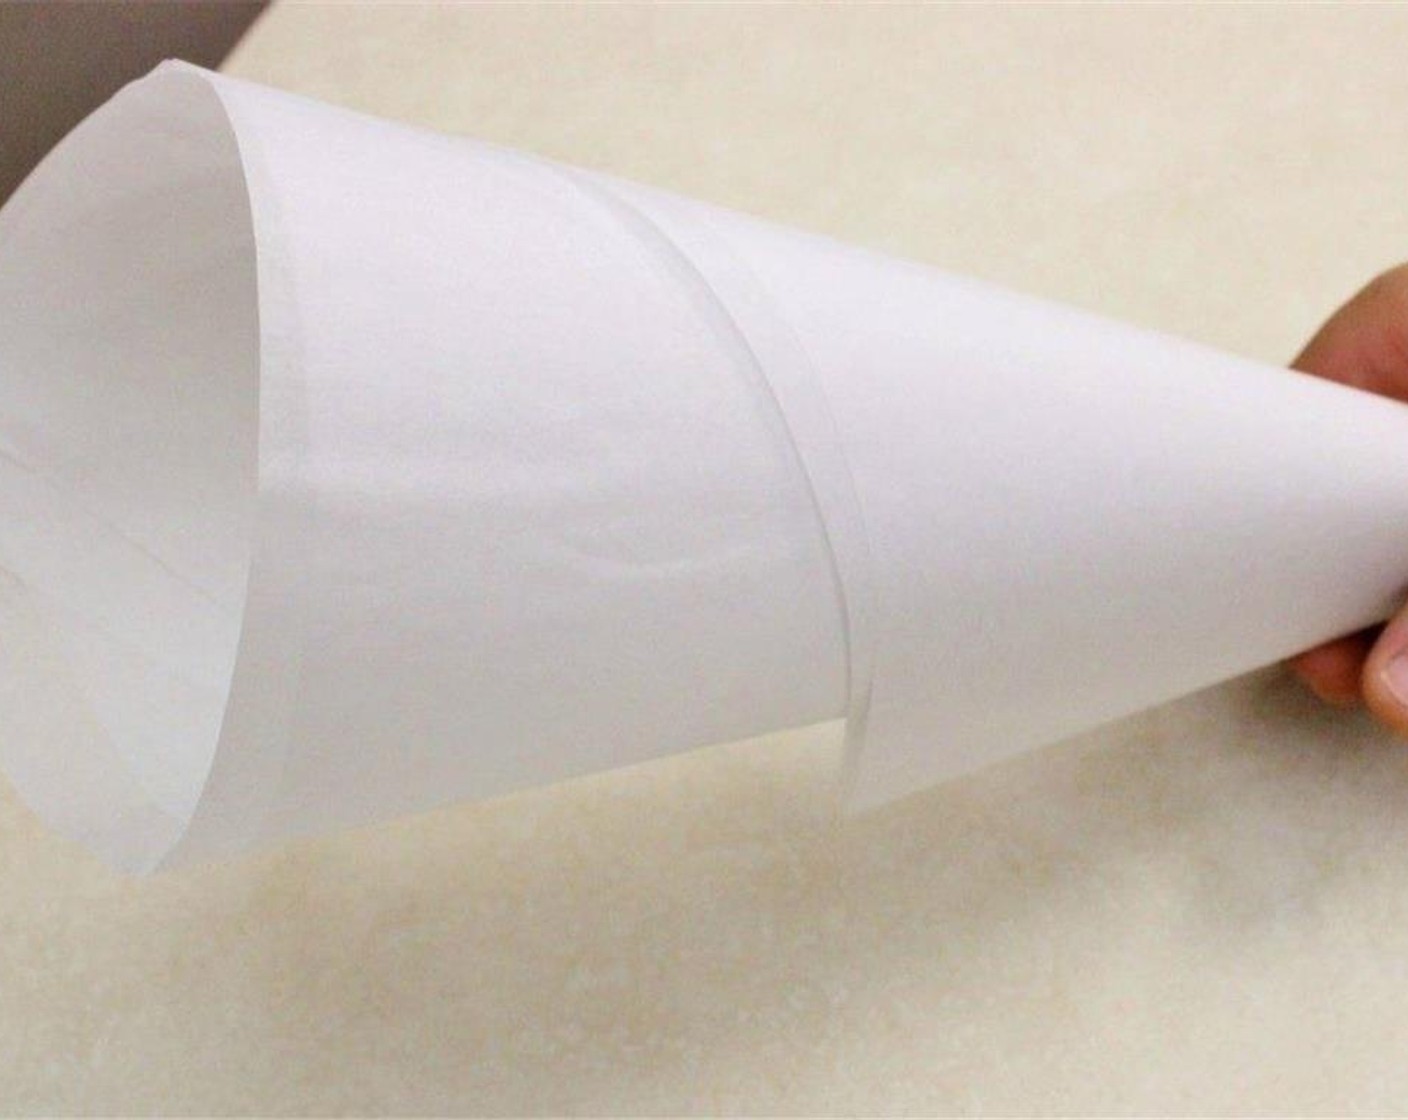
Make a pastry bag from parchment paper or regular printer paper, by taking the edges of the paper and bringing them together to form a thin point.
step 19
It will be a triangular/cone shape.
step 20
Pour the hot glaze in, snip off a small hole in the tip of the paper and decorate the cake. The glaze will harden as it cools. Then, carefully remove the aluminum foil.
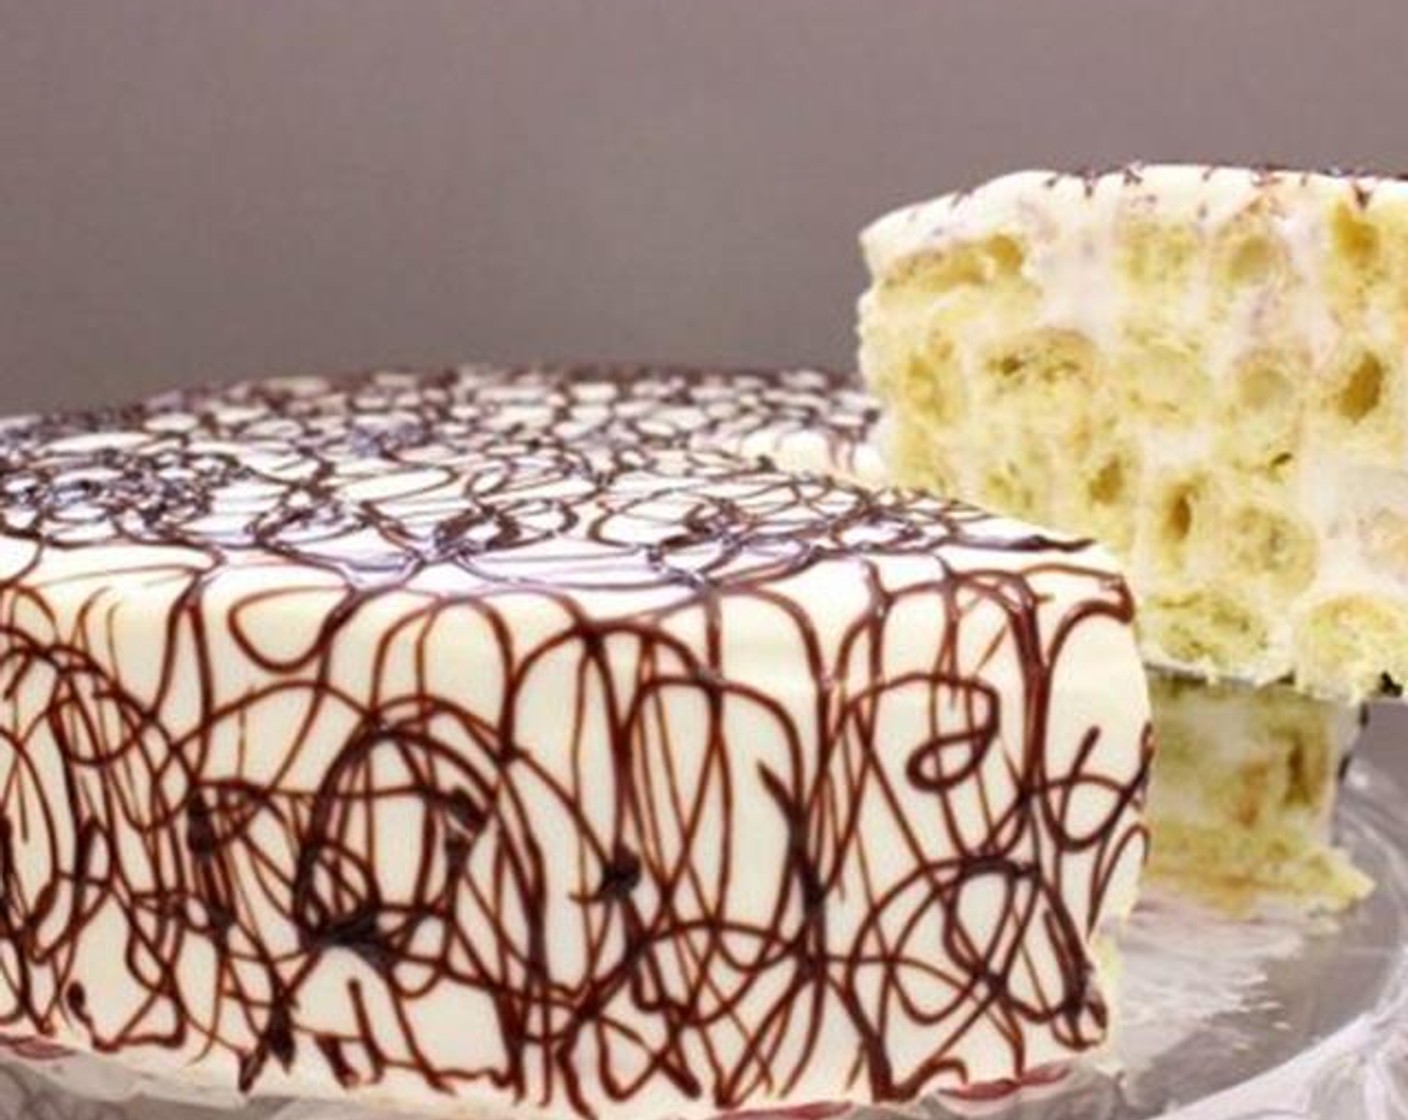
step 21
Isn't this a great trick to keeping the frosting and chocolate off the plate? Notice how clean and neat the plate is.
step 22
Of course, you can decorate the cake any way you like. Use your imagination and enjoy!