step 1
Warm the Water (3 cups) just a little so that it feels just slightly warmer than body temperature. That should put it at about 100 degrees F (40 degrees C) or slightly below.
step 2
In a very large bowl or a 6-quart container with a lid, mix the Active Dry Yeast (1 Tbsp) and Kosher Salt (1 Tbsp) with the warm water. Don’t worry about getting the yeast to dissolve.
step 3
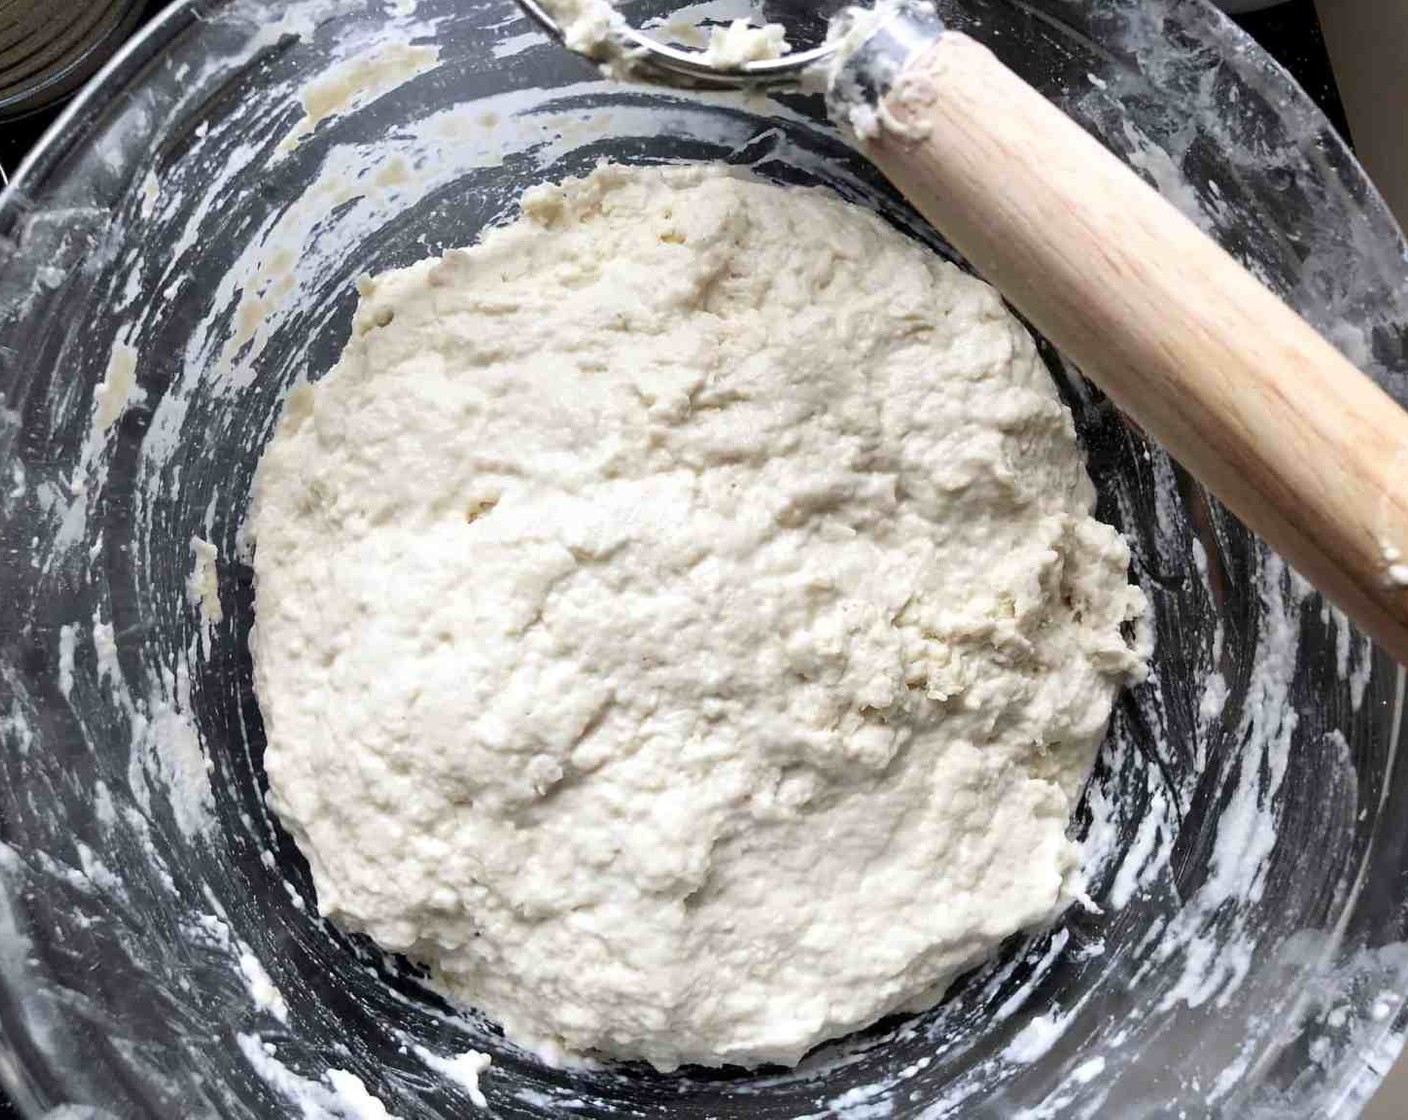
Add the All-Purpose Flour (6 1/2 cups) to the water mixture all at once, then use a spoon or dough whisk to mix until the flour is completely incorporated and you have a lumpy dough.
step 4
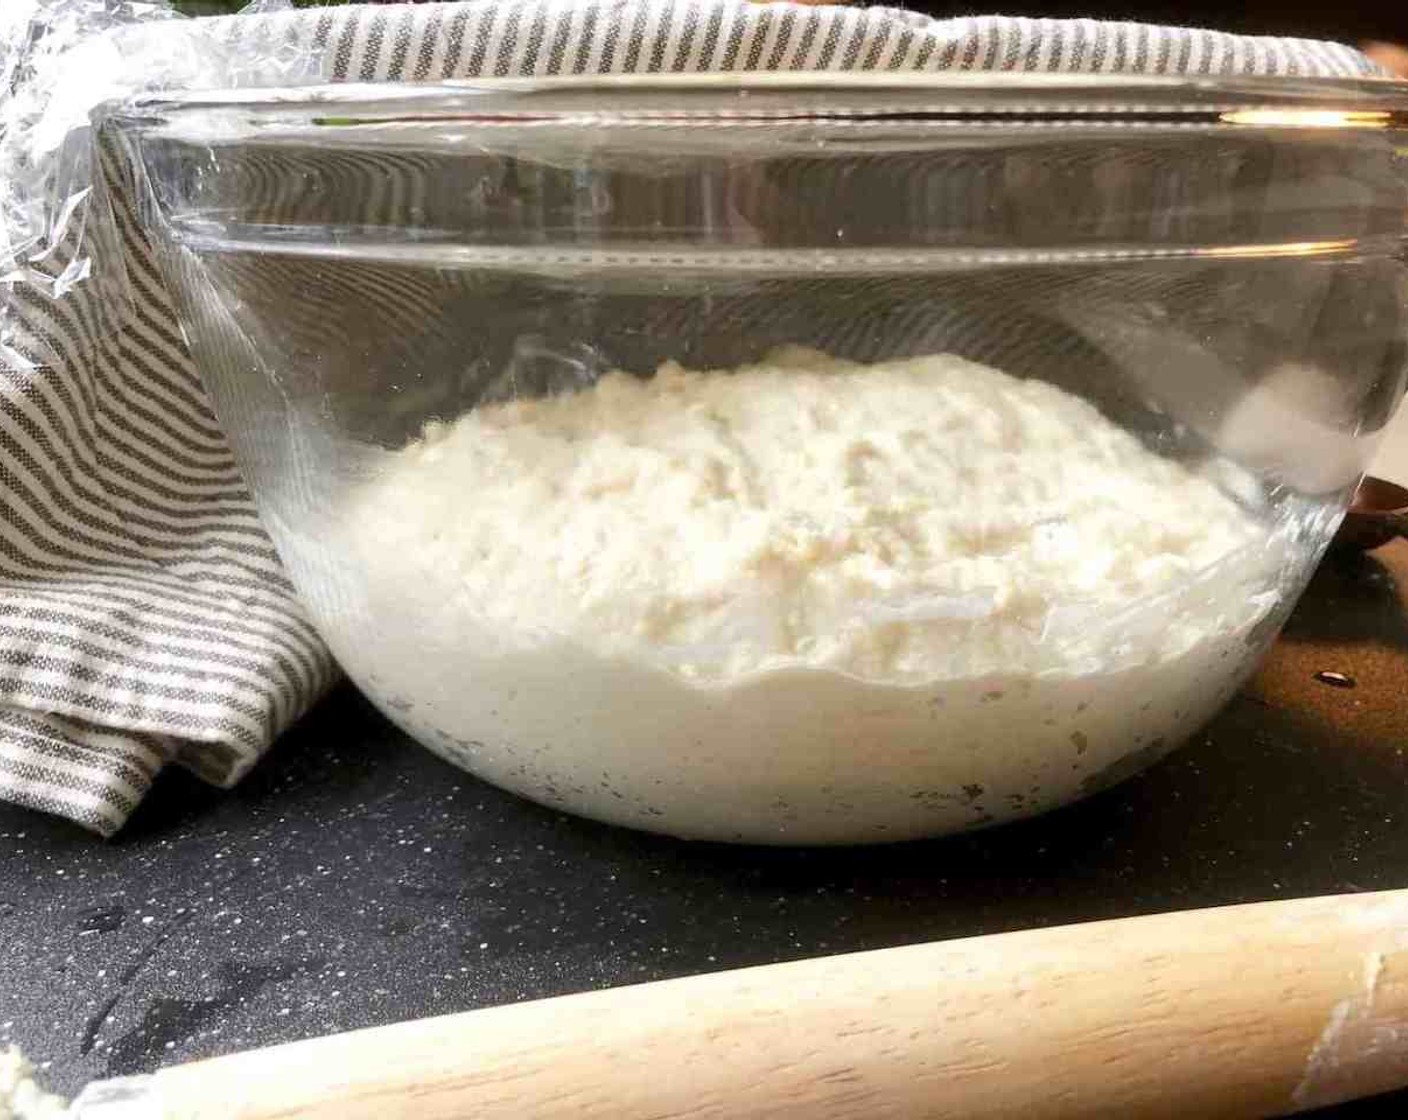
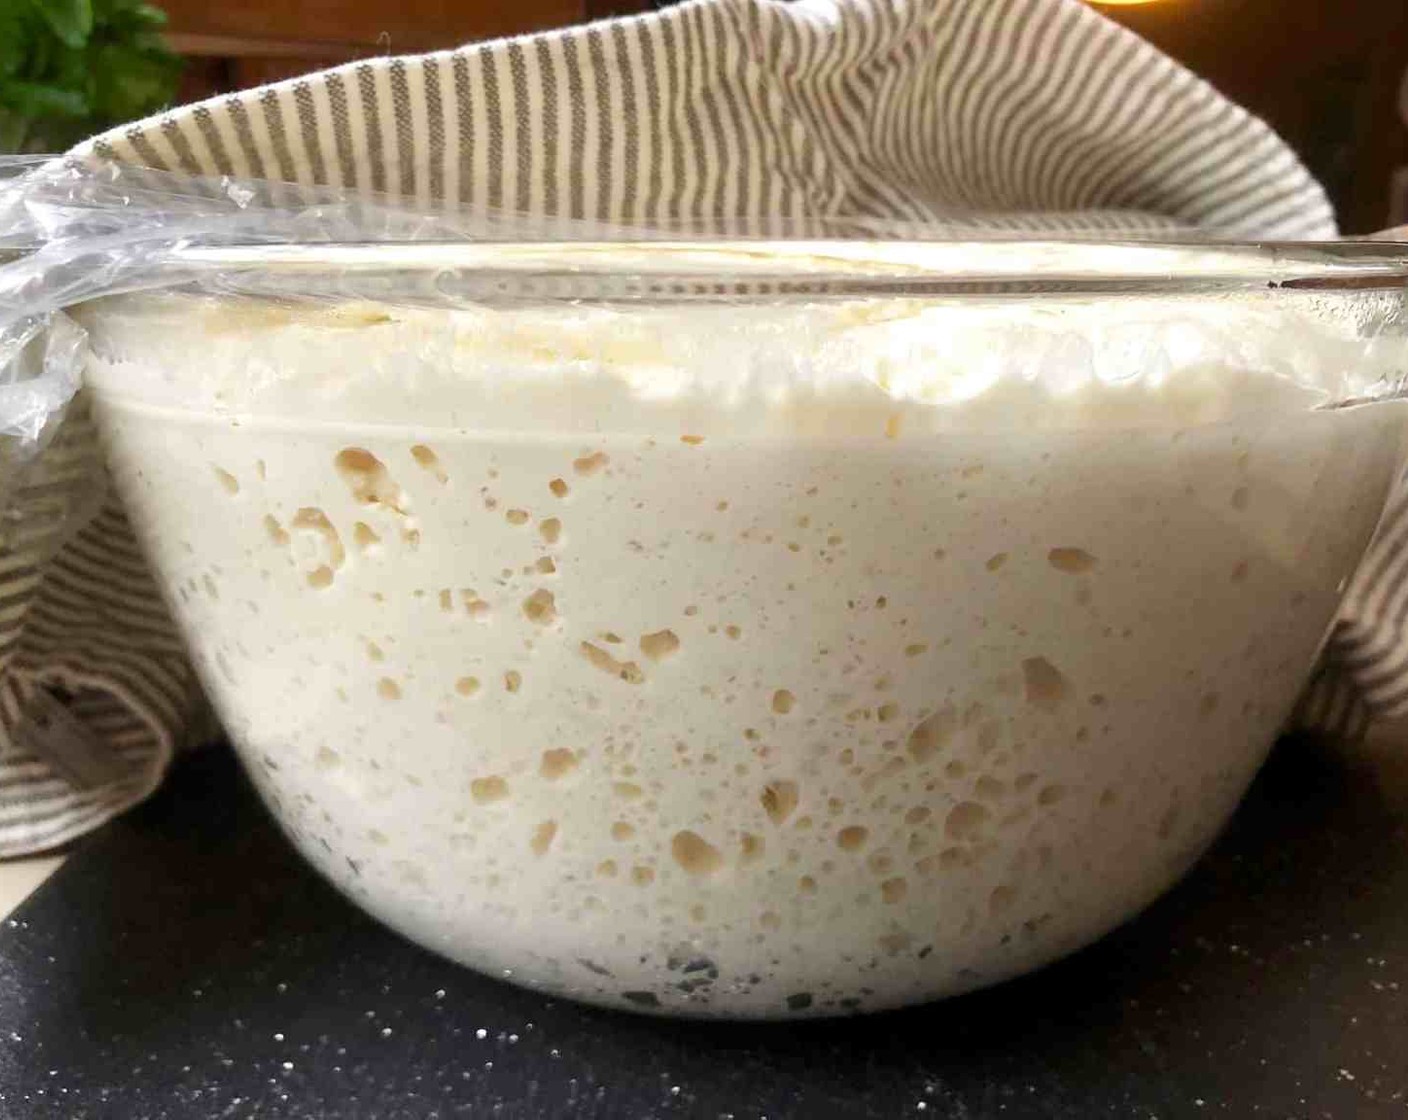
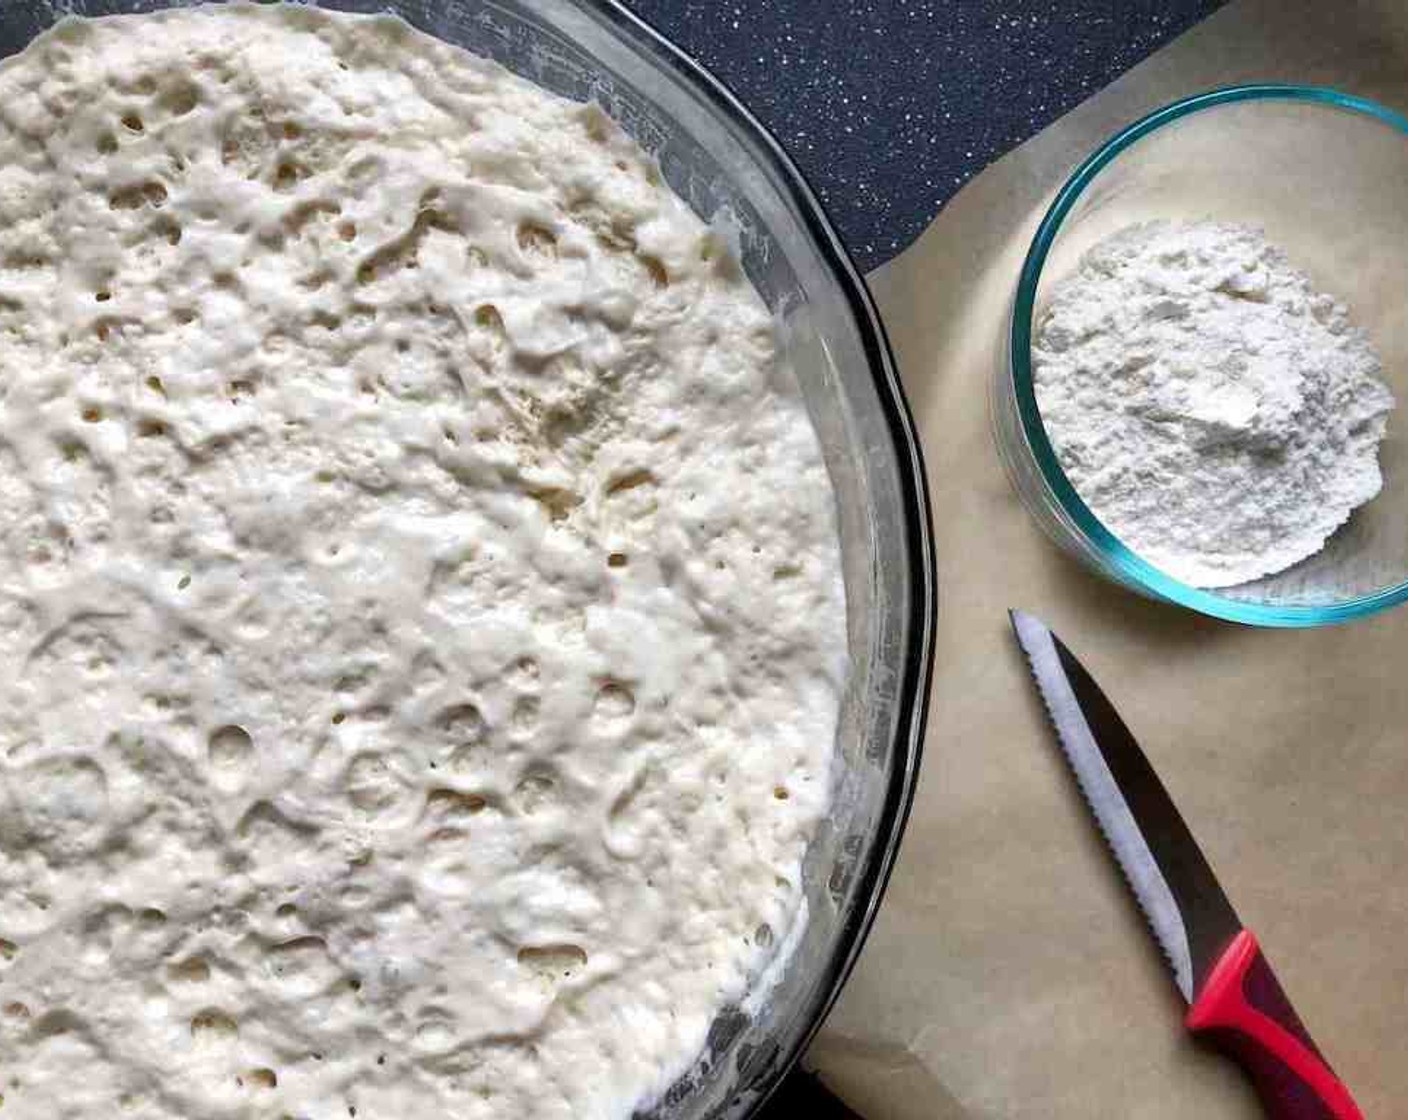
Loosely cover the container and let the dough hang out at room temperature until it begins to rise considerably. It will collapse or flatten a little on the top in about 2 hours.
step 5
At that point, stash the container of dough in the fridge with a loose cover. Use the dough anytime after the initial 2-hour rise, although the refrigerated wet dough is less sticky and easier to work with than dough at room temperature, so it’s best to refrigerate the dough for at least 3 hours or overnight before handling it.
step 6
Once refrigerated, the dough will seem to have shrunk back upon itself as though it will never rise again. Cover your pizza peel with a piece of parchment paper.
step 7
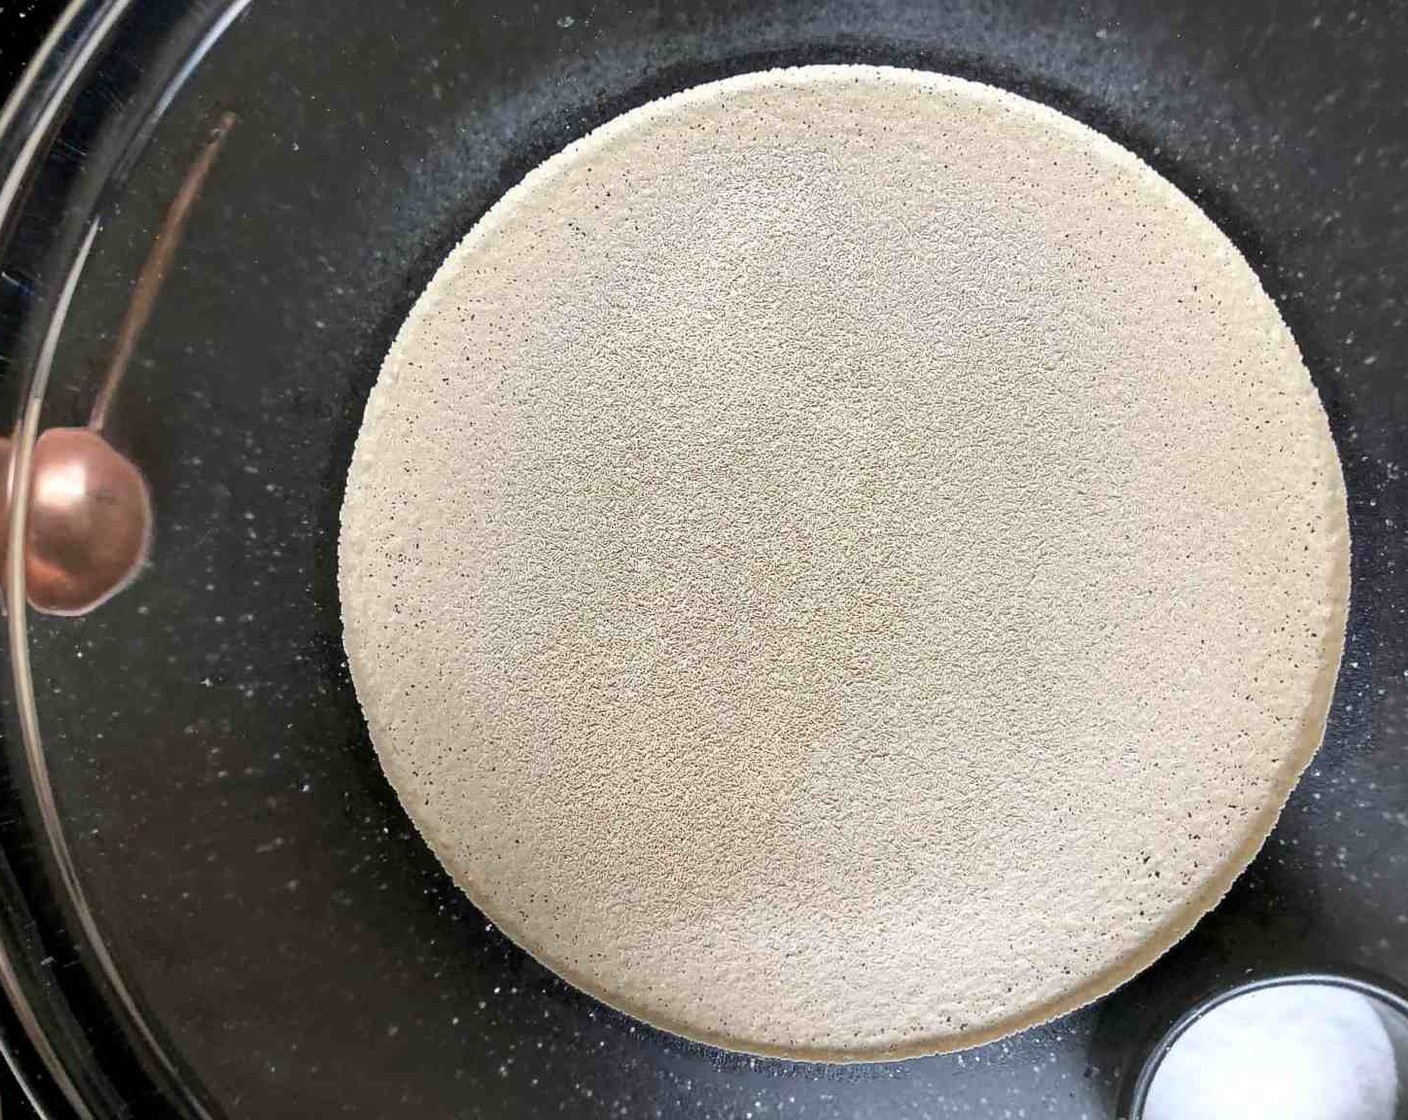
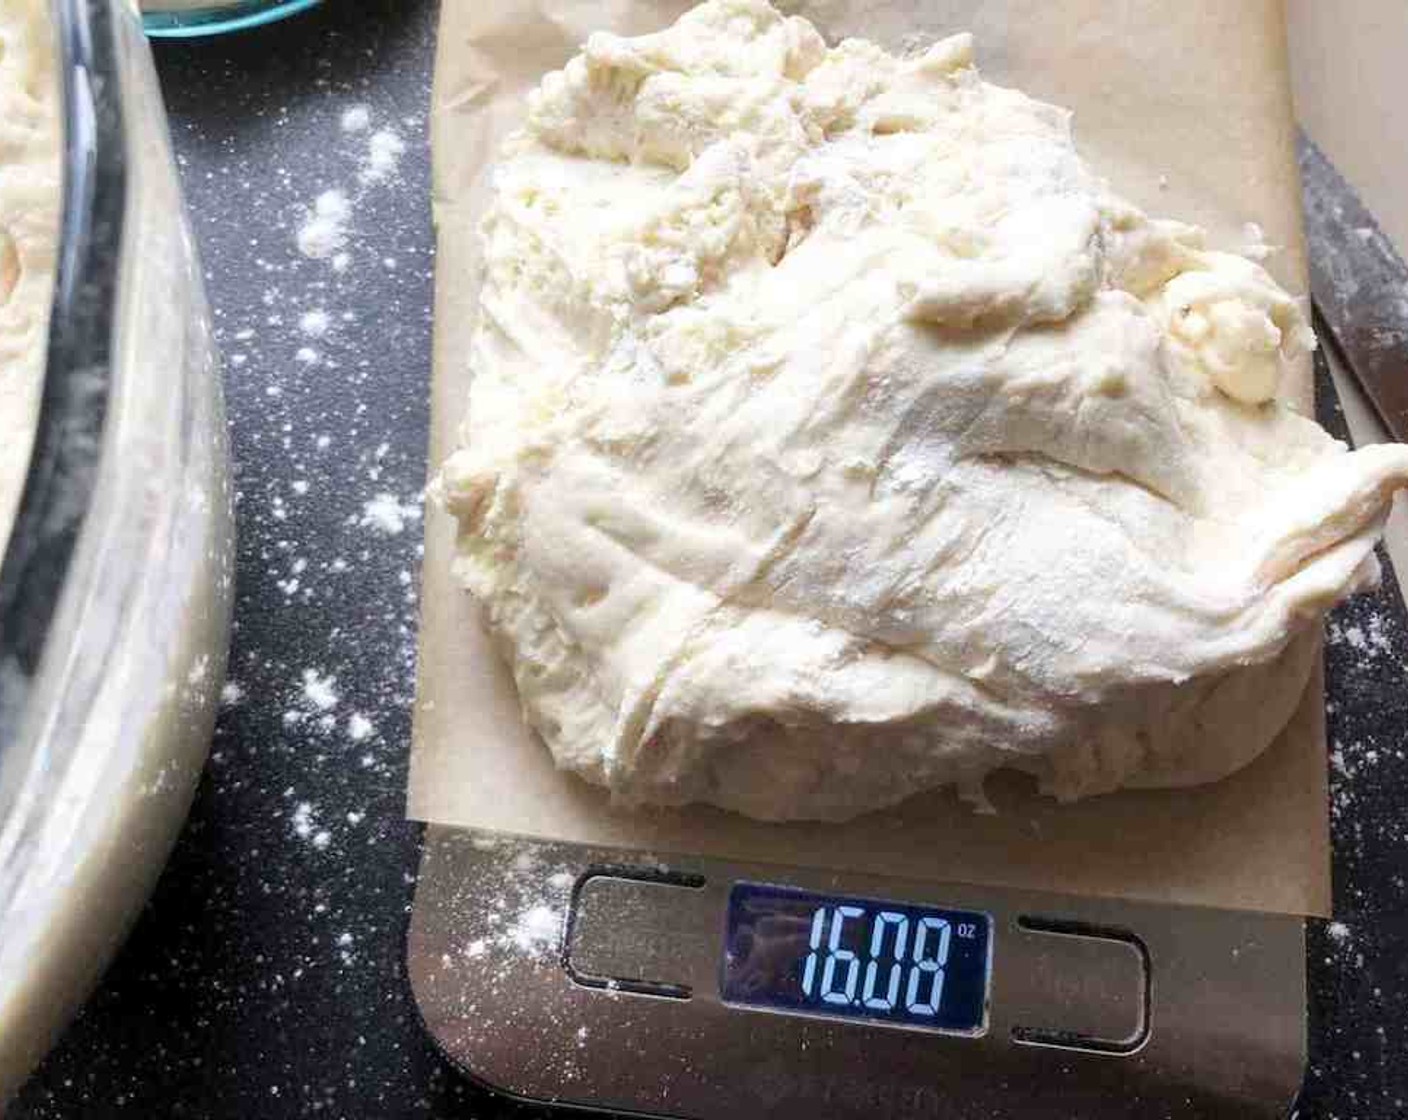
Grab that refrigerated container of prepared dough and sprinkle the surface of the dough with flour. Pull up and cut off a piece of dough weighing about 16 oz.
step 8
Hold the dough in your hands, adding more flour as needed so that it doesn’t stick to your hands. Gently stretch the surface of the dough around the bottom all the way around, rotating the dough as you go to form a ball.
step 9
By adding a generous amount of flour as you work, you are creating a “gluten cloak” on the surface of the wet dough so that it is easily shaped. Work quickly so that the entire process takes just 20 to 30 seconds. You don’t want to overwork the dough.
step 10
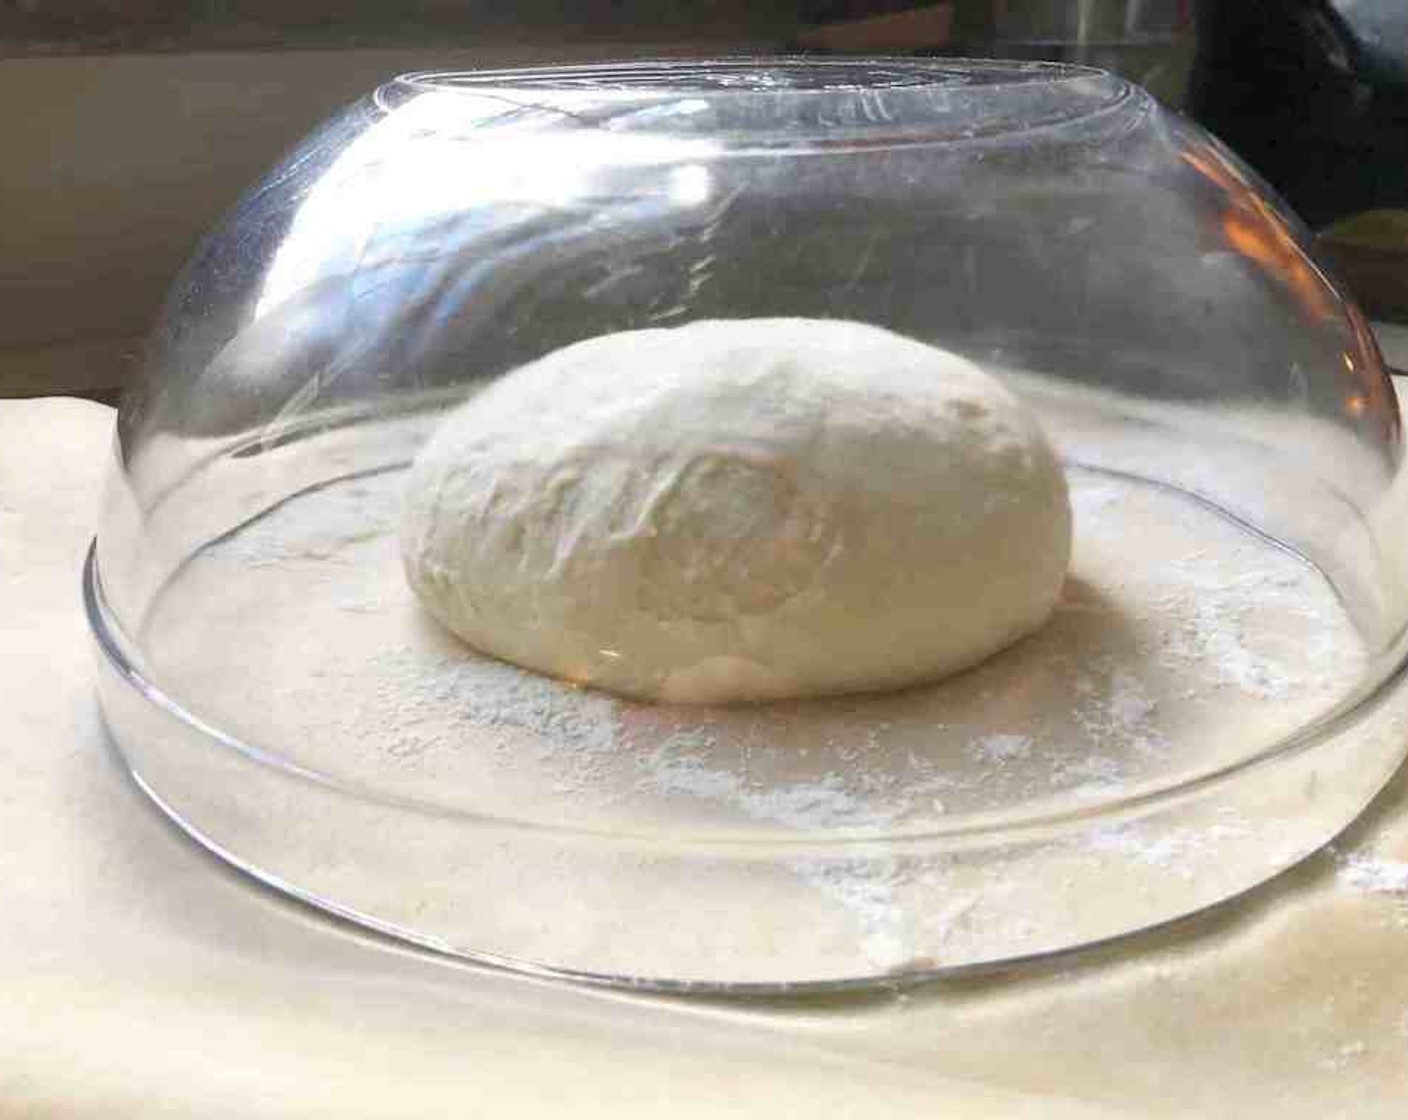
The bottom of the ball of dough may appear to be a collection of bunched ends. Gently pinch those ends together; they will flatten out and adhere during resting and baking. The rest of your round loaf should be smooth and cohesive.
step 11
Place the shaped ball of dough on a pizza peel that’s been covered with a sheet of parchment paper, seam side down with all the collected bunched ends on the peel. Let it rest for about 40 minutes.
step 12
Preheat a lidded Dutch oven for 45 minutes at 450 degrees F (220 degrees F).
step 13
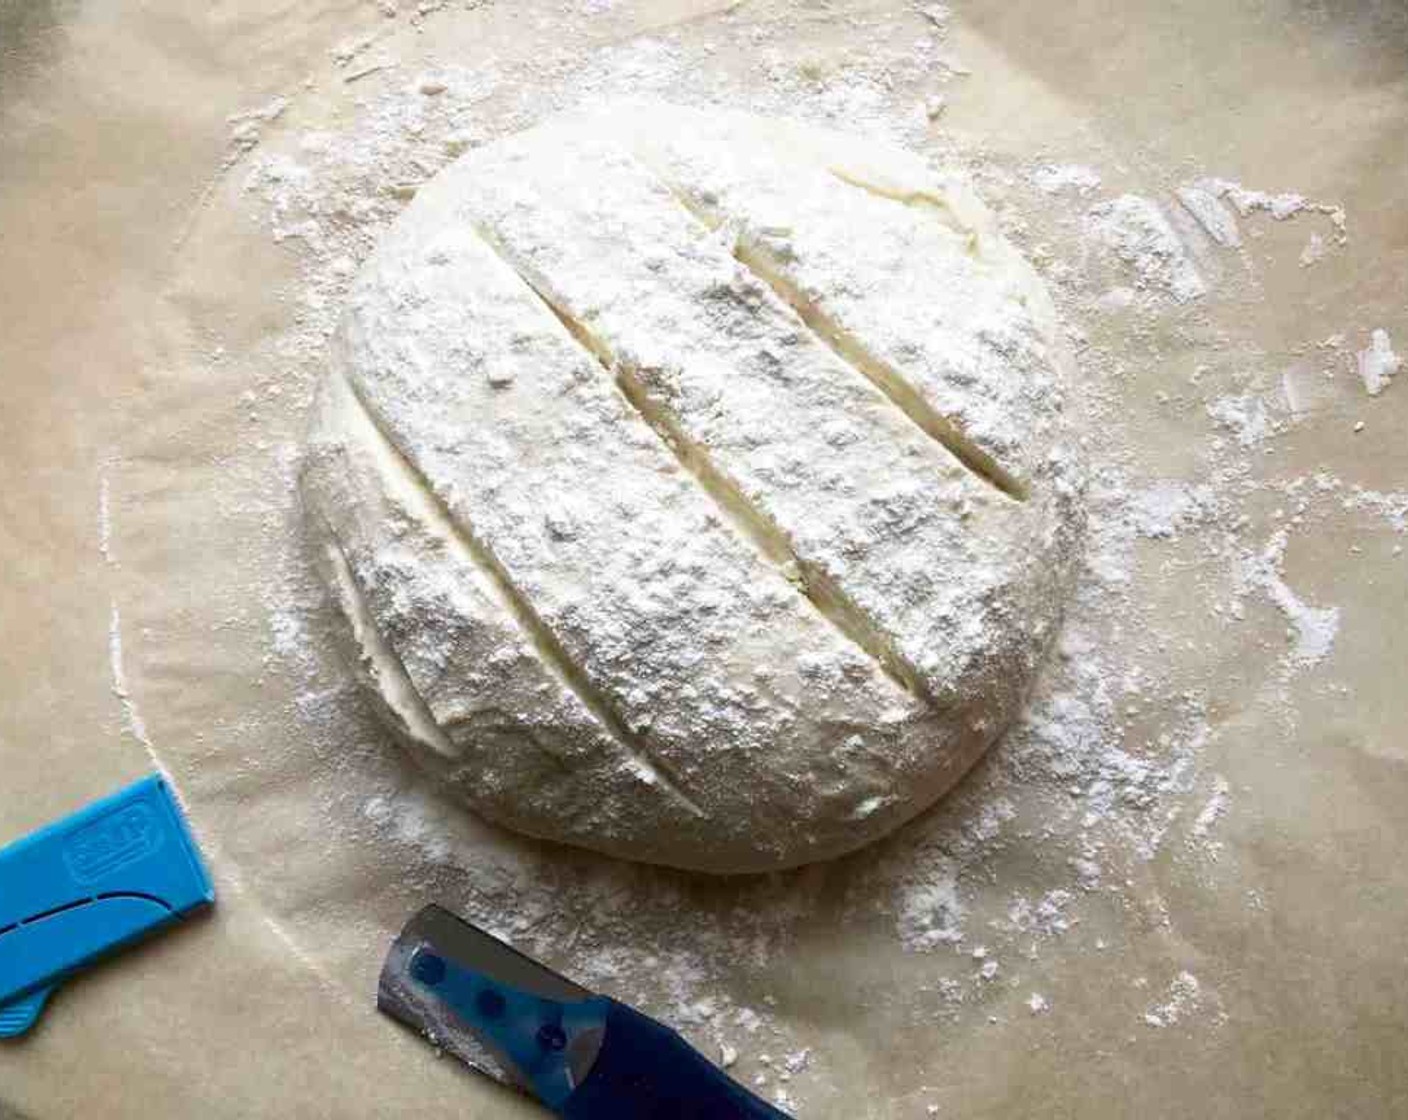
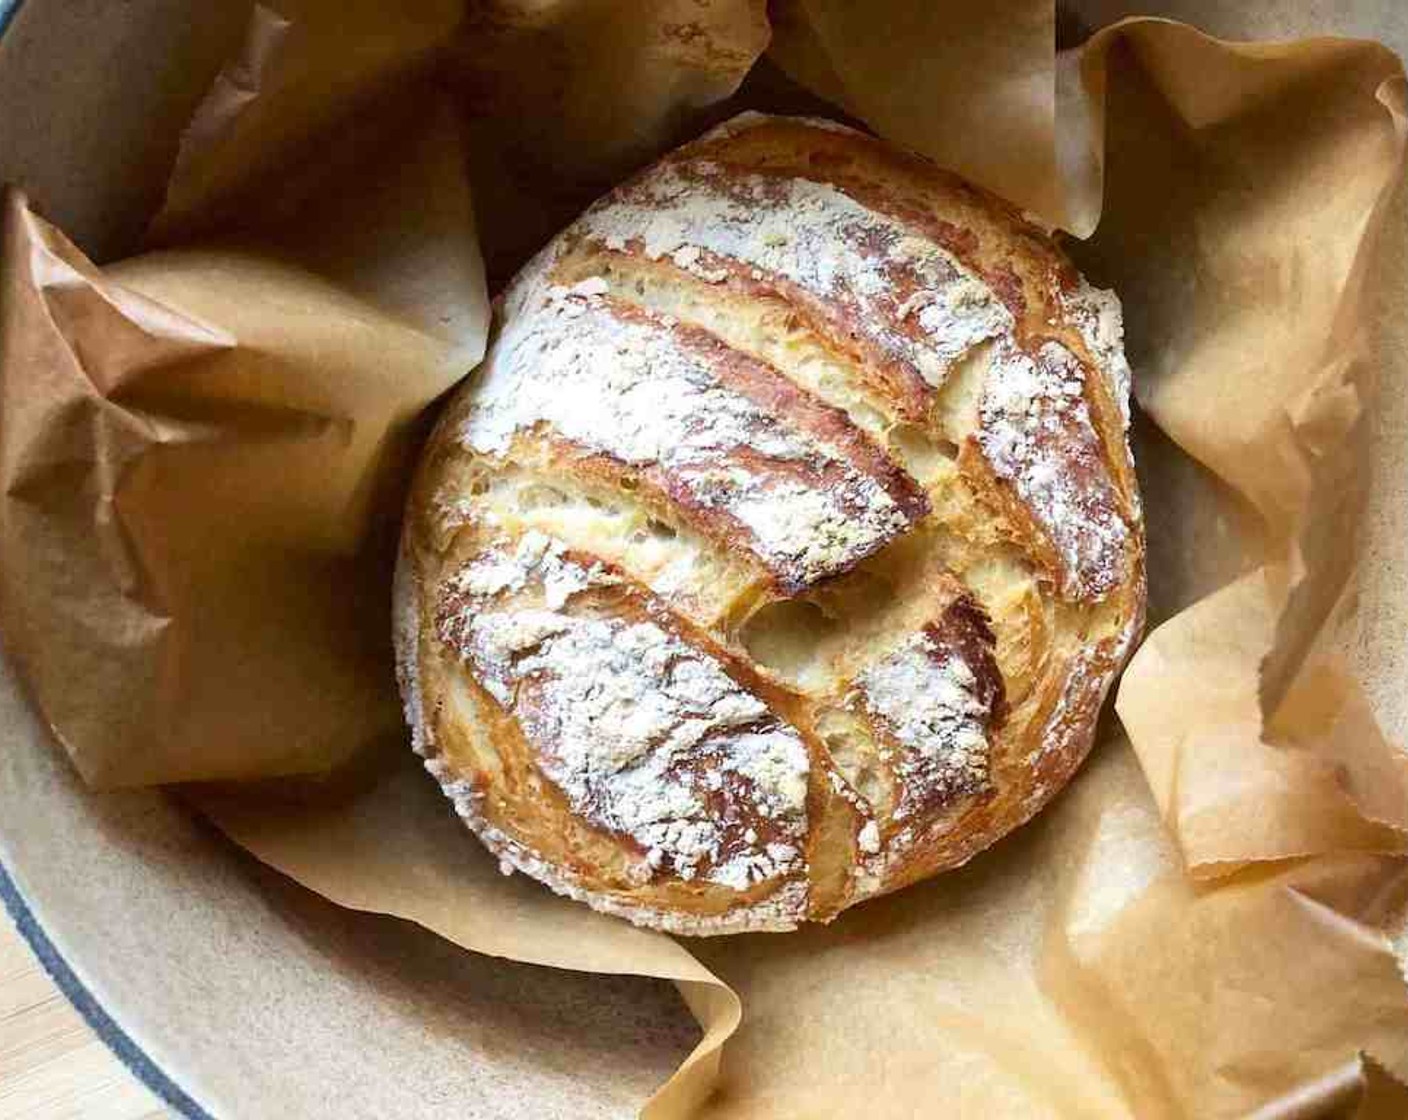
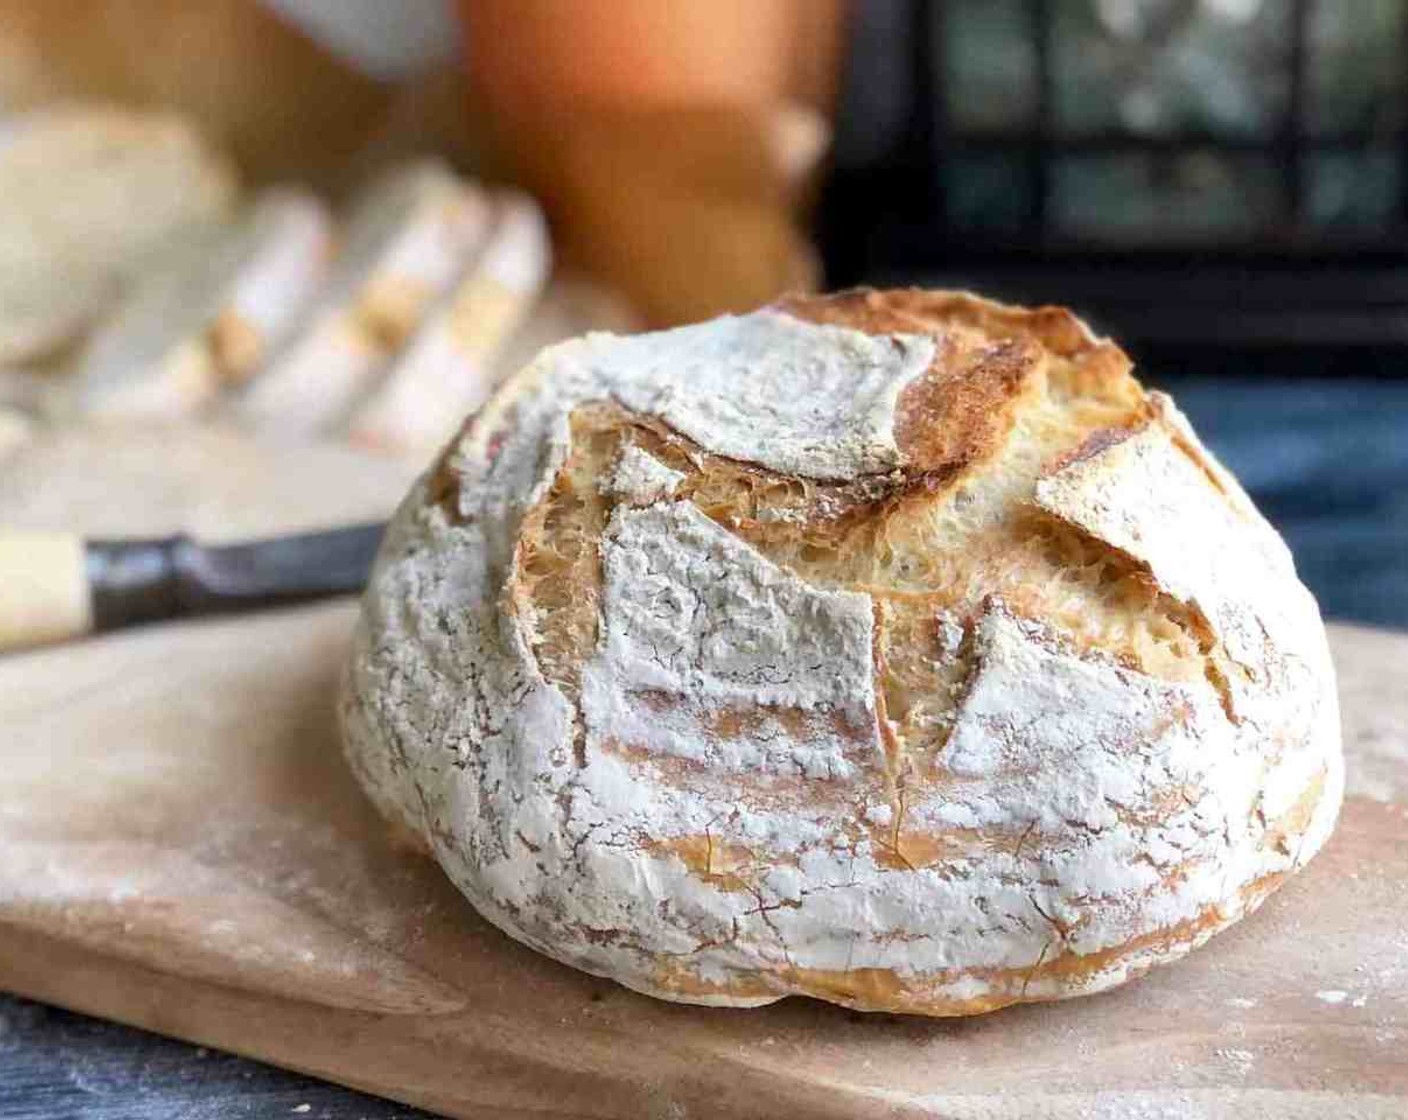
Just before baking, dust the top of the loaf generously with flour. (That will prevent the knife from sticking.) Slash a half-inch-deep cross, tic-tac-toe pattern, or slightly curved stripes into the top. You can use the tip of a serrated bread knife or a bread lame for slashing your markings. Leave the excess flour in place for baking; it can be brushed off before serving if desired.
step 14
Carefully remove the hot lid and place it on a rack nearby. Use the piece of parchment paper as handles and carefully lower the formed dough-topped parchment paper into the preheated pot.
step 15
Cautiously grab that hot lid and cover the Dutch oven to trap the heat and steam within.
step 16
Bake the bread for a total of 30 to 35 minutes until the crust is browned to your liking and is firm to the touch. Remove the lid after the first 20 to 25 minutes and continue to bake uncovered until the crust is richly browned.
step 17
Allow the bread to fully cool on a wire rack for up to 2 hours for the best flavor, texture and ease of slicing. Enjoy!