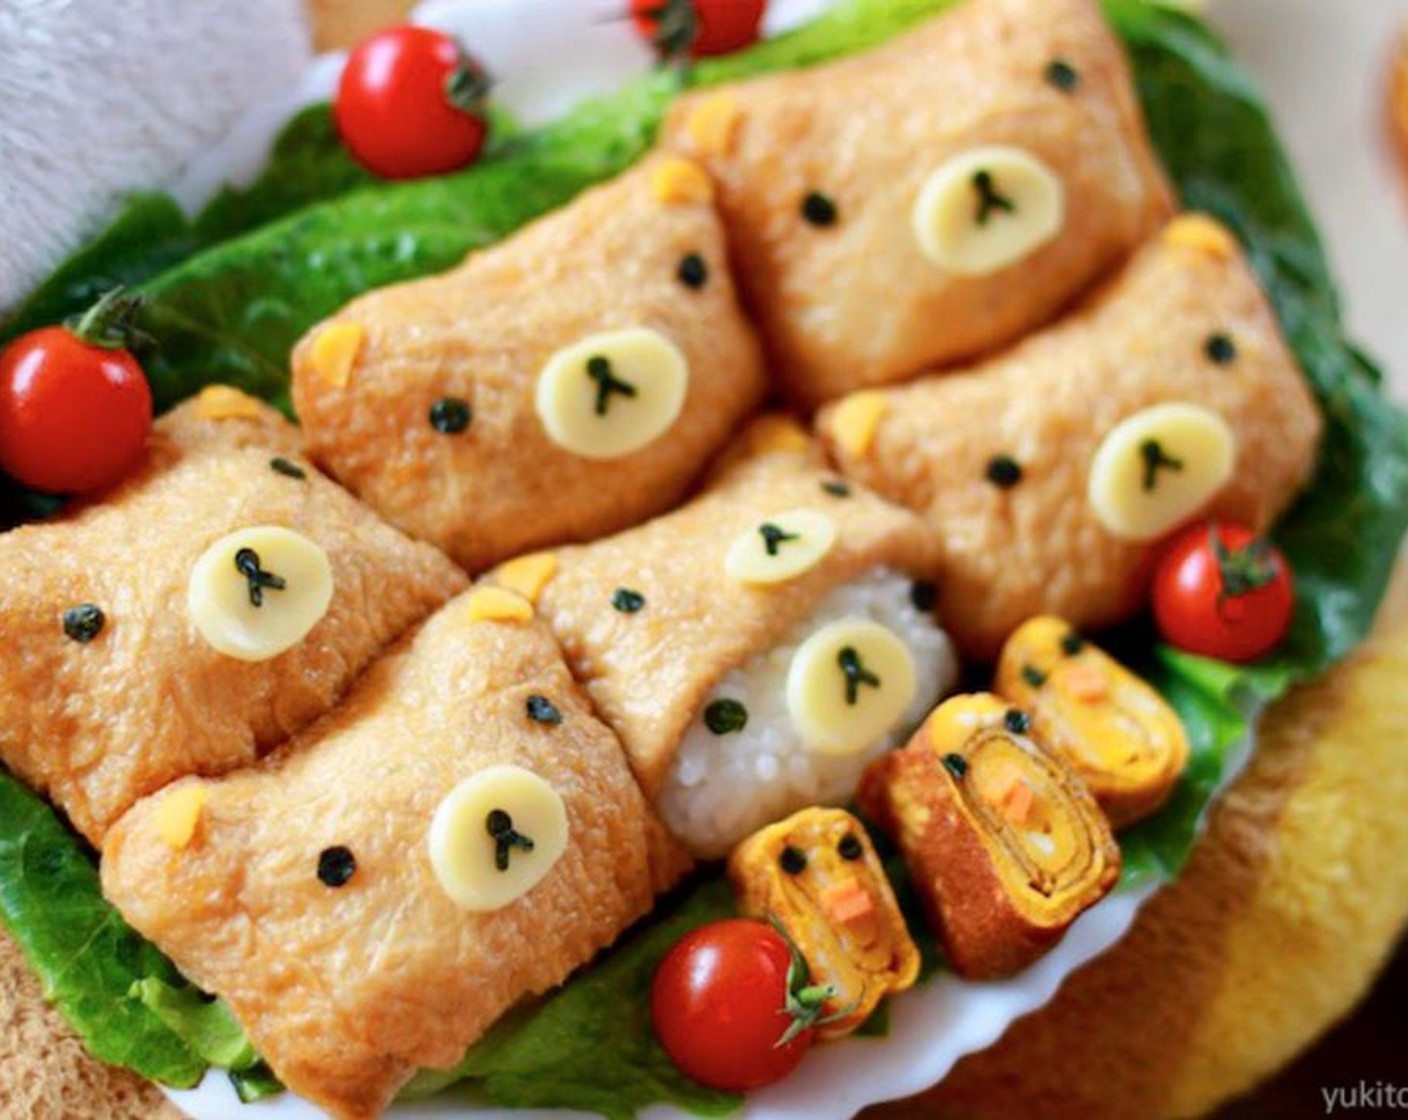
How to make the cutest sushi in the world, using only healthy natural ingredients! Rilakkuma is the best.

Yukitchen
Hello! I'm Yuki from Japan. I make cartoon-like food art to express my love for healthy eating.
http://www.yukitchen.com/
1HR 30MINS
Total Time
$1.08
Cost Per Serving
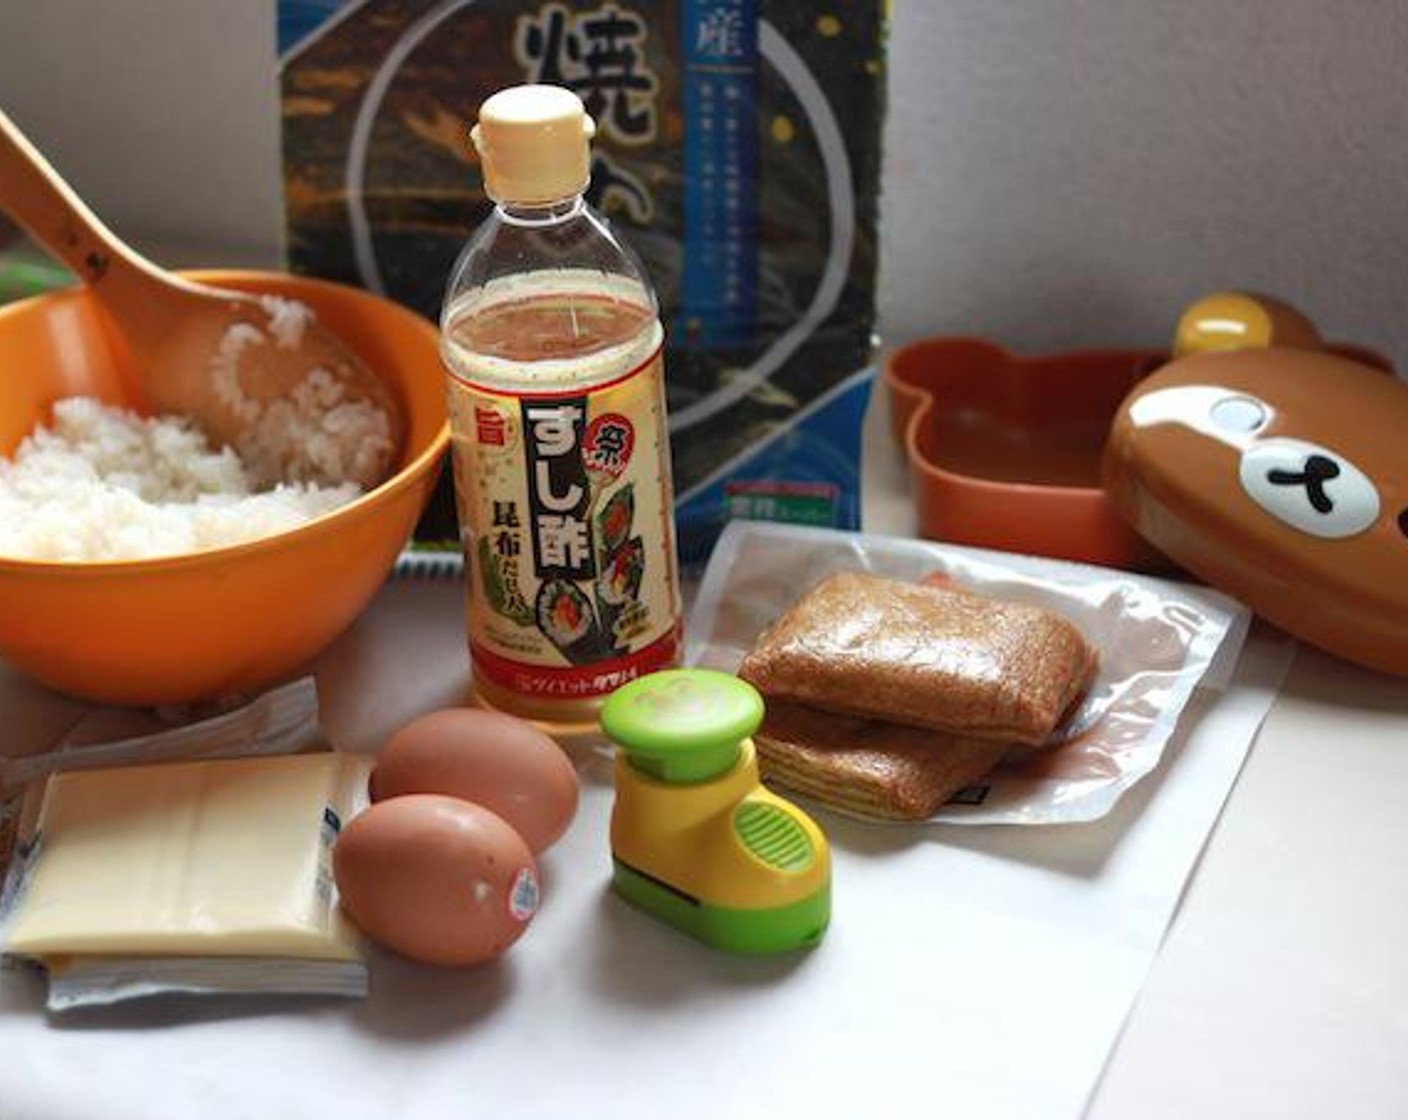
Ingredients
Servings
6
us / metric
1 slice
Cheese
6 pieces
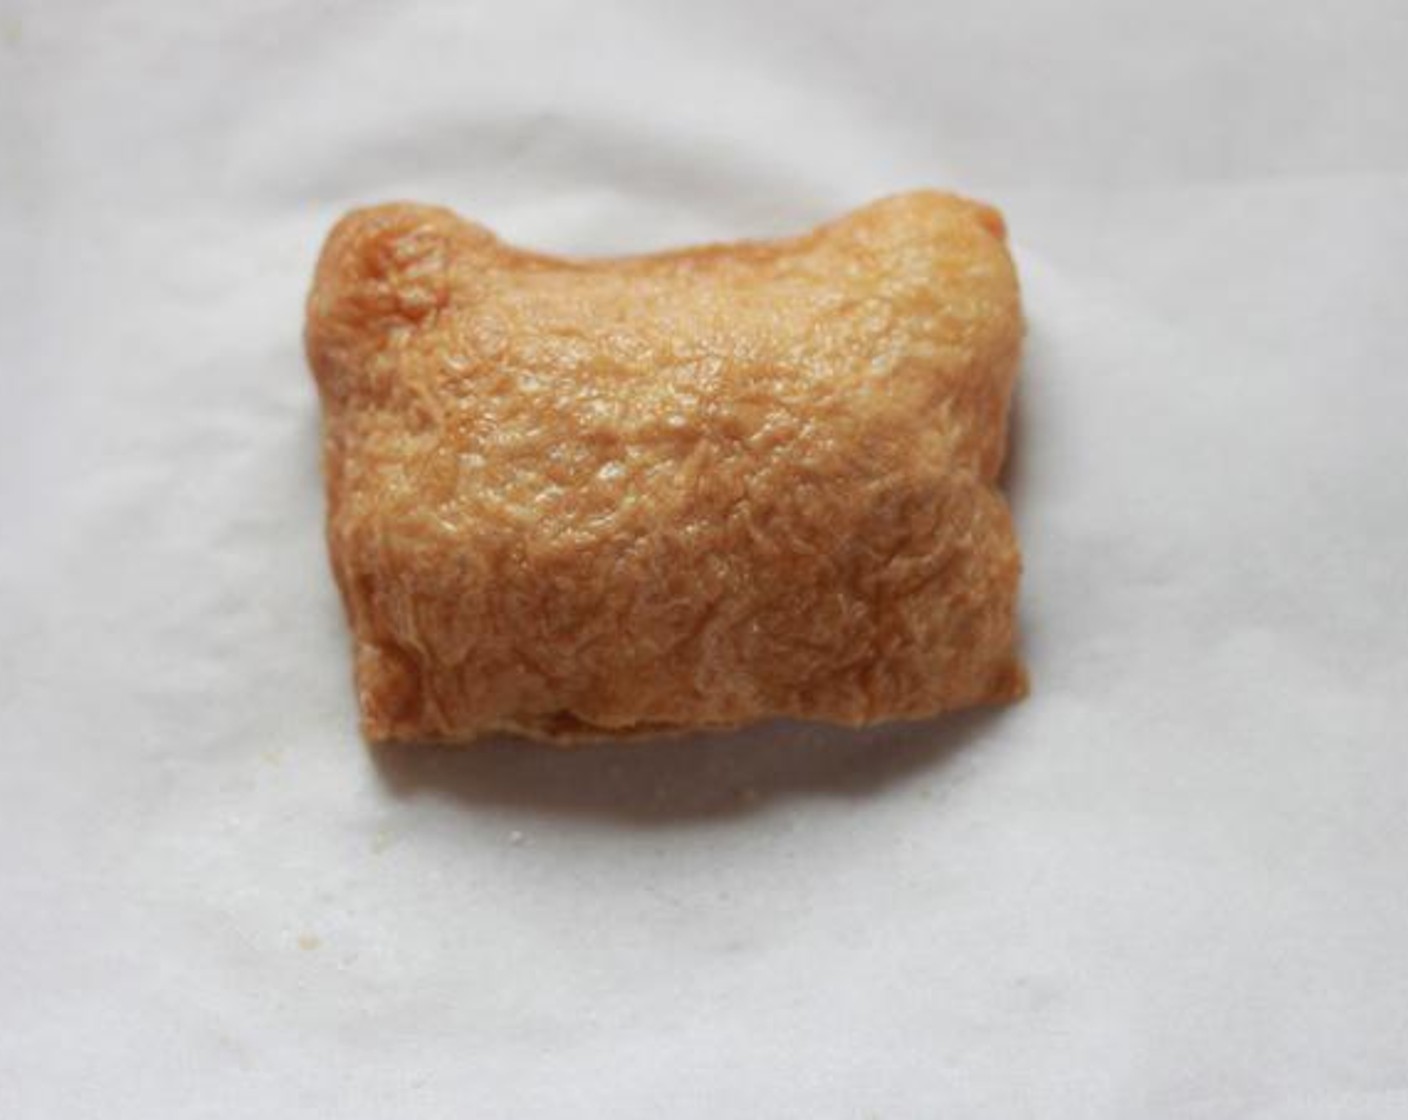
Inari
1
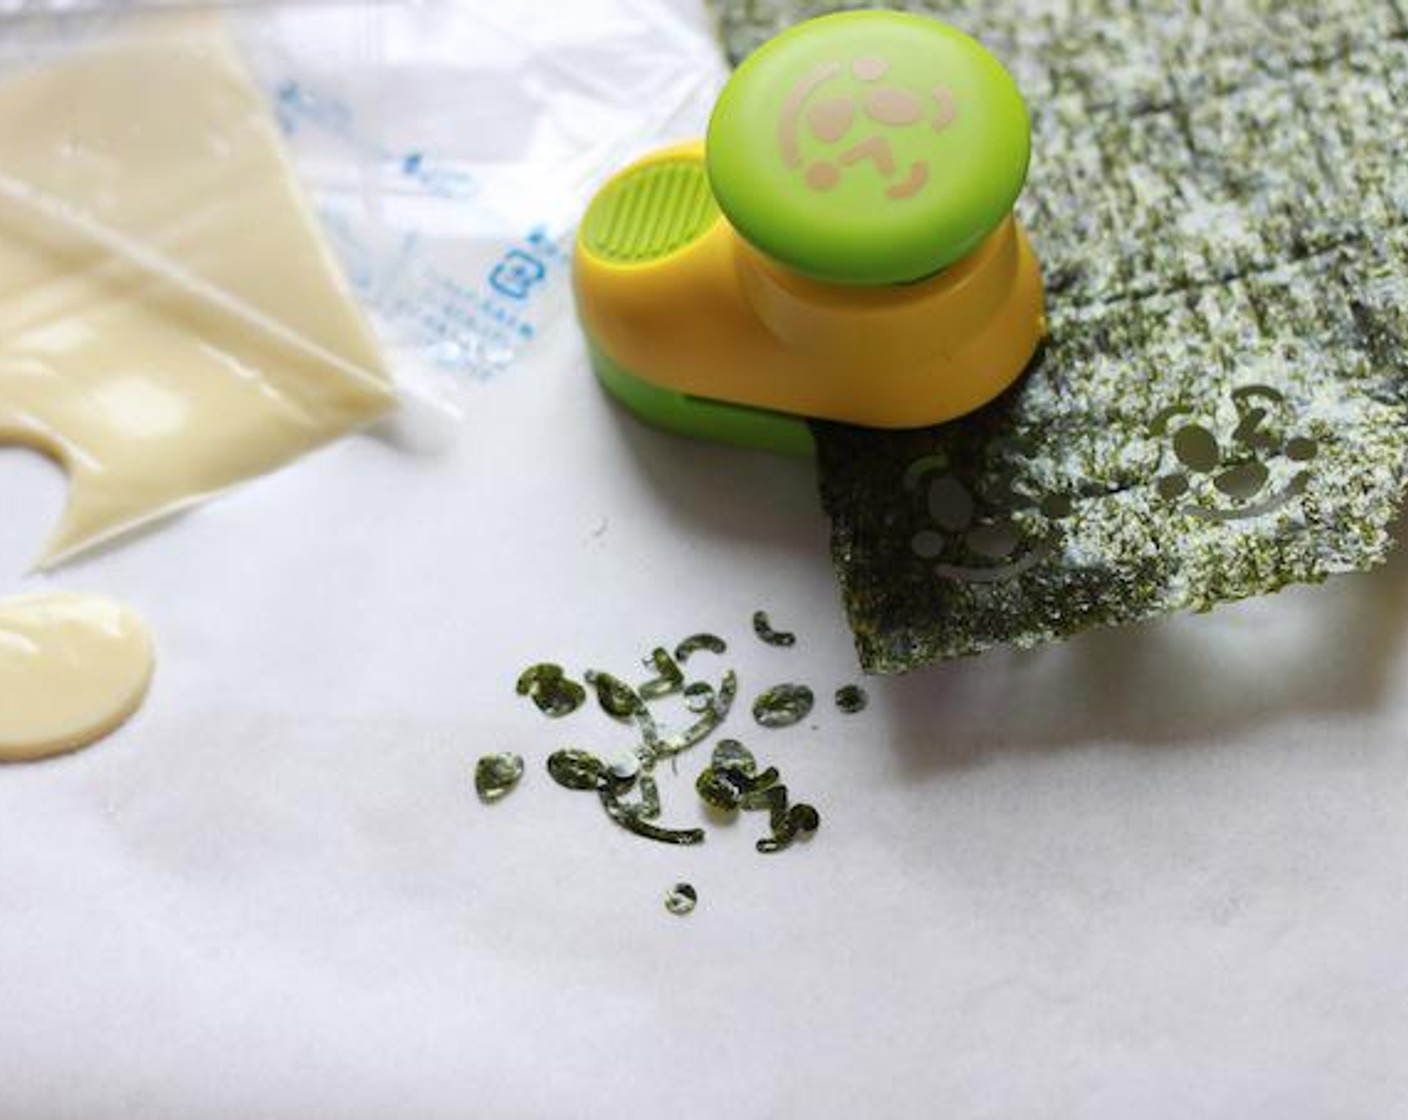
Nori Sheet
Nutrition Per Serving
Calories
231
Fat
3.8 g
Protein
7.2 g
Carbs
40.6 g