Use code TRIPLE10 to save $10 on your first three grocery orders.

Basic Sourdough Starter Guide

Building a sourdough starter is one of the most satisfying culinary adventures that you can embark on.
Basic Sourdough Starter Guide
Ful-Filled
Ful-filled is a place where my hubby and I are chronicling our journey ... where we share our passion for real food, true health, and living life ...
GO TO BLOG
Love This Recipe?
Ful-Filled
Ful-filled is a place where my hubby and I are chronicling our journey ... where we share our passion for real food, true health, and living life ...
GO TO BLOG

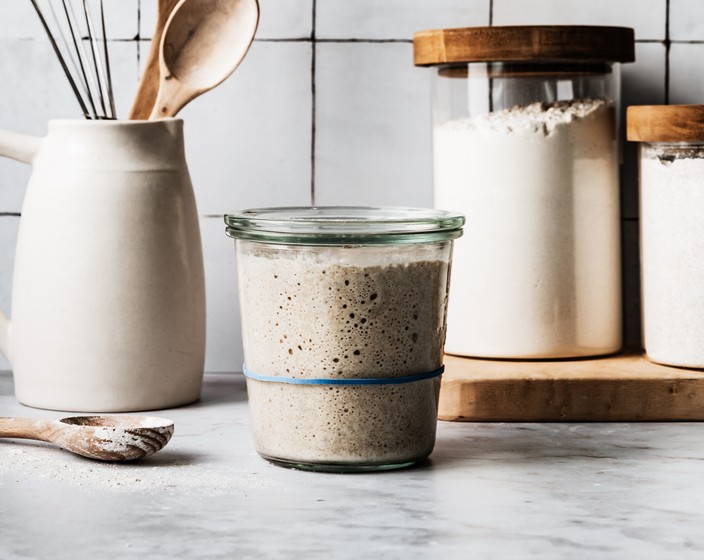
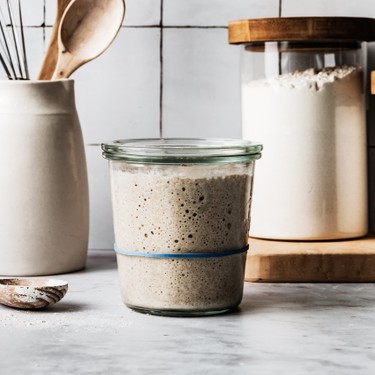
Harvesting the power of wild yeast to create rustic, light and delicious sourdough baked goods is a deeply rewarding experience. Building a sourdough starter from scratch does not have to be an intimidating process. Rather, in this basic sourdough starter guide, I will show you that all you need is 5 minutes a day for 7 days and you can create a robust, lively sourdough starter!

WHERE DOES WILD YEAST COME FROM?

Contrary to popular belief that the yeast in sourdough comes from the air, the primary initial source of sourdough microflora is actually from the flour. Yeast and bacteria live on the outside of the grain (just like the yeast to make wine lives on the skin of the grapes). Whole-grain rye flour is so great for sourdough because it has a high level of enzymes that attract a variety of yeasts. I have built & maintained sourdough starters with & without rye flour and there is no contest, rye flour is by far, the best performing flour for building and maintaining your sourdough starter.

If you are unable to procure whole grain rye flour there are other whole grain flours that are good stand-ins, like whole wheat flour or whole spelt flour for example. If worse comes to worst, you can start a sourdough starter with unbleached bread flour or unbleached all-purpose flour, typically it will just take a bit longer to get active.
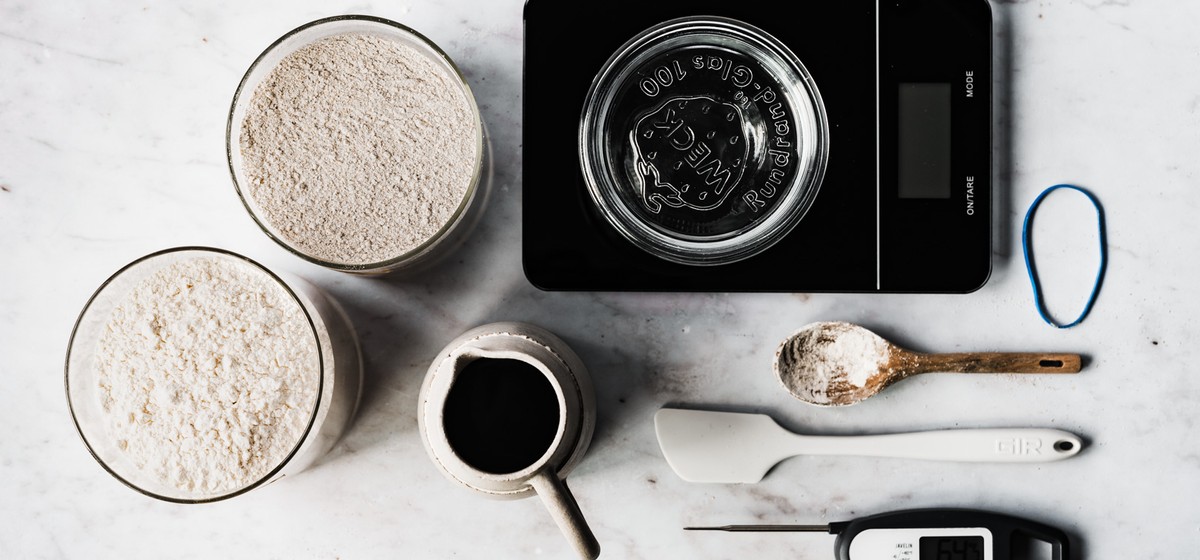
section-image

FLOUR + WATER + TIME = BASIC SOURDOUGH STARTER

FLOUR SELECTION:


  • WHOLE GRAIN FLOUR: When it comes to building a sourdough starter the fresher your whole grain flour is the better. If you can procure fresh-milled flour, the difference you will see in your starter & in your baked goods is incredible.

  • UNBLEACHED ALL-PURPOSE or BREAD FLOUR: Whether you use all-purpose or bread flour, both will work equally well in building and maintaining your sourdough starter.

WATER MATTERS:

Make sure to only use filtered water for your sourdough starter & loaves. Your sourdough starter and the naturally leavened loaves you make with it contain wild yeast and lactobacillus bacteria which work much more slowly than commercial yeast. Any chemical compounds that are present in tap water can produce undesirable reactions in your starter & dough, so using only filtered water is the best for sourdough.

The one ingredient that I did not list in the above headline is TEMPERATURE. The ambient, warm environment that you ferment your sourdough starter in MATTERS! There are several ways to create a warm environment for your starter (78° – 82°F is ideal).


  • OVEN LIGHT: This is my preferred method for creating a warm environment for my sourdough starter and general proofing. An empty oven with the light left on typically warms up your oven just enough to make it ideal for your starter and proofing dough in general.

  • BROD & TAYLOR PROOFER & SLOW COOKER: This is the ultimate proofer that also slow cooks and is perfect for fermenting. While I do not have one, it is a popular choice for the baker who wants exact temperature control for their starter and bread proofing.

  • HEATING PAD: A heating pad set on the lowest setting can be a great tool for warming up the immediate area around your sourdough starter.

In addition, you want your water to be warm (85° F) for building your starter as this will help contribute to the ambient temperature of your starter.

HERE’S WHAT YOU’LL NEED:


  • GLASS JAR: For building your starter, you are going to need a glass jar that holds at least 18oz. Make sure your jar has a lid that can fit loosely without falling off.

  • KITCHEN SCALE: the only way to ensure consistent results in any baking is with a kitchen scale.

  • RYE FLOUR & ALL-PURPOSE FLOUR: Bread flour can be substituted for all-purpose with no issue.

  • FILTERED WATER: You don't want chlorine and other nasties added to your sourdough starter.

  • THERMOMETER: One of the most critical parts of the sourdough success is temperature regulation. An instant-read thermometer makes quick work of checking temps throughout the sourdough process.

  • SILICONE SPATULA: From mixing your starter to keeping your jar nice & clean, a good silicone spatula is an indispensable tool for building your sourdough starter.

  • RUBBERBAND: If you would like to gauge how much your starter is growing, wrap a rubber band around your jar at the height of your starter after feeding.

section-image

BASIC SOURDOUGH STARTER FEEDING PROCESS:

I recommend beginning DAY 1 of the sourdough starter process in the evening (ideally by 10pm). This basic sourdough starter guide follows a 24-hour cycle between feedings. When you feed your sourdough starter each night, you will be preparing it to eventually be ready to make bread with it on the morning of the 8th day.

DAY 1

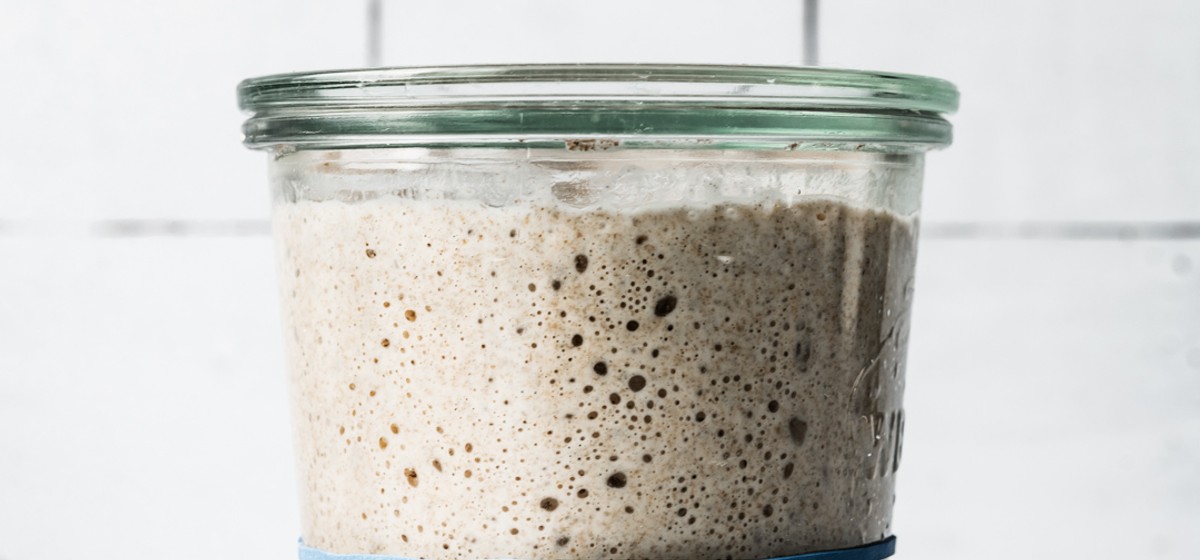
Starting with 100% rye flour is the best way to introduce lots of wild yeast into your starter! You should notice a fair amount of bubbles in your starter after it’s 24-hour rest.

DAY 2

For this feeding, we are going to introduce a little bit of all-purpose flour and we will use less water because we reserve 70g of our day-old starter.

DAY 3

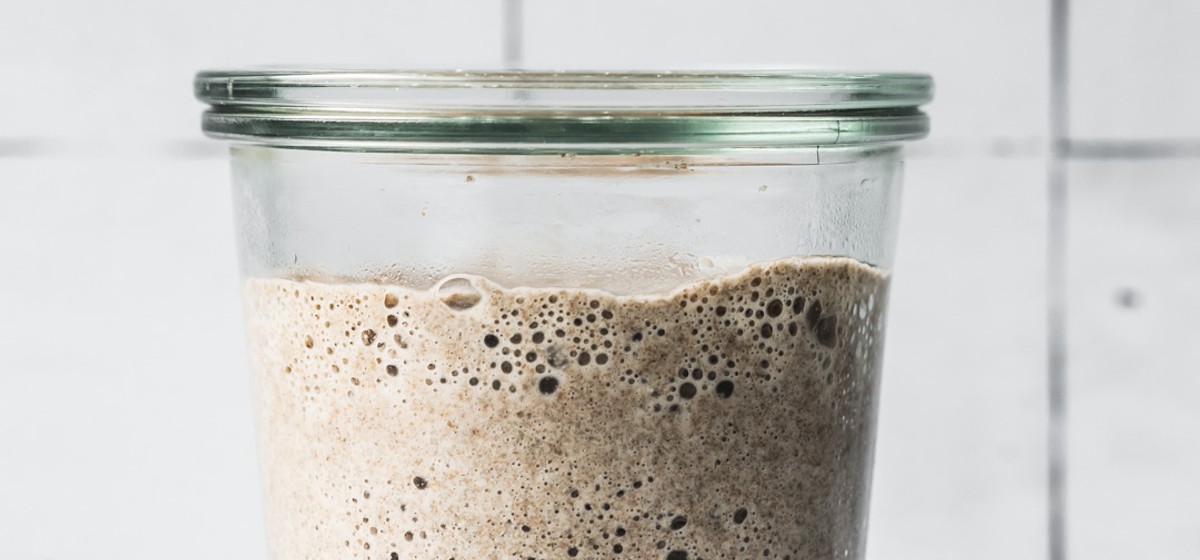
Today’s feeding is the same as DAY 2, you may start noticing bubbles on top of your starter as well as a nice sourdough smell.

DAY 4

We are going to reduce the amount of rye flour once again, and will feed 50g rye & 50g all-purpose flours. Your starter may look like it is not growing much, but stick with the schedule and by tomorrow it should double in size at its peak activity.

DAY 5

Today we repeat the same schedule as DAY 4. Your starter should be showing more signs of activity and should have doubled (or grown even more than doubled) at its peak activity.

DAY 6

This is the first time we will step down from 70g of mature starter down to 50g of mature starter. Your starter should be just as active as it was with 70g of starter at its peak activity, this is a sign that our starter is almost done!

DAY 7

Now we step down from 50g of mature starter down to only 25g. After this feeding, your starter should have almost tripled in size overnight and it will be ready to bake your first loaves of bread!

section-image

YOUR SOURDOUGH STARTER IS READY, WHAT NOW?

You’re ready to make bread and start maintaining your starter!

BASIC SOURDOUGH STARTER MAINTENANCE

Once your sourdough starter is nice and active, there is no need to continue daily feedings. Instead, you will store your starter in the refrigerator once it has reached peak activity. Keeping your sourdough starter in the refrigerator retards the fermentation process. When your sourdough starter is newer, I recommend pulling it from the refrigerator once a week to refresh it, typically you would do this the night before you are ready to make your sourdough baked goods.

This is the feeding ratio that I use to maintain a smaller amount of starter which eliminates discard/waste:

25g mature starter

25g stoneground rye flour

25g unbleached all-purpose flour

50g warm filtered water (85°F)

I typically feed my sourdough starter every 7-10 days but have left my starter in the refrigerator for several weeks without feeding and my starter bounced right back when I finally fed it!

LAST BUT NOT LEAST

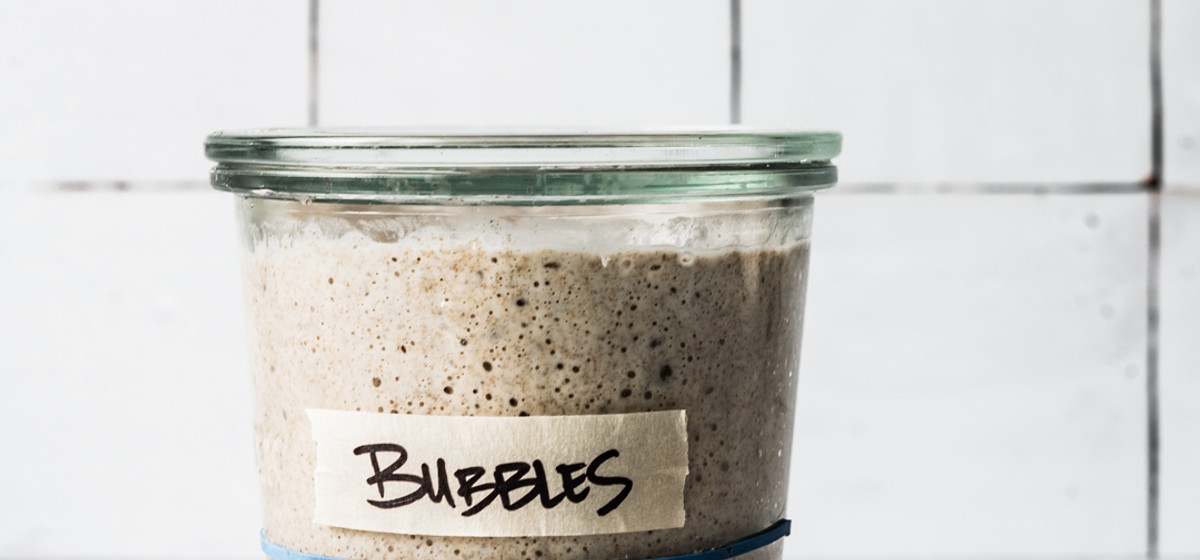
One commonly overlooked element in building a sourdough starter is choosing a name for your sourdough starter! Now you may be thinking to yourself: how could this possibly matter? But let me tell you, naming your sourdough starter is not only fun (there are a lot of clever sourdough names out there!) but it gives you a personal connection and intimacy with your starter that makes the whole process much more enjoyable, and in my opinion, more successful.

section-image

YOUR SOURDOUGH STARTER IS READY, WHAT NOW?

You’re ready to make bread and start maintaining your starter! For your first sourdough bread making endeavor, I recommend starting with my BASIC SOURDOUGH BREAD GUIDE! In my comprehensive sourdough bread guide, I teach you all of the necessary techniques (yes, there are videos!) that will empower you to make your sourdough bread dreams come true!

Get weekly recipes, grocery shopping, meal planning, and home-cooking inspiration sent straight in your inbox
Will be used in accordance with our PRIVACY POLICY.
LEARN COOK EAT
The Biga, the Better: Baking with Fermented Dough
WHAT TO READ THIS WEEK
How to Care for Your Dutch Oven
TRIED & TESTED
Why You Should Definitely Make Fresh Pasta This Weekend
TRIED & TESTED
Making Auntie Anne Proud: Baking Soda to Butter Baths
LEARN COOK EAT
10 Ancient Grains You Need in Your Life
FOOD FOR THOUGHT
Recipes to Stay Healthy, Recommended by a Public Health Professional
FOOD & SUSTAINABILITY
A Farmer in France on Sustainable Food Habits, From the Ground Up
TRIED & TESTED
One-Pot Cheesy Ramen
TRENDING
How to Stock An Allergy-Friendly Kitchen
WHAT TO READ THIS WEEK
Basic Sourdough Bread Guide
FOOD FOR THOUGHT
The Importance of Buying Local Honey
TIPS & TRICKS
DIY: Make Your Own Sourdough Starter
LEARN COOK EAT
The Biga, the Better: Baking with Fermented Dough
Take your dough to the next level with the secrets behind this Italian baking technique that results in extra light and healthy bread!
WHAT TO READ THIS WEEK
How to Care for Your Dutch Oven
Tips for keeping your dutch oven in tip-top shape and our favorite recipes to make in them.
TRIED & TESTED
Why You Should Definitely Make Fresh Pasta This Weekend
Make pasta without a pasta machine - free yourself from another single-use appliance!
TRIED & TESTED
Making Auntie Anne Proud: Baking Soda to Butter Baths
Making Auntie Anne's soft pretzels can be pretty hard. My journey from basic mall rat to an at-home culinary scientist.
LEARN COOK EAT
10 Ancient Grains You Need in Your Life
Ancient grains are the kind of healthy carbohydrates you want in your life.
FOOD FOR THOUGHT
Recipes to Stay Healthy, Recommended by a Public Health Professional
Top recipe picks from an infectious disease-focused public health professional.
FOOD & SUSTAINABILITY
A Farmer in France on Sustainable Food Habits, From the Ground Up
Farming and sustainability amidst COVID-19
TRIED & TESTED
One-Pot Cheesy Ramen
A pantry-stable, simple and easy answer to cooking while in quarantine.
TRENDING
How to Stock An Allergy-Friendly Kitchen
Allergy-safe pantry stocking advice from registered dietitian and cookbook author Chelsey Amer of @chelseyamernutrition
WHAT TO READ THIS WEEK
Basic Sourdough Bread Guide
This guide will empower you to master the ancient process of combining flour, water & salt together to create beautiful, naturally leavened loaves of bread.
FOOD FOR THOUGHT
The Importance of Buying Local Honey
Author and professional beekeeper @GirlNextDoorHoney shares all the benefits of buying local honey.
TIPS & TRICKS
DIY: Make Your Own Sourdough Starter
Don't have a sourdough starter passed down through your family? No problem. We have just the tips for you to start your own traditions!