Making Auntie Anne Proud: Baking Soda to Butter Baths


Perfectly waxed floors, glossy window displays, and the blank faces of mannequins all brought to life by the smell of glorious, salty, butter. If playgrounds are the social meeting place for elementary school, the mall was my middle school equivalent. Movies, faux makeovers, people watching - but most of all - soft pretzel nuggets and lemonade from Auntie Anne’s (often followed by secretly wiping off grease-coated fingers before slipping into photo booths, or stumbling into shops to test driv Heelys).
Soft pretzels from the mall are sadly a thing of my past (I'm gluten-free by necessity these days). Powered by strong sensory memories, I set out to recreate the prized pretzel, gluten-free, from the SideChef studio kitchen. As it turns out, pretzels are pretty complex-chemically speaking! They require a little more commitment than other food court favorites I've attempted in the past - a classic Mrs. Fields cookie or Panda Express orange chicken. The crux of this pretzel recipe lies within the crust.
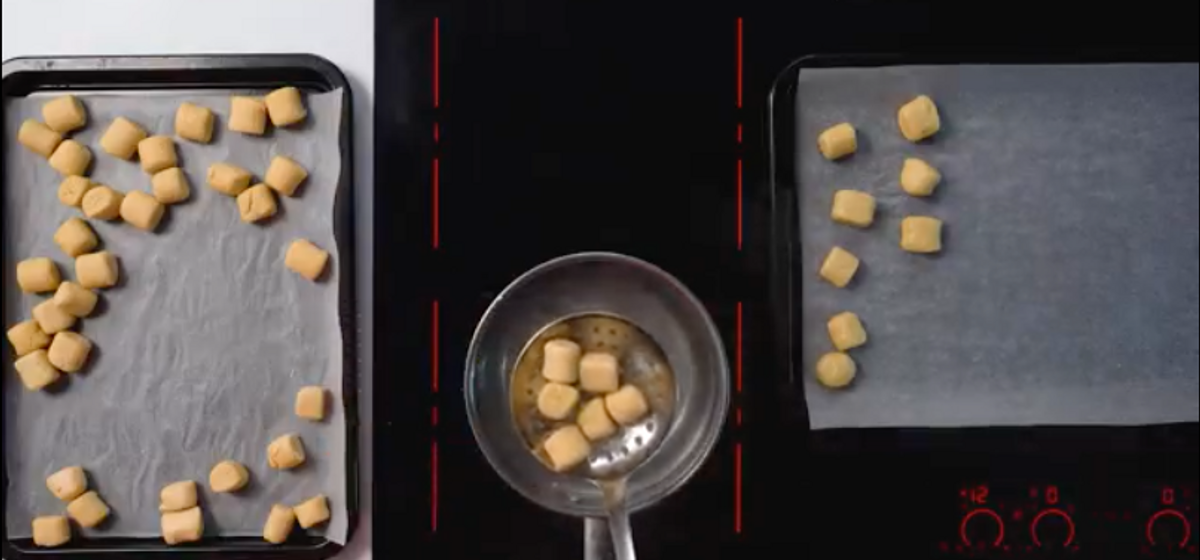
Achieving a crunchy exterior and soft interior relies on a chemical reaction that occurs when pretzel dough is bathed in a basic solution of boiling water and baking soda prior to being baked. Of course, when I say basic I don’t mean - those shoes are so basic - I mean that on a pH scale, the solution's pH is greater than 7. In case you forgot your 10th-grade science, pH is a measure of how acidic or basic water is and it ranges from 0 - 14. A pH of less than 7 indicates acidity, whereas a pH of greater than 7 indicates a base (7 is neutral). Creating your own basic solution is nothing to stress about. Although traditional pretzel recipes call for making your basic solution with lye, a much safer, and more accessible option, is baking soda.

But what does the bath really do? Great question! The reasoning behind this method is similar to why you bathe bagels. Boiling the dough allows the baking soda to assist in the activation of browning during the bake that follows. Essentially, when baked, the development of the crust and color happens much quicker, without compromising the soft interior. Without the bath to achieve the correct level of crust, you risk overbaking and destroying any chances at a chewy, soft center. It's what's on the inside that counts, right?
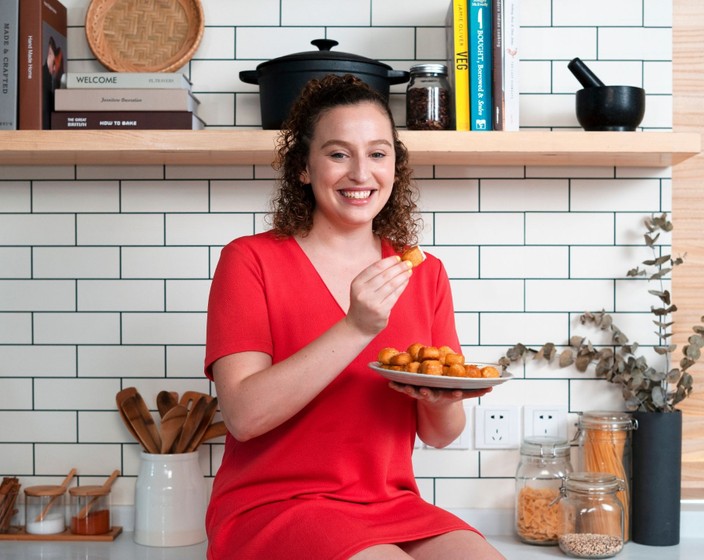
Outside of the all-important bath, there are a few other key elements that make this recipe work really well. I have had some bad yeast experiences, so I always prefer to bloom yeast in warm (110 F) water or milk before incorporating to ensure that my yeast is alive, awake, and ready to bake. As I was trying to create the soft pillowy texture of the Auntie Anne's I remember so well, I decided to bloom the yeast in milk. In gluten-free baking, it's important to build proteins in the dough to replace gluten and milk does that better in this particular recipe. The last, but almost more crucial choice, was the melted butter bath at the end of this recipe that truly transported me right back to the food court. Now you can make your very own iconic Auntie Annie Pretzels, gluten-free, regardless of malls being open or closed.